background image

2

Safety Information

CAUTION:

The FL8350 uses a Laser

System. To prevent direct exposure to 
the laser beam, do not open the cabinet
enclosure or defeat any of the safety
mechanisms provided for your protec-
tion. DO NOT STARE INTO THE LASER
BEAM. To ensure proper use of this pro-
duct, please read this Owner’s Manual
carefully and retain it for future use.
Should the unit require maintenance or
repair, please contact your local Harman
Kardon Service Station. Refer servicing to
qualified personnel only.

Installation Location

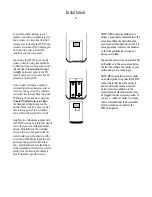
To assure proper operation, and to
avoid the potential for safety hazards,
place the unit on a firm and level sur-
face. When placing the unit on a shelf,
be certain that the shelf and any
mounting hardware can support the
weight of the product.

Make certain that proper space is pro-
vided both above and below the unit
for ventilation. If this product will be
installed in a cabinet or other enclosed
area, make certain that there is suffi-
cient air movement within the cabinet. 

Do not place the unit directly on a
carpeted surface. 

Avoid installation in extremely hot or
cold locations, or an area that is
exposed to direct sunlight or heating
equipment.

Avoid moist or humid locations.

Important Safety Information

Verify Line Voltage Before Use

Your FL8350 has been designed for use
with 120-volt AC current. Connection to
a line voltage other than that for which it
is intended can create a safety and fire
hazard, and may damage the unit.

If you have any questions about the 
voltage requirements for your specific
model, or about the line voltage in your
area, contact your selling dealer before
plugging the unit into a wall outlet.

Do Not Use Extension Cords

We do not recommend that extension
cords be used with this product. As with
all electrical devices, do not run power
cords under rugs or carpets or place
heavy objects on them. Damaged power
cords should be replaced immediately by
an authorized service depot with cords
meeting factory specifications.

Handle the AC Power Cord Gently

When disconnecting the power cord from
an AC outlet, always pull the plug; never
pull the cord. If you do not intend to use
the unit for any considerable length of
time, disconnect the plug from the AC
outlet.

Do Not Open the Cabinet

There are no user-serviceable components
inside this product. Opening the cabinet
may present a shock hazard, and any
modification to the product will void your
guarantee. If water or any metal object
such as a paper clip, wire or staple acci-
dentally falls inside the unit, disconnect it
from the AC power source immediately,
and consult an authorized service station.

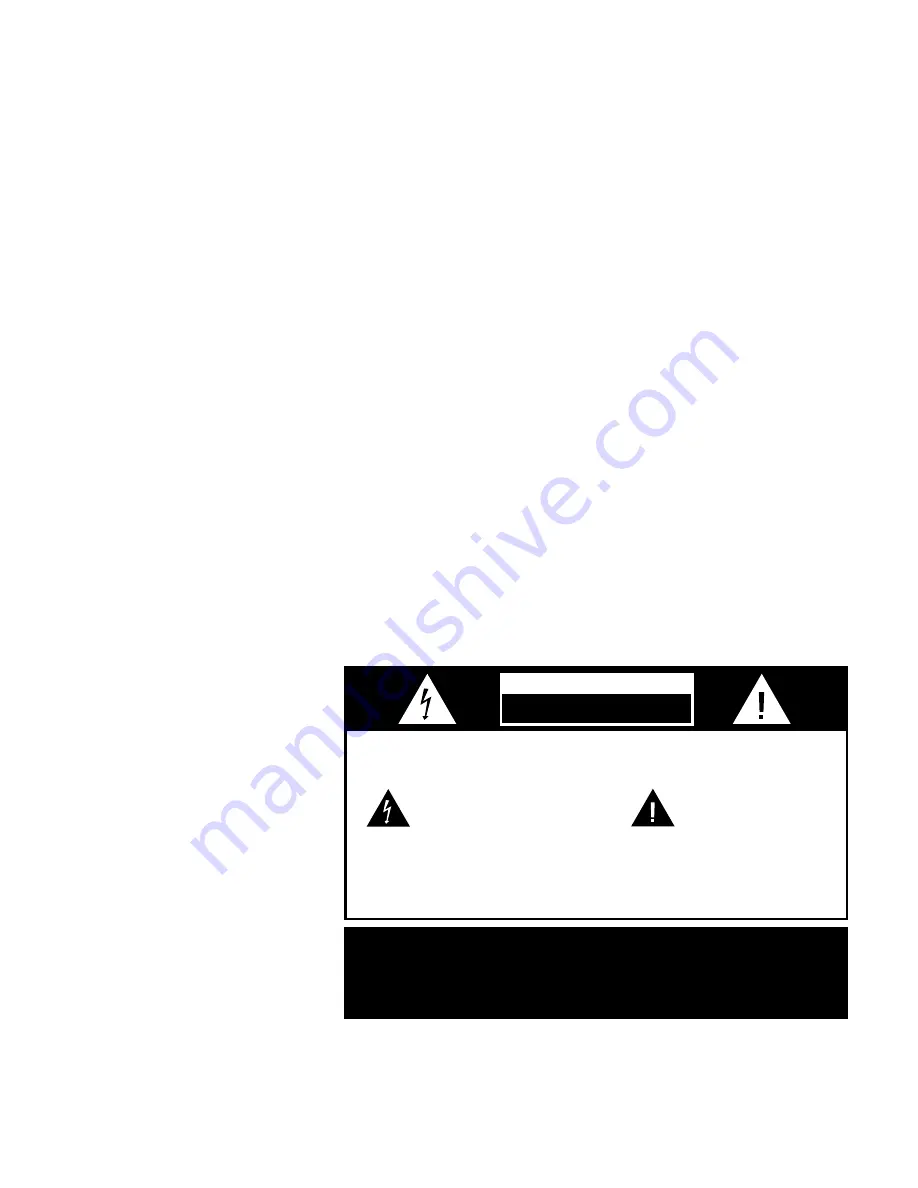
CAUTION:


TO REDUCE THE RISK OF ELECTRIC SHOCK, DO NOT REMOVE 

COVER (OR BACK). NO USER-SERVICEABLE PARTS INSIDE. REFER 

SERVICING TO QUALIFIED SERVICE PERSONNEL.

WARNING:


TO REDUCE THE RISK OF FIRE OR ELECTRIC SHOCK, 

DO NOT EXPOSE THIS APPLIANCE TO RAIN OR MOISTURE.

CAUTION:


TO PREVENT ELECTRIC SHOCK, MATCH WIDE 

BLADE OF PLUG TO WIDE SLOT, FULLY INSERT.

ATTENTION:


POUR EVITER LES CHOCS ELECTRIQUES, INRODUIRE LA 

LAME LA PLUS LARGE DE LA FICHE DANS LA BORNE CORRESPONDANTE DE 

LA PRISE ET POUSSER JUSQU'AU FOND.

The lightning flash with arrowhead 
symbol, within an equilateral triangle, is 
intended to alert the user to the 

presence of uninsulated “dangerous voltage” 
within the product’s enclosure that may be of 
sufficient magnitude to constitute a risk of 
electric shock to persons.

The exclamation point within an 
equilateral triangle is intended to 
alert the user to the presence of 

important operating and maintenance 
(servicing) instructions in the literature 
accompanying the appliance.

C A U T I O N

RISK OF ELECTRIC SHOCK

DO NOT OPEN

 FL8350 CD Changer (English)  7/11/00  9:30 AM  Page 5

Summary of Contents for FL 8350

Page 1: ...0 Compact Disc Changer Owner s Manual Open Close Pause Play Skip Random Stop Search 3 Disc Skip 2 5 1 4 Time Repeat Intro Clear Program fl DISC MIN SEC TRACK 1 2 3 4 5 1 2 3 4 5 6 7 8 9 10 11 12 13 14...

Page 2: ...Staple or clip original invoice here...

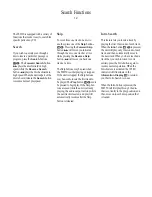
Page 3: ...9 Operation 10 11 Loading Discs 10 Normal Play 11 Play Exchange 11 Time Display 11 Headphone Listening 11 Search Functions 12 Search 12 Skip 12 Intro Search 12 Programmed Play Operation 13 14 Programm...

Page 4: ...any questions about this product its installation or operation please contact your dealer as they are your best source of local information Description and Features Five Disc CD Changer With Advanced...

Page 5: ...cords be used with this product As with all electrical devices do not run power cords under rugs or carpets or place heavy objects on them Damaged power cords should be replaced immediately by an aut...

Page 6: ...es with Part 15 of the FCC Rules Operation is subject to the following two conditions 1 this device may not cause harmful interference and 2 this device must accept interference received including int...

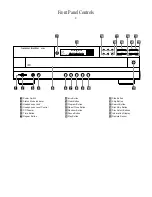
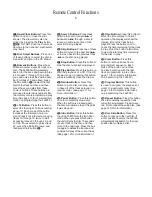
Page 7: ...Button Pause Button Play Button Stop Button Skip Button Search Button Disc Skip Button Disc Select Buttons Information Display Remote Sensor Open Close Pause Play Skip Random Stop Search 3 Disc Skip 2...

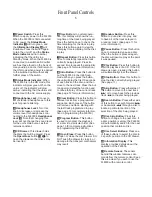
Page 8: ...on the disc and then move to the next track Press the but ton again to defeat the function and continue full play of the current track See page 12 for more information 9 Clear Button Press this butto...

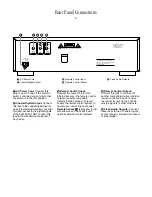
Page 9: ...ack to the coaxial digital input of an external digital to analog converter for direct access to the digital signals of the FL8350 DO NOT connect this jack to the standard audio inputs of any device R...

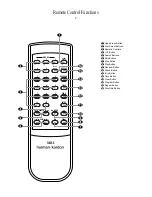
Page 10: ...6 3 2 1 4 5 3 2 1 7 8 9 10 b c a d e f g h i j k l m n o p a Open Close Button b Disc Select Buttons c Numeric Controls d 10 Button e Search Buttons f Skip Buttons g Stop Button h Play Button i Rando...

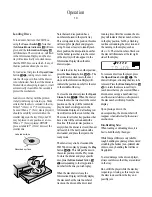
Page 11: ...his button to start the playback of a CD If the CD drawer is open pressing this button will automatically close the drawer i Random Button Press this button to put a disc into play and to have all of...

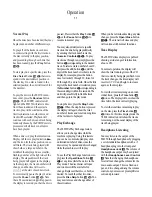
Page 12: ...e holding the bottom side up Press lightly on the embossed arrow on the cover and gently slide the cover towards you in the direction of the arrow Insert the batteries inside the com partment being ca...

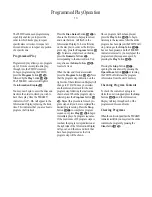
Page 13: ...splay and a flashing red line will surround the icon for that disc The icons for all other tray positions that have a disc will be surrounded with a blue line If the center disc position is empty when...

Page 14: ...t digit of the track number is selected press the Number button c corresponding to the second digit within five seconds The unit will pause briefly to find the track and then go into the play mode To...

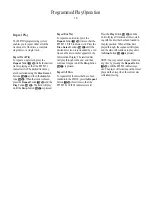
Page 15: ...ed If the unit is stopped the Skip buttons may be used to locate the first track to be played The Play button h must be pressed to begin play If the Skip but tons are used while the unit is already pl...

Page 16: ...ormation Display will change to P 02 You may now select another disc and or track for the next program step following the instruction shown above When the program step is selected press the Program bu...

Page 17: ...ct buttons b until the desired disc s icon is surrounded by a red line and the disc number appears in the Information Display The selected disc will play through to the end and then continue to repeat...

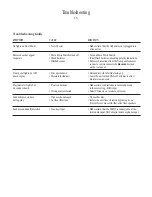
Page 18: ...s plugged into a live outlet Turn on Main Power Switch Install fresh batteries observing polarity indications Remove obstructions from the front panel sensor or connect a remote sensor to the Remote I...

Page 19: ...on THD 0 05 1kHz Dynamic Range 96dB Signal to Noise Ratio 100dB Channel Separation 80dB Line Output Level 2 0V RMS Digital Output Coax General Power Requirement 120V 60Hz Power Consumption 20 Watts Di...

Page 20: ...FL 8350 Power Phones T Phones Level Printed in China Part 1111 FL8350 5100 835000 100...

Reviews: