background image

INSTALLATION AND CONNECTIONS

10

INSTALLATION AND CONNECTIONS

To prevent possible damage to your speakers and
other components in your audio system, it is important
that ALL components, including the FL 8385 and your
receiver or preamp and amplifiers, are turned off and
unplugged from their AC power source when installing
any new component.

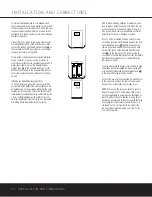
Connecting the FL 8385 to your audio system is sim-
ple. Using standard RCA-to-RCA interconnect cords,
connect the left and right

Audio Output Jacks

on

the rear panel to the CD input jacks on your receiver,
surround processor or preamplifier.

If your system includes an optional external digital-to-
analog converter, or if you are using a receiver or
other processor that has the capability to decode PCM
digital input signals, connect the 

Coaxial Digital

Output Jack

to the Coaxial Digital input on the

decoder. Make certain to use a coaxial-style intercon-
nect cable, as standard audio cables will not perform
as well.

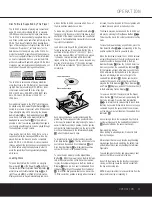
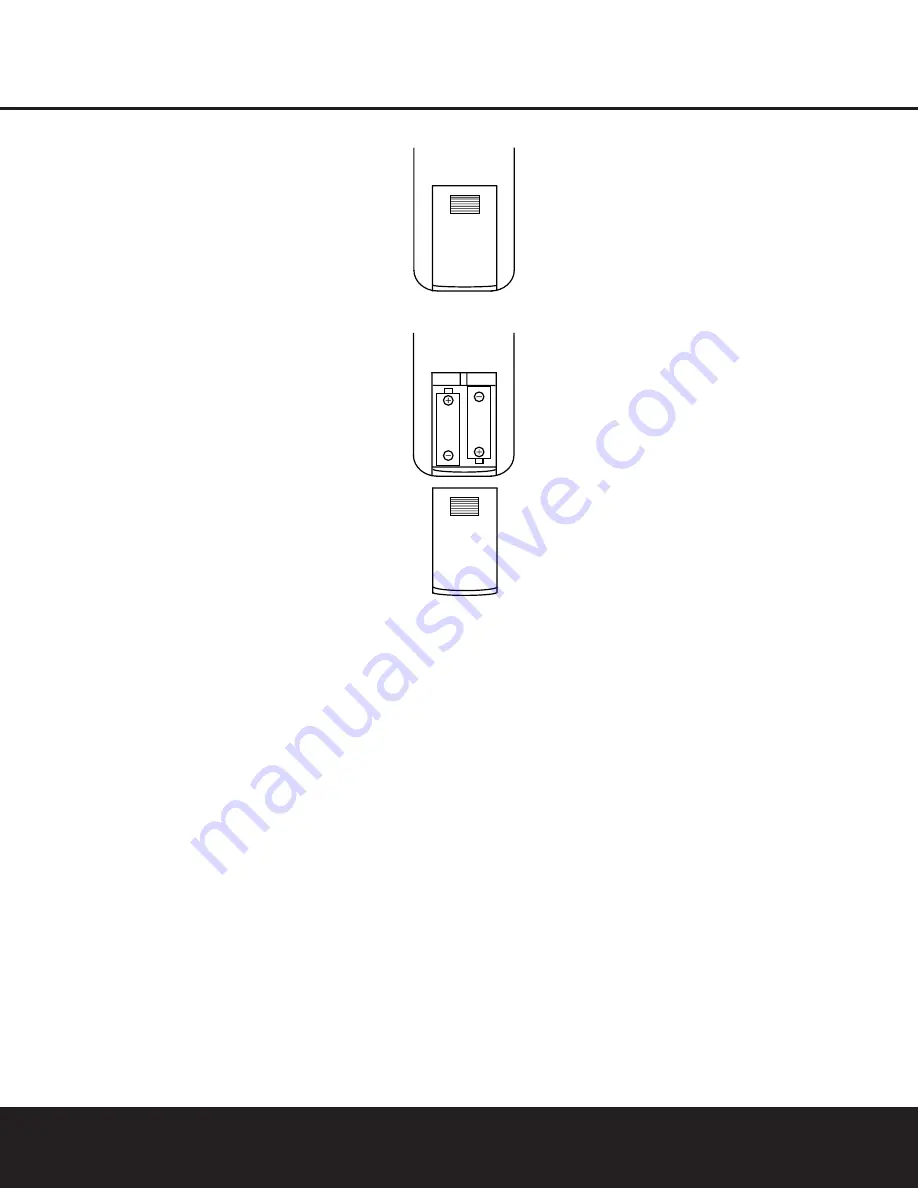
Install the two AA batteries supplied with the 
FL 8385’s remote by turning the remote over so that
you are holding the bottom side up. Press lightly on the
embossed arrow on the cover and gently slide the cover
towards you in the direction of the arrow. Insert the bat-
teries inside the compartment, being careful to follow the

+

and 

polarity indications at the bottom of the com-

partment. Replace the cover by placing it on the remote
and sliding it back towards the top of the remote.

NOTE:

When replacing batteries, it is always a good

idea to replace both at the same time. When the unit
will not be used for an extended period of time, it is
also a good idea to remove the batteries so that the
potential for corrosion or damage is avoided.

If the FL 8385 is installed behind a cabinet or other
obstruction that may block the path between the front
panel 

Remote Sensor

$

and the location of the

remote, an optional external IR sensor may be used.
Connect the sensor to the 

Remote Control Input

Jack 

¢

on the rear panel. This jack may also be

connected to the IR-Output jack of another compatible
Harman Kardon component or a compatible IR-sys-
tem-remote product.

You may also use the IR Sensor in the FL 8385 to send
commands to other compatible remote controlled prod-
ucts. Connect the 

Remote Control Output Jack 

£

to the input of the other product or system.

Connect the power to a nonswitched AC wall outlet or
to the accessory outlet on the rear of another audio
device in your system and you are ready to go!

NOTE:

When using the accessory outlet on another

product to power the FL 8385, make certain that it
has the compatibility to power a device that draws at
least 20 watts of current in addition to being able to
handle the requirements of the other devices that may
be plugged into the accessory outlets. If you use a
“switched” outlet, it is important to remember that 
the host product must be turned on in order for the 
FL 8385 to operate.

Summary of Contents for FL 8385

Page 1: ...FL 8385 Power Phones Phones Level PLAY PAUSE 1 2 3 4 5 DISKSKIP STOP SEARCH SKIP Í Í FL 8385 COMPACT DISC CHANGER OWNER S MANUAL Power for the Digital Revolution ...

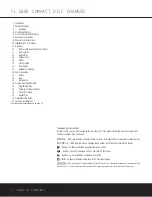
Page 2: ...ypographical Conventions In order to help you use this manual with the remote control front panel controls and rear panel connections certain conventions have been used EXAMPLE bold type indicates a specific remote control or front panel button or rear panel connection jack EXAMPLE OCR type indicates a message that is visible on the front panel information display 1 number in a square indicates a ...

Page 3: ... who is your best local source of information Description and Features Five Disc CD Changer With Advanced Programming Features That Create Playlists of Selected Tracks or Play Discs and Tracks in Random Order for Hours of Uninterrupted Play Plays CD CD R and CD RW Discs HDCD Decoding Provides Superior Reproduction of All CDs Whether HDCD Encoded or Not When HDCD Encoded Discs Are Played Special Ci...

Page 4: ...cohol or any other volatile cleaning agent Do not use abrasive cleaners as they may damage the finish of metal parts Avoid spraying insecticide near the unit Moving the Unit Before moving the unit be certain to disconnect any interconnection cords with other components and make certain that you disconnect the unit from the AC outlet IMPORTANT NOTE To avoid damage to the FL 8385 which may not be co...

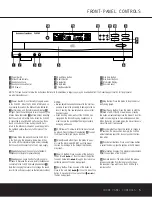
Page 5: ... push the drawer to close it or damage to the transport mechanism may result 7 Search Button Press one side of this button to search forward or the other side of the button to search backwards through a disc to locate a particular portion of the disc being played 8 Skip Button Press one side of this button to move to the next track Í or the other side of the button to move back to the previous tra...

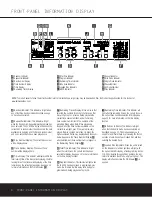
Page 6: ...he numbers for each of the tracks on that disc will light up to 16 tracks During playback the current track number will flash and all remaining track numbers will remain lit The numbers of the preceding tracks will go dark When playback is stopped all of the track numbers available on the current disc will light even if they were previously played If a disc contains more than 16 tracks the higher ...

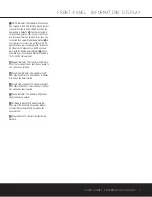
Page 7: ... Audio Outputs will be enhanced due to the improved filters incorporated in the FL 8385 s microprocessor M Repeat Indicator This indicator will light when any of the four repeat modes described on pages 13 and 14 has been selected N Disc Mode Indicator This indicator will light when either the Random All Tracks Discs or Repeat Disc modes has been selected O Single Mode Indicator This indicator wil...

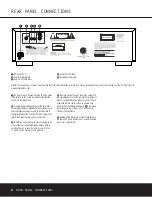
Page 8: ...ntrol Output Connect this jack to the input of another compatible Harman Kardon remote controlled device to have the remote sensor on the FL 8385 provide signals to other products Remote Control Input Connect the output of a remote infrared sensor or the remote control output of another compatible Harman Kardon product This will enable the remote control system to operate even when the front panel...

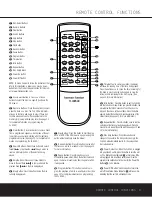
Page 9: ...ck in play Press the button again to view the total play time remaining for the disc in play See page 12 for more information l Intro Button Press this button to put the FL 8385 into the Intro Scan mode When you press this button the unit will play the first 10 seconds of each track on the disc and then move to the next track Press the button again to defeat the function and continue full play of ...

Page 10: ...lace the cover by placing it on the remote and sliding it back towards the top of the remote NOTE When replacing batteries it is always a good idea to replace both at the same time When the unit will not be used for an extended period of time it is also a good idea to remove the batteries so that the potential for corrosion or damage is avoided If the FL 8385 is installed behind a cabinet or other...

Page 11: ...c Each disc position has a number embossed in the plastic tray This corresponds to the position this disc will occupy for playback and programming To make it easier to identify each disc s position the disc position number for the holder space that is in the center of the disc tray will also appear in the Information Display when the disc drawer is open To rotate the disc tray to another position ...

Page 12: ...omly selected disc and the play of two random tracks from each disc will continue until all tracks on all discs have been played At that point the unit will stop HDCD HDCD which stands for High Definition Compatible Digital is a sophisticated process that enables the FL 8385 to deliver outstanding digital to analog decoding no matter what type of CD is played When a disc with the HDCD logo is play...

Page 13: ...play in order as the first program step press the Program Button j To select a single track on the disc press the Numeric Buttons b corresponding to the desired track You may also use the Skip Buttons 8 e to select a track You may select a different disc to be pro grammed at any time by pressing the Disc Select Button a When the disc and track are selected press the Program Button j The program st...

Page 14: ... to a line level audio input NOT a digital audio or phono input Repeat All Discs To repeat all of the discs that have been loaded into the FL 8385 press the Repeat Button m three times so that the Repeat M All Q and Disc N Indicators are lit Press the Play Button g Play Pause on the front panel and the unit will play all tracks on all discs starting with the disc that has been loaded in the play p...

Page 15: ...nt includes knobs and buttons Height measurement includes feet and chassis All features and specifications are subject to change without notice Harman Kardon and Power for the Digital Revolution are registered trademarks of Harman International Industries Incorporated Photo CD is a trademark of Eastman Kodak Company HDCD High Definition Compatible Digital and Pacific Microsonics are either registe...

Page 16: ... 250 Crossways Park Drive Woodbury New York 11797 www harmankardon com 2003 Harman International Industries Incorporated Part No 5100 838500 000 ...

Reviews: