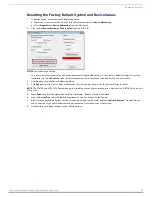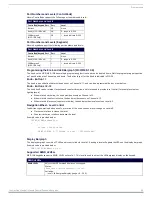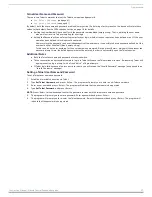
Initial Configuration
23
Instruction Manual - Massio ControlPads and Keypads
Initial Configuration
Massio ControlPads
This section describes using the NetLinx Studio software application to perform the initial configuration of the Massio ControlPad.
You can use NetLinx Studio to perform the following configuration options on a Massio ControlPad:
Set up a System number
Obtain/assign the IP/URL for the ControlPad
Transfer firmware Kit files to the ControlPad - see the
You can perform other configuration and programming options on Massio ControlPads by using Rapid Project Maker (RPM)
For information on configuring the Massio Keypad, see the
NOTE:
You can also configure the ControlPad using the NetLinx Diagnostics 3 application, which is a companion application for RPM
for configuration and management of Massio ControlPads. It is a lightweight application that does not include the integrated
development environment for NetLinx code. It may be a more suitable and recommended application, although in larger sites where
both NX controllers and Massio ControlPads are being installed, NetLinx Studio is the preferable application.
Before You Start
1.
Verify you have the latest version of the NetLinx Studio application version 4.0 installed on your PC.
NetLinx Studio is available to download from
www.amx.com
. Login to download the latest version. Alternatively, if it is already
installed, use the
Web Update
option in NetLinx Studio’s Help menu to obtain the latest version.
The default location for the NetLinx Studio application is
Start
>
Programs
>
AMX Control Disc
>
NetLinx Studio
>
NetLinx
Studio
.
2.
Verify that a LAN cable is connected from the ControlPad to a PoE injector or a PoE-capable Ethernet switch, and the PoE
switch is connected to the LAN Hub. If connected correctly, the ControlPad should receive power.
Obtaining the ControlPad’s IP Address
Rapid Project Maker (RPM) requires the IP address of the ControlPad for configuration. Perform the following steps to retrieve the
IP address of the ControlPad. To assign a static IP address to the ControlPad, see the
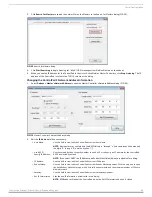
Changing the ControlPad’s Network Address
section on page 24 for more information.
NOTE:
Massio ControlPads use DHCP addressing by default.
NOTE:
Verify there is an active LAN connection on the ControlPad’s LAN port before beginning these procedures.
1.
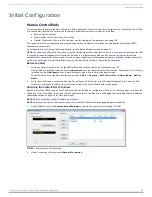
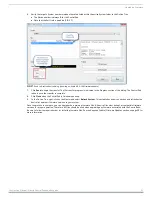
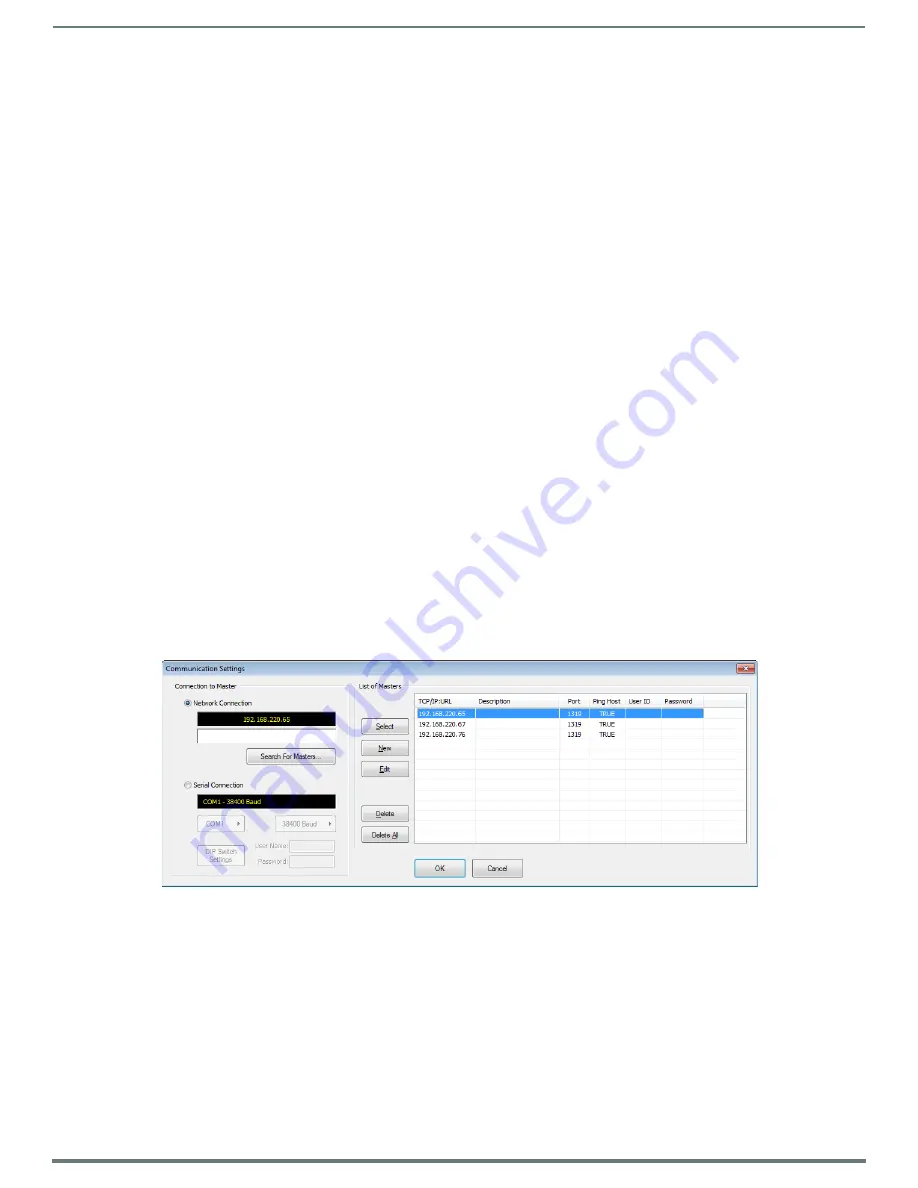
Open RPMLoader and click
Communications Settings
to open the Connect to Master dialog (FIG. 28).
2.
Under Connection to Master, select
Network Connection
.
FIG. 28
Communications Settings dialog


