Settings Pages
22
Modero G4 Touch Panels - Configuration & Programming Manual
Connection & Networks Menu
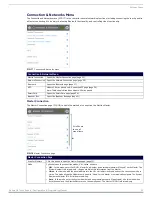
The
Connections & Networks
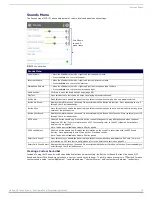
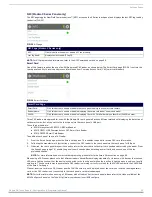
menu (FIG. 17) is the center for several networking functions, including connecting the touch panel to
a Master, connecting it to a network, allowing Bluetooth functionality, and controlling video functionality.
Master Connection
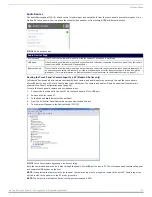
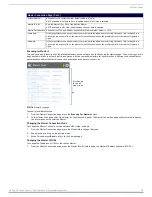
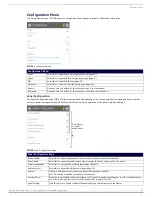
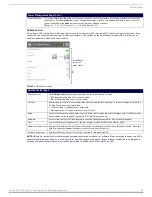
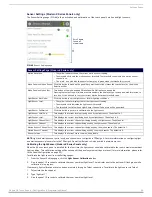
The Master Connection page (FIG. 18) controls the method of connection to a NetLinx Master.
FIG. 17
Connection & Networks menu
Connection & Networks Menu
Master Connection:
Opens the
Master Connection
page (page 22).
Network Connection: Opens the
Network Connection
page (page 25)
Bluetooth:
Opens the
Bluetooth
page (page 27).
NFC:
Modero X Series panels only: Opens the
NFC
page (page 30).
Note: This button is disabled on Modero S Series panels.
Smart Card:
Opens the
Smart Card
page (page 30).
Breakout Box:
Opens the
Breakout Box
page (page 31).
FIG. 18
Master Connection page
Master Connection Page
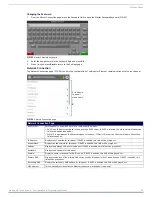
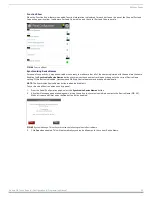
Scan For Masters
Click this button to open the
Master Scan
Mode:
Cycles between the connection modes:
URL
,
Listen
, and
Auto
.
•
URL
- In this mode, enter the IP/URL, Master Port Number, and username/password (if used) on the Master. The
System Number field is read-only - the panel obtains this information from the Master.
•
Listen
- In this mode, add the panel address into the URL List in NetLinx Studio and set the connection mode to
Listen. This mode allows the Modero touch panel to “listen” for the Master’s communication signals. The System
Number and Master IP/URL fields are read-only.
•
Auto
- In this mode, enter the System Number and a username/password (if applicable). Use this mode when
both the panel and the NetLinx Master are on the same Subnet. The Master IP/URL field is read-only.
Scroll down
to see all
menu items


