5
ZonePRO
TM
2.3 GUI Installation
1.
Download the ZonePRO Designer GUI software from www.dbxpro.com then launch the
installer.
It’s recommended that virus protection software be disabled during ZonePRO
Designer installation.
2.
Follow the installer’s instructions to complete the installation.
2.4 Quick Start – Connecting via RS-232
In order to program the ZonePRO processors, the ZonePRO Designer GUI must be in
communication with the ZonePRO device (this is referred to as “Online”). Once communication
is established, the ZonePRO processor can be programmed in real time, or if a program has
already been created, it can be loaded into the device.
If your computer does not have a built in RS-232 port you must use a compatible RS-232
peripheral, such as an RS-232 PCI card, RS-232 PCMCIA card, or USB to Serial adapter. Please
visit the FAQs section of the dbx website for the latest information on compatible RS-232
peripherals.
Most ZonePRO models also allow you to communicate via Ethernet, the exception being the
640 and 641 models, which do not have an Ethernet control port. If you are connecting via
Ethernet and require assistance, please see “Section 6 - Networking”.
It is highly recommended that ZonePRO installers do have the means to communicate
with the ZonePRO processors via RS-232. If a firmware update is ever required, the firmware
update must be applied using the RS-232 connection!
Going Online via RS-232
1.
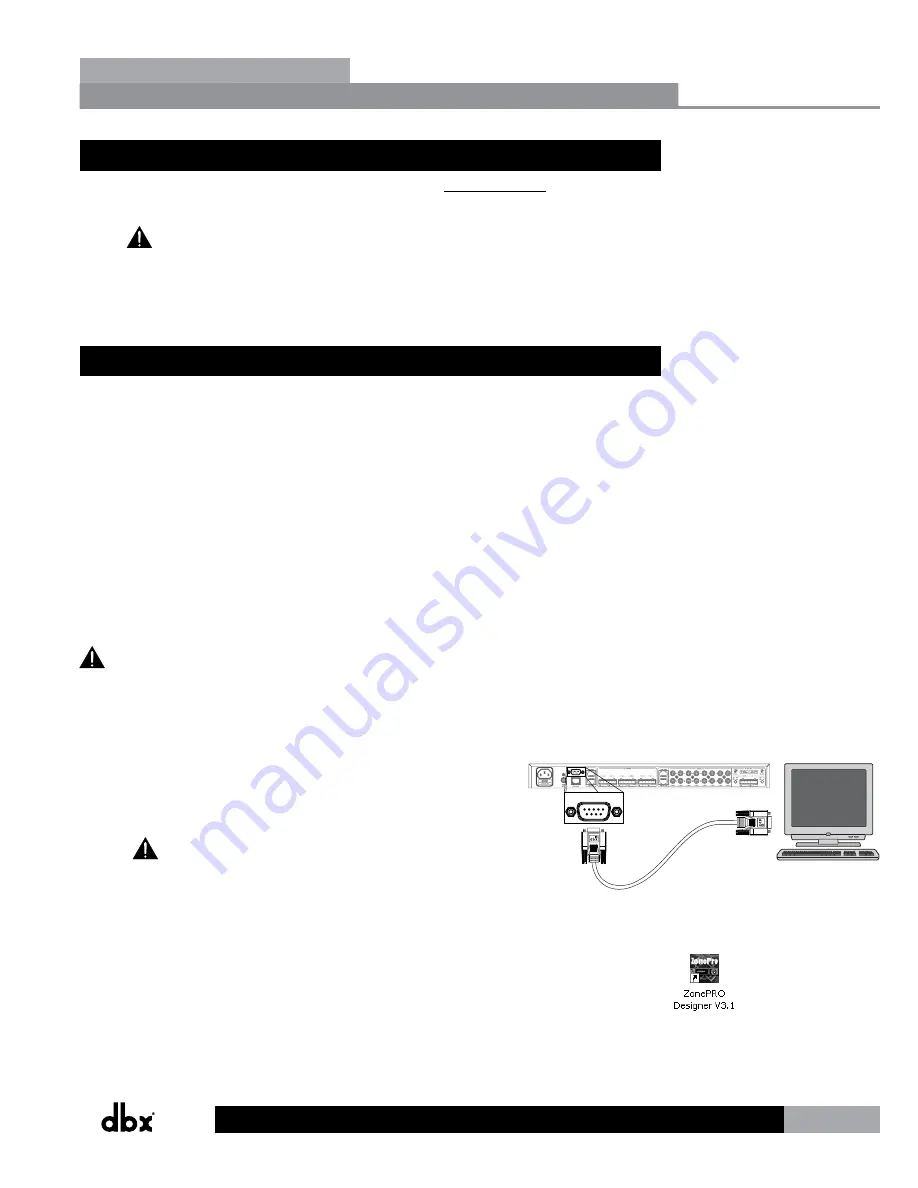
Connect your computer to the ZonePRO’s front or rear RS-232
port using the provided dbx female to female null modem
cable.
A straight-through RS-232 cable will not work! If using
a USB to Serial adapter, the dbx null modem cable must be
plugged in between the adapter and the ZonePRO. See section
“8.8 Wiring Diagrams” for a wiring diagram of the RS-232 null
modem cable.
Computer
PC
ZonePRO
dbx RS-232 Cable
2.
Launch ZonePRO Designer.
ZonePRO Designer GUI
Section 2


