10 Pinnacle Stair Lift manual | | www.Harmar.com | 866-351-2776
table of Contents
installation Procedures
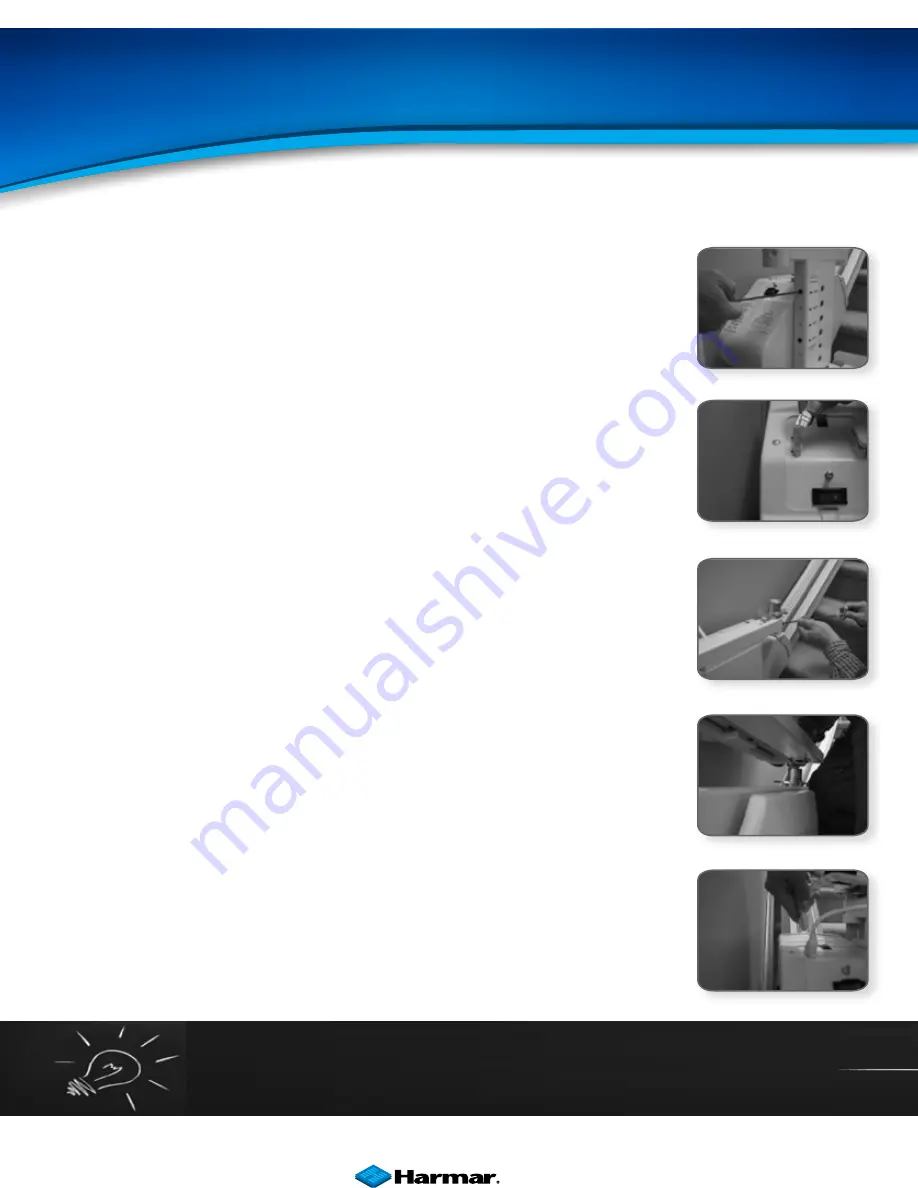
Step 5:
Check that the height of the seat base is correctly set for the intended user.
A seat height guide is provided behind the plastic footrest shroud. Consult with the
client and use an existing chair or walker with armrests as a guide.
If the height of the seat needs to be adjusted, loosen and remove the four (4) bolts
on the sides of the seat base using a 5/32” Allen wrench. Adjust the seat base up or
down relative to the footrest structure until the holes align, then replace and securely
tighten the four (4) bolts.
Step 6:
Connect the footrest cable to the 6-pin connector on the chassis.
Step 7:
Position the keyed seat swivel post in the hole in the seat base hole closest to
the top of the stairs. Securely tighten the two (2) bolts on the sides of the hold using a
5/32” Allen wrench.
Step 8:
Use the supplied white plastic plugs to secure the vertical footrest shroud to
the main footrest cover plate.
Step 9:
Position the seat directly aligned over the carriage and place onto the seat
swivel post. Depress the swivel lever until the seat is fully engaged with the swivel
post. Check the swivel lever to test the locking mechanism.
THE SYSTEM WILL NOT
FUNCTION IF PROPER ENGAGEMENT IS NOT ACHIEVED.
Step 10:
Connect the seat cable to the 8-pin connector on the chassis.
tiP!
When the 6-pin footrest and the 8-pin chair cables are both connected to the chas-
sis, the black installation switch on the chassis is disabled and will not function.


