Pinnacle Stair Lift manual | | www.Harmar.com | 866-351-2776 17
table of Contents
folding rail installation
B. FOLDING RAIL INSTALLATION PROCEDURES
STEP 1:
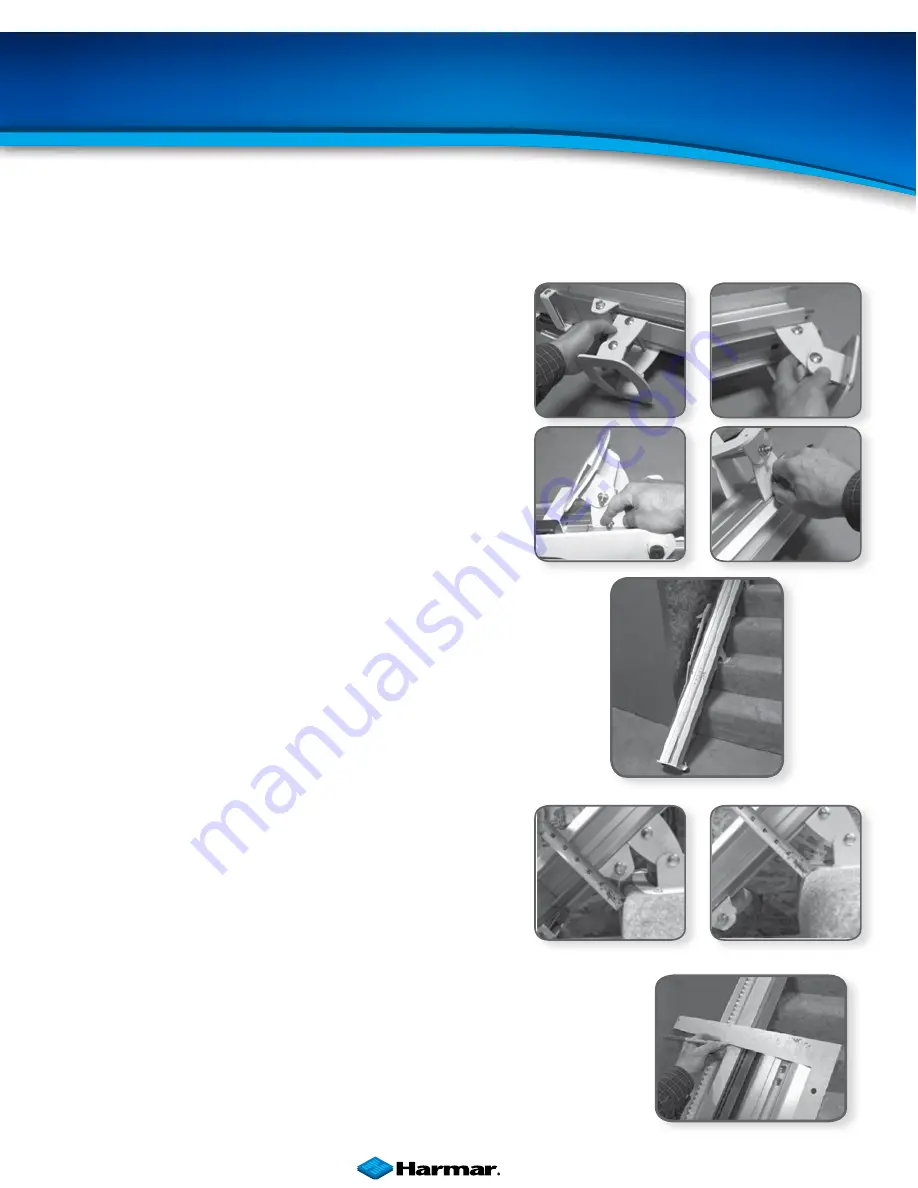
Orient the two track brackets onto the folding rail as
shown at right, with the nuts on the same side as the folding
mechanism (for either left or right folding).
STEP 2:
Expand and snap the two brackets over the track, so the
top is in the bracket-groove.
STEP 3:
Tighten partially the two whiz nuts that position these on
the track, using a ½ wrench (deep socket preferred), so they won’t
slide when you’re test-fitting the position.
STEP 4:
Place the track onto the stairway with the bottom bracket
on the second step, as shown. Note that the bottom feet should
approximately rest on the floor with the rail straight, but they will
be adjusted later. If you’re adding the folding rail to an existing
stairway, run the Pinnacle all the way to the top of the stairs so it is
out of the way. Note that the track brackets install with the round-
head of the carriage bolts facing the stairs, the nuts are toward the
wall. In this position, they are designed to lean the track slightly
toward the wall.
STEP 5:
Measure to verify that the underside of the rail is more
than 2 inches from the stair noses, both at the second step
bracket and at the upper bracket. If not, reposition the brackets as
needed. This clearance is required for the stair lift footrest. In some
installations, you may not be able to get 2 or more inches with the
standard stair-bracket. Contact Harmar to get higher brackets.
STEP 6:
Retrofits: FIT THE RAIL: If this is a new-install, the upper rail will be pre-cut
at the factory to the correct length. If this installation is a retrofit to an existing
stair lift, use a carpenter’s square to match-mark from the top of the folding
rail to the point on the existing rail where it will have to be cut to splice.
Bottom bracket 2+ inches
Upper folding rail 2+ inches


