28
Component Replacement Guide
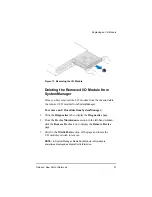
Replacing an I/O Module
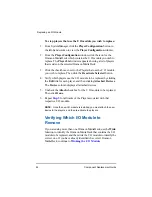
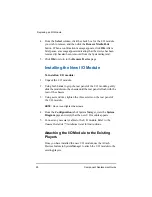
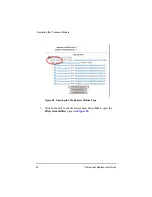
4. From the
Select
column, click the check box for the I/O module
you wish to remove, and then click the
Remove MediaPorts
button. When a confirmation message appears, click
OK
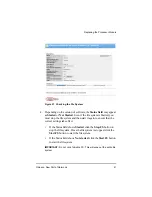
. After a
brief pause, a message appears indicating that the device has been
removed (it has also been removed from the System diagram).
5. Click
OK
to return to the
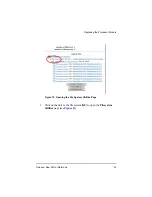
Remove Device
page.
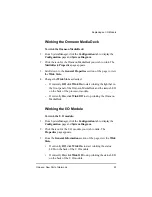
Installing the New I/O Module
To install an I/O module:
1. Unpack the I/O module.
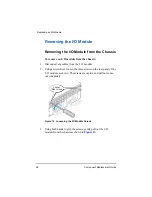
2. Using both hands to grip the rear panel of the I/O module, gently
slide the module into the chassis until the rear panel is flush with the
rear of the chassis.
3. Using a screwdriver, tighten the three screws on the rear panel of
the I/O module.
NOTE:
Do not over-tighten the screws.
4. From the
Configuration
tab of SystemManager, view the
System
Diagram
page and verify that the new I/O module appears.
5. Connect any necessary cables to the I/O module. Refer to the
Omneon MediaDeck™ Installation Guide
for instructions.
Attaching the I/O Module to the Existing
Players
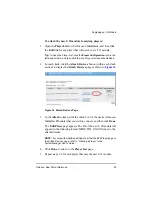
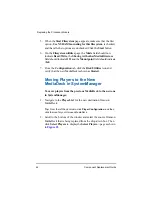
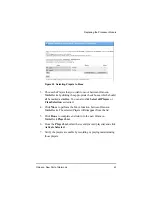
Once you have installed the new I/O module, use the Attach
Devices feature in SystemManager to attach the I/O module to the
existing players.
Summary of Contents for Omneon MediaDeck
Page 1: ...Component Replacement Guide Omneon MediaDeck MediaDeck Part Number 28 0136 Revision L...
Page 8: ...Component Replacement Guide...
Page 14: ...4 Component Replacement Guide...
Page 24: ...14 Component Replacement Guide Replacing a Disk Drive...
Page 58: ...48 Component Replacement Guide Replacing the Processor Module...
Page 65: ......
Page 66: ......
Page 67: ......
Page 68: ......


