Omneon, Now Part of Harmonic
11
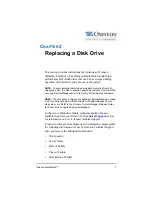
Replacing a Disk Drive
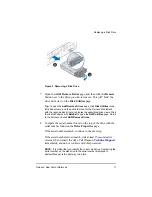
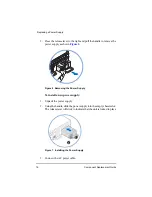
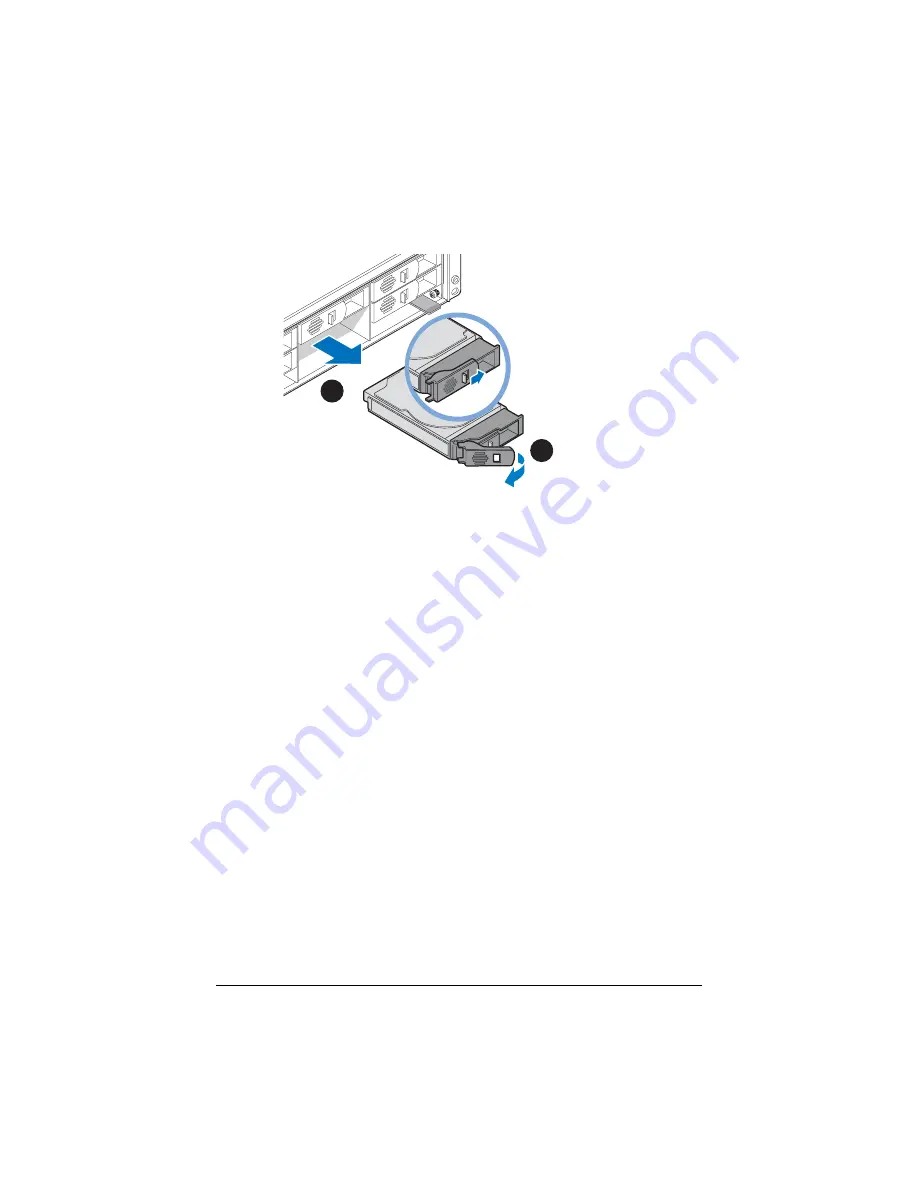
Figure 3 Removing a Disk Drive
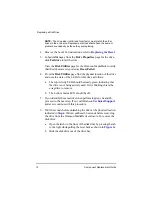
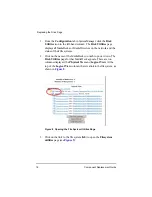
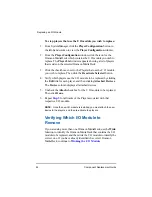
7. Open the
Add/Remove Drives
page, and then click the
Remove
button next to the drive you wish to remove. This will “hide” the
drive from view on the
Disk Utilities
page.
Tip:
To open the
Add/Remove Drives
page, click
Disk Utilities
in the
left-hand column, and then click the icon for the Omneon MediaDeck
with the required disk drive(s) to display the associated drive views. Click
the link that begins with
RaidSet
to open the
RAID utilities
page. Scroll
to the bottom and click
ADD/Remove Drives
.
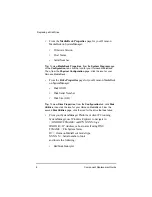
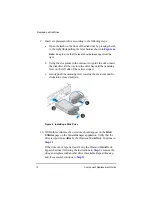
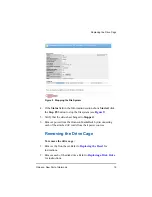
8. Compare the serial number found on the top of the drive with the
serial number found on the
Drive Properties
page.
If the serial numbers match, continue to the next step.
If the serial numbers do
not
match, wait at least 15 seconds after
removal, then reinsert the drive. Call Omneon
immediately, and do not continue with this procedure.
NOTE:
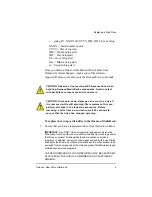
It is critical that you identify the correct disk drive. Comparing the
serial number on the disk drive to the serial number displayed in
SystemManager is the best way to do this.
A
B
Summary of Contents for Omneon MediaDeck
Page 1: ...Component Replacement Guide Omneon MediaDeck MediaDeck Part Number 28 0136 Revision L...
Page 8: ...Component Replacement Guide...
Page 14: ...4 Component Replacement Guide...
Page 24: ...14 Component Replacement Guide Replacing a Disk Drive...
Page 58: ...48 Component Replacement Guide Replacing the Processor Module...
Page 65: ......
Page 66: ......
Page 67: ......
Page 68: ......


