12
Component Replacement Guide
Replacing a Disk Drive
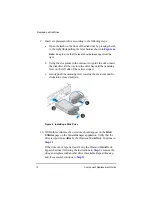
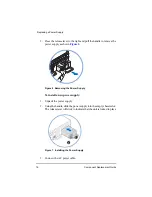
9. Insert a replacement drive according to the following steps:
a. Open the latch on the front of the disk drive by pressing the tab
to the right while pulling the lever back as shown in
Note:
Keep in mind that the lever should always open from the
right.
b. Using the slot guides in the enclosure to guide the drive, insert
the disk drive all the way into the drive bay until the camming
lever on the left side of the carrier stops it.
c. Gently push the camming lever towards the enclosure until it
clicks into a closed position.
Figure 4 Installing a Disk Drive
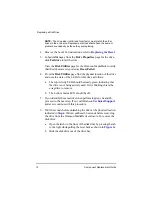
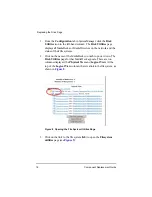
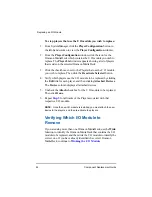
10. Within three minutes, the new drive should appear on the
Disk
Utilities
page on the SystemManager application. Verify that the
drive is reported as
Alive
by the Omneon MediaDeck. Continue to
If the drive is not reported as Alive by the Omneon MediaDeck,
bypass the drive (following the instructions in
), remove the
drive, and replace with another drive if available. Repeat this step
and, if successful, continue to
.
A
B
C
Summary of Contents for Omneon MediaDeck
Page 1: ...Component Replacement Guide Omneon MediaDeck MediaDeck Part Number 28 0136 Revision L...
Page 8: ...Component Replacement Guide...
Page 14: ...4 Component Replacement Guide...
Page 24: ...14 Component Replacement Guide Replacing a Disk Drive...
Page 58: ...48 Component Replacement Guide Replacing the Processor Module...
Page 65: ......
Page 66: ......
Page 67: ......
Page 68: ......


