- 4 -
V6-04-05
Assembly instructions Veranda sunblind VZ520
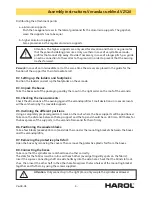
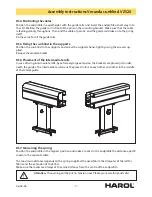
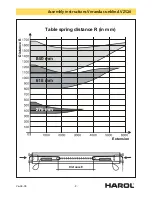
Distributing the attachment points
a- aluminum supports:
Push the hexagonal screws in the lateral guide and fix the aluminum supports. The gaps bet-
ween the supports has to be equal.
b- higher aluminum supports:
Same procedure as the regular aluminum supports.
Remark:
In case of an intermediate roll, at the same time the screws are placed in the guide for the
fixation of the support for the intermediate roll.
D2. Setting up the ladders and footplanks:
Position the ladders and set up the footplanks on the veranda.
D3. Unpack the boxes:
Take the boxes out of the packaging and lay them out in the right order on the roof of the veranda.
D4. Checking the measurements:
Check the dimensions of the awning against the verandaprofiles. Small deviations in measurements
will be catched up by the movable supports.
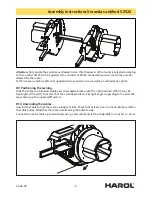
D5. Outlining the different positions:
Using a completely prepared guide rail, mark on the roof where the base supports will be positioned.
Take care: the distance between the top support and the top end should be ca. 280 mm. Drill holes, for
the base pieces of the supports, in the veranda frame and fix them firmly.
D6. Positioning the wooden blocks:
Take a few blocks (60x60x300 mm.) and slide them under the mounting brackets between the boxes
and the verandaprofile.
D7. Removing the protective plastic foil:
Open the boxes by removing the covers. Then remove the protective plastic foil from the boxes.
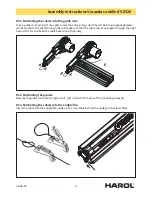
D8. Connecting the boxes:
Take care that the spindles are matched to each other correctly.
The slots for the fabrics must be in line with each other. (avoid getting dirty spots on the fabric).
Insert the square connecting shaft one side halfway into the side-hole. Check that the blind slot mat-
ches, then insert the other half in the other hole. Now press the two halves of the mounting bracket
together and fix them by using the screws supplied.
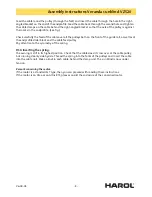
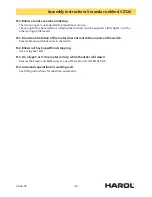
Attention: The higher supports are only used for elevation and there is no guarantee
that they absorb sidelong pressures. Only use them in case of very stable veranda-
profiles that cannot slip away. Provide if necessary, in case of a larger pitch, per guide
an extra connection to the wall or to the ground, in order to prevent that the awning
crashes forward.
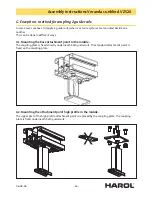
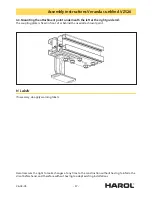
Attention:
Only connect up in the right place, only couple the spindles as allowed.

