7
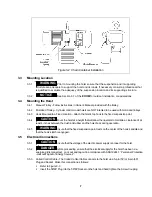
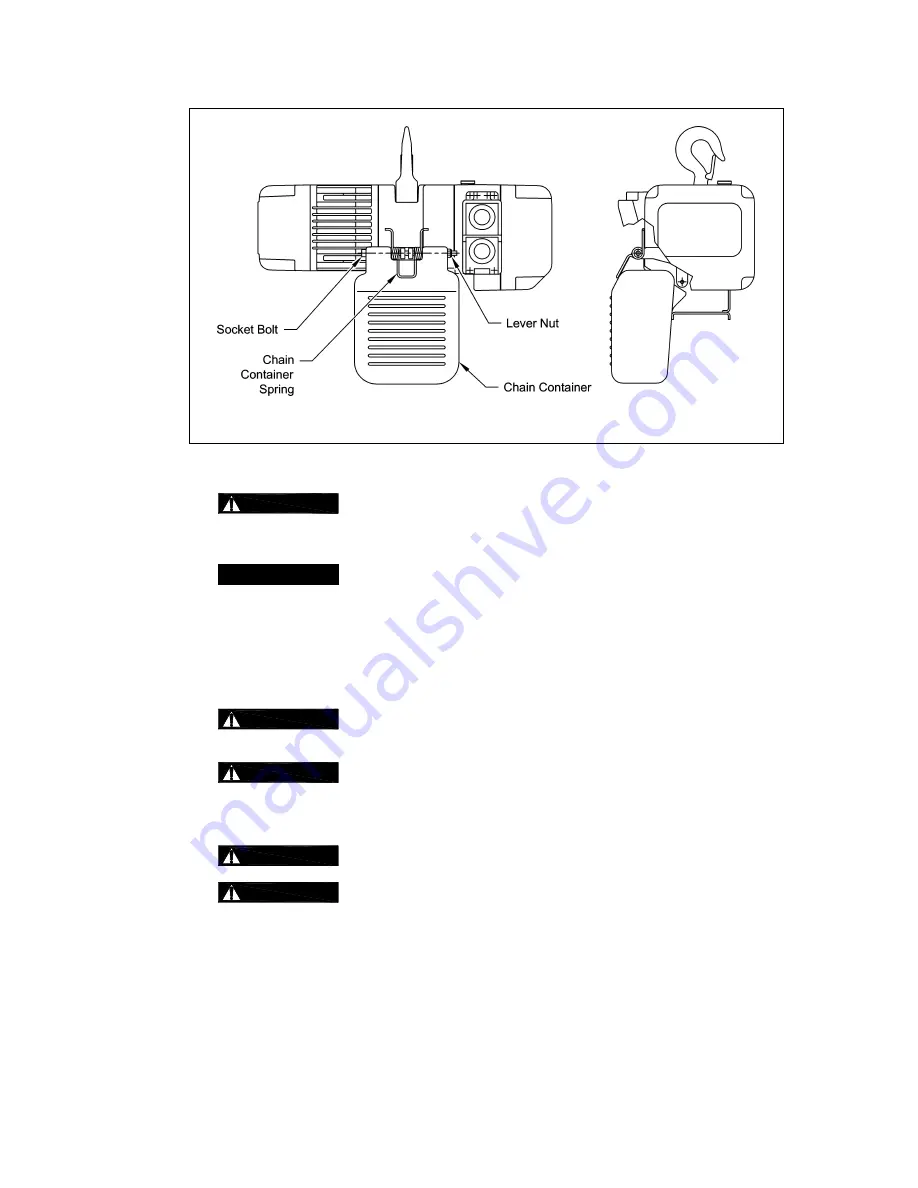
Figure 3-2 Chain Container Installation
3.3 Mounting
Location
3.3.1
WARNING
Prior to mounting the hoist ensure that the suspension and it supporting
structure are adequate to support the hoist and its loads. If necessary consult a professional that
is qualified to evaluate the adequacy of the suspension location and its supporting structure.
3.3.2
NOTICE
See Section 6.7 of the
EROM
for outdoor installation considerations.
3.4
Mounting the Hoist
3.4.1
Manual Trolley - Follow instructions in Owner’s Manual provided with the trolley.
3.4.2
Motorized Trolley – Cylinder control model hoists are NOT intented to be used with motorized trolleys.
3.4.3
Hook Mounted to a Fixed Location - Attach the hoist’s top hook to the fixed suspension point.
3.4.4
CAUTION
Mount the hoist at a height that will allow the operator to maintain a clearance of at
least 4 inches between the Cushion Rubber and the hoist body during operation.
3.4.5
WARNING
Ensure that the fixed suspension point rests on the center of the hook’s saddle and
that the hook’s latch is engaged.
3.5 Electrical
Connections
3.5.1
CAUTION
Ensure that the voltage of the electric power supply is proper for the hoist.
3.5.2
DANGER
Before proceeding, ensure that the electrical supply for the hoist has been de-
energized (disconnected). Lock out and tag out in accordance with ANSI Z244.1 “Personnel Protection
-Lockout/Tagout of Energy Sources”.
3.5.3
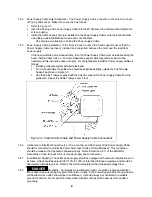
Coiled Control Cable - The Coiled Control Cable connects to the hoist via a 5-pin (5P) or 8-pin (8P)
Plug and Socket. Make this connection as follows:
§
Refer to Figure 3-3.
§
Insert the 5P/8P Plug into the 5P/8P Socket on the hoist and hand tighten the Screw Coupling.

