APEX
™
Exciter Incorporating FLO
™
Technology
Navigating the LCD Display Screens
Details of the System Setup Screens
Page: 3-44
888-2604-001
03/08/07
WARNING: Disconnect primary power prior to servicing.
3.6.5.3
External I/O Interface to Transmitter Control Logic
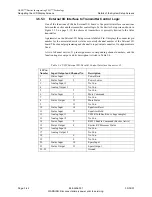
One of the functions of the he External I/O board is the parallel interface connections
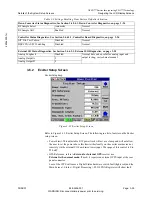
between the exciter and the transmitter control logic. In the Exciter Setup screen, shown in
Figure 3-32, on page 3-35, the choice of transmitters is presently limited to the Atlas
transmitter.
A parameter on the External I/O Setup screen is labeled Pin. It displays the connector pin
number for the associated exciter (status or control) channel number of the External I/O
board. The channel programming and channel to input/output connector J1 assignments are
fixed.
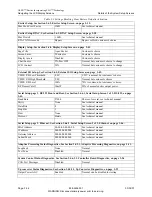
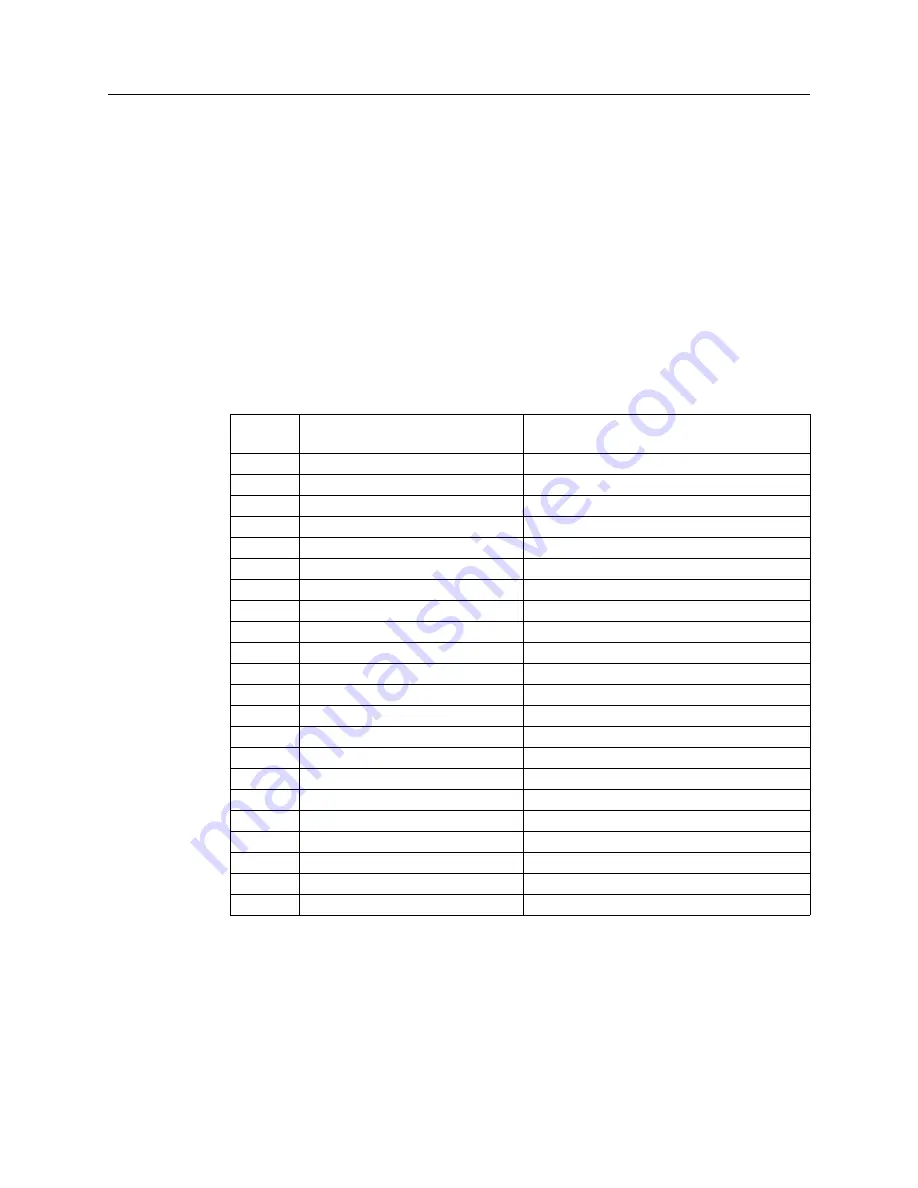
A list of channel entries, J1 pin assignments, corresponding channel numbers, and the
function (input or output, and its description) is listed in Table 3-4.
.
Table 3-4 UHF External I/O Parallel Control Interface Connector J1
J1 Pin
Number
Input/Output and Channel No.
Description
1
Status Input
1
Power Raise
2
Status Input
3
Power Lower
3
Analog Input 3
No Con.
4
Analog Output 1
No Con.
5
5
No Con.
6
Status Input
7
Mute Command
7
9
No Con.
8
Status Output
11
Mute Status
9
13
No Con.
10
Status Input
14
Equalizer Reset
11
Status Input
15
Equalizer Hold
12
Analog Input 1
VSWR Fold back (dc voltage sample)
13
Analog Input 2
No Con.
14
Status Input
2
RS232 Enable Command (Exciter Active)
15
Status Output
4
Exciter RF Presences Status
16
Analog Input 4
No Con.
17
Analog Output 2
No Con.
18
6
No Con.
19
8
No Con.
20
Status Input
10
Spare Input
21
Status Output
12
Spare Output
22 - 25
Ground

