GAL-003
Junior Steel Gaelic Goal Posts
This product is protected by © Copyright
and Design Right Harrod UK Ltd 2006
Code:
Product:
Assembly Instructions
1
Lay the Crossbar (3) and the Uprights (1,2) on the ground, making sure that the holes in
the spigots are facing up. This will determine the left and right hand uprights. Insert the
Cross bar on to the spigots, then position the net support bracket onto the Crossbar. Fasten
them all together with bolts (9) and washers (10) as shown in Fig 1.
3
Remove the pre-fitted M12 Bolts (17) from the
bottom of the Uprights, then fit the Left and Right
Hand Side Bars (4) as shown in Fig.2, by re-fitting the
M12 Bolts and adding Washers. Fit the bottom of the
Net Support Tube with an M12 Eye Bolt (13) as shown
in Fig.3.
2
Fit the Net Support Tubes (6) to the brackets as
shown in Fig.1, and then stand the goal upright.
4
Remove the remaining pre-fitted Bolts (18) in the
Side Bars (4) and Fit the Back Bar (5) to the Side
Bars, as shown in Fig.3.
Assembly Requirements
Number of People:
2
Time to Assemble:
20mins per Set
Tools Needed:
1 x 17mm Spanner
1 x 19mm Spanner
2 x 13mm Spanners
It is recommended that you follow the assembly sequence below.
5
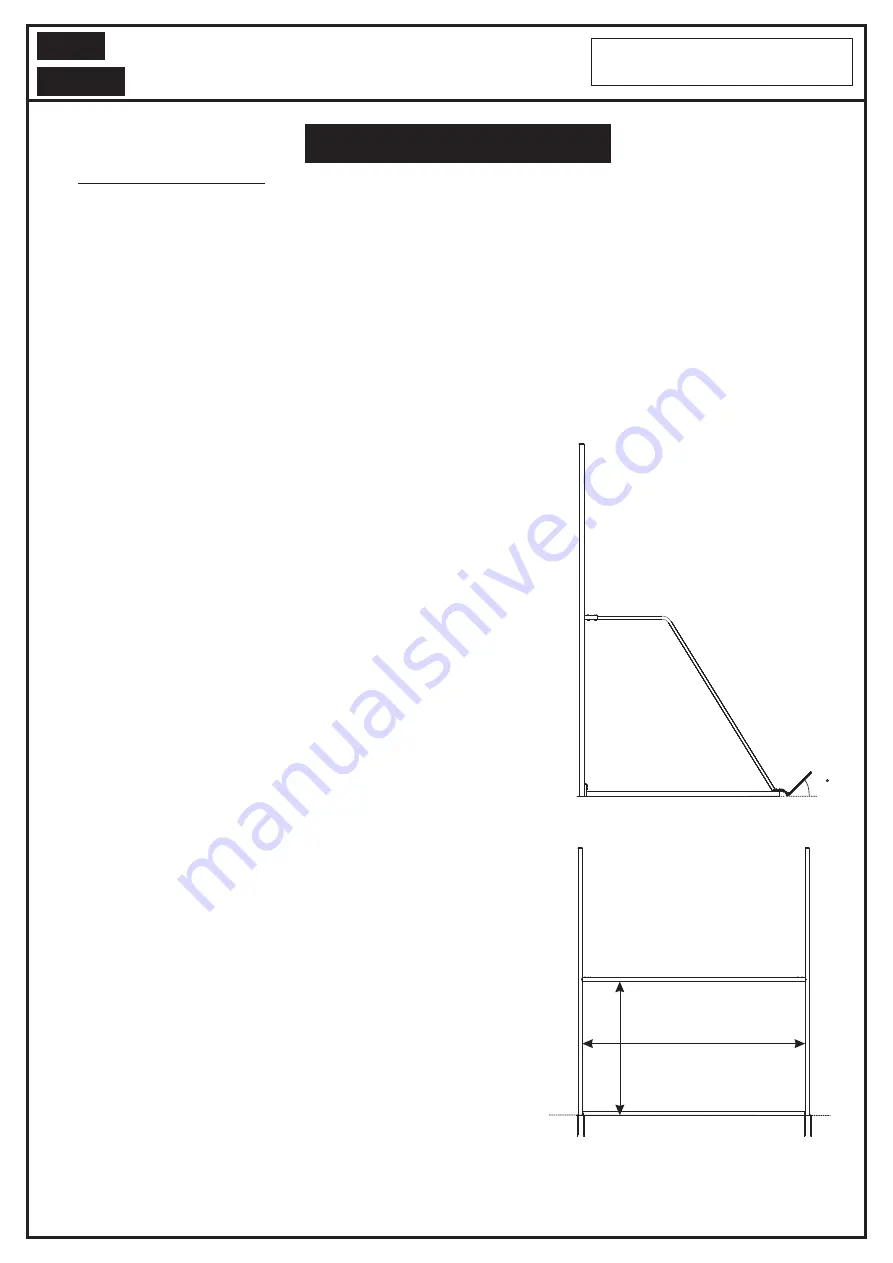
All freestanding goals must be anchored at all
times
. Anchor your football goal by connecting a
Carbine Clip (14) and Chain (15) to the Eye Bolt (13),
then drive a U-Peg (16) through the Chain into the
ground making sure that the Peg is driven into the ground
at an angle of 45° (see Fig 4). If the goal is to be used on a
synthetic pitch then 105kg of weight is required to
ensure that the goal conforms to the safety standard. This
can be achieved by attaching 6 x ANC-005 per goal.
Please see your distributor for advice and attachment
details.
Drive the pegs into the
ground at a 45
gle,
to
ensure that the goal is
made safe as soon as it
has been assembled.
° an
at the marked points
Ground level
45
Ground level
Fig.5
Fig.6
3000mm
1829mm
(6ft)


