1
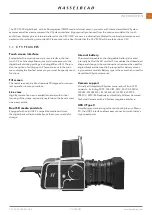
For a list of compatible SD cards, see page 82.
A
B
C
2.1 QUICK START
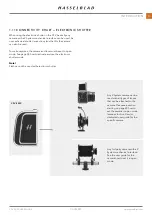
This chapter explains how to make the first capture using the
CFV on a 500-series camera and the default settings.
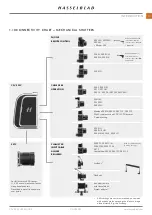
A more detailed description for all compatible camera models
can be found starting on page 50.
FIRMWARE
Make sure the CFV has the latest firmware by checking
. You can see which firmware that is currently
installed in the CFV by following the procedure on page
97. You can find instructions on how to update to the latest
version on page 93.
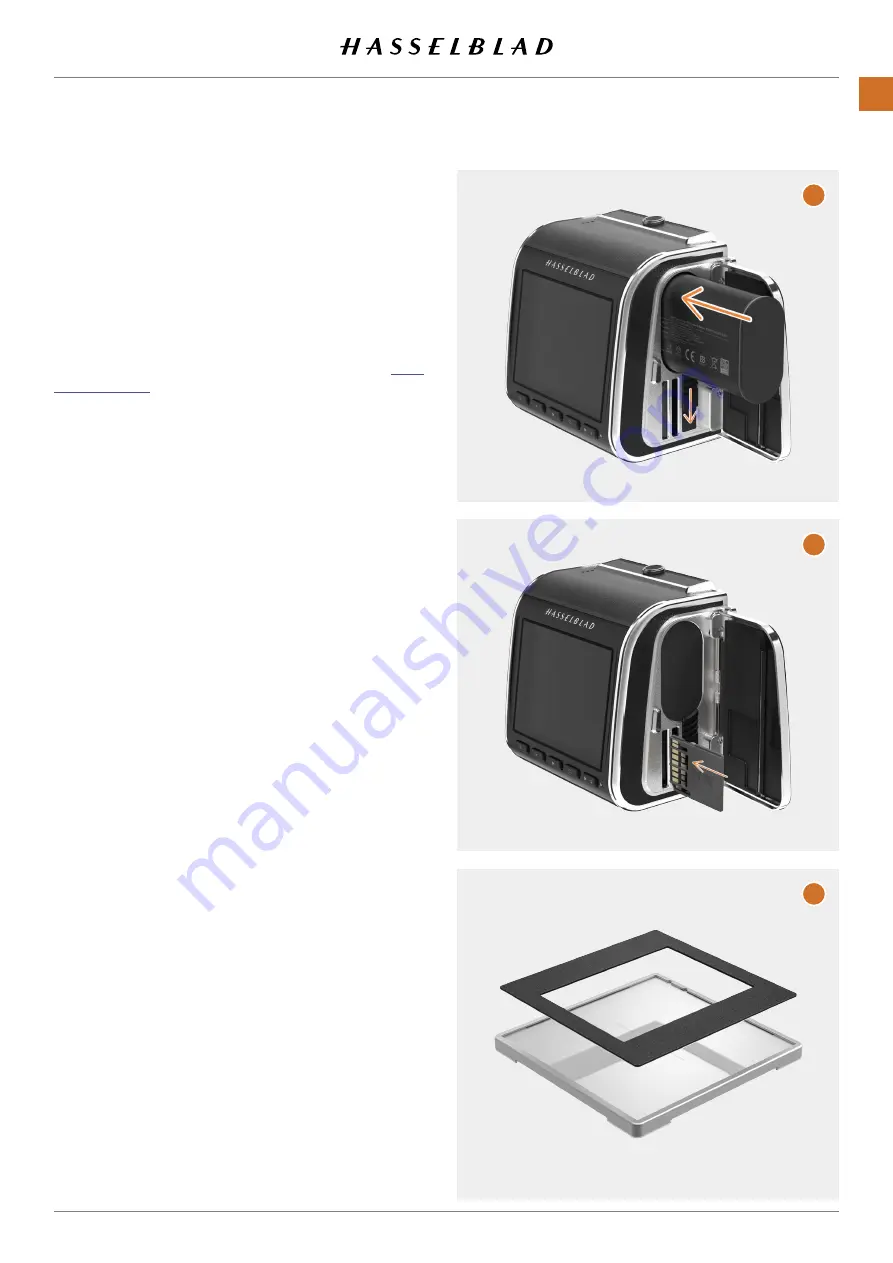
BATTERY
Make sure the battery is fully charged. Open the right side
lid by sliding it backwards and insert the battery with the text
facing backwards into the CFV. Push until the battery release
catch clicks in place.
(A). See charging instructions on the
next page.
Note!
When the battery is inserted, the rear status LED will show a
blink sequence once to indicate the current battery charge
level. See next page for details.
SD CARD
Insert the SD card
1
into slot 1 or 2. The contact side of the
card shall be facing towards the rear display. Close the lid by
swinging it back and sliding it forward.
(B)
For best results, the card should be formatted in the camera
by using the procedure on page 83.
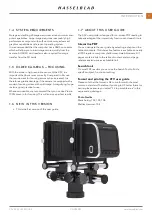
MOUNTING THE FOCUSING SCREEN MASK
The supplied focusing screen mask allows you to mask areas
outside of what the sensor can capture. Place it on top of the
Focusing Screen
(C). For a more fixed attachment, remove the
backing paper and attach it using the adhesive backing. This
will however, make it less flexible if the camera is also used
with a regular film magazine.
CFV II 50C USER GUIDE
www.hasselblad.com
16
QUICK START
Summary of Contents for CFV II 50C
Page 1: ...CFV II 50C User Guide 2019 12 20 v1 ...
Page 6: ...1 INTRODUCTION ...
Page 15: ...2 QUICK START ...
Page 21: ...3 SAFETY ...
Page 25: ...4 PARTS CONTROLS ...
Page 39: ...5 USING THE CFV ...
Page 68: ...6 SETTINGS ...
Page 98: ...7 PHOCUS ...
Page 106: ...8 ACCESSORIES ...
Page 109: ...9 APPENDIX ...

