17
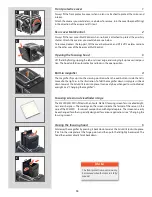
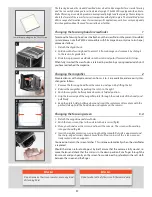
Changing the magnifier
2
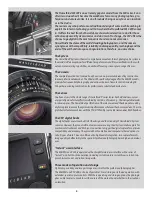
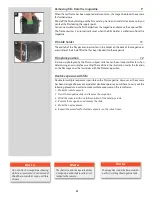
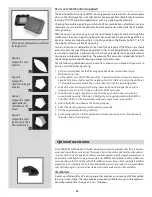
Mounted lenses with dioptre correction from +3 to -4 are available, and are easily inter-
changed as follows:
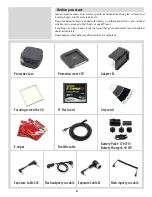
1. Remove the focusing hood from the camera and open it by lifting the lid.
2. Release the magnifier by pushing the catch to the right.
3. Push the magnifier halfway back down to its folded position.
4. Grip the lower edge of the magnifier plate (through the underside of the hood), and
pull firmly.
5. Keep the plate holder halfway down and insert the replacement lens plate with the
printed side up. Fold the hood down and replace on the camera.
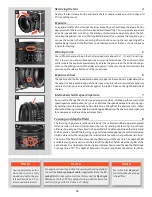
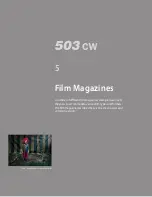
Changing the focusing hood or viewfinder
1
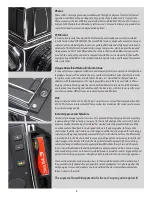
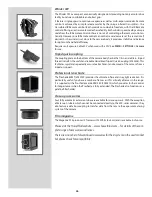
To remove the focusing hood so as to attach any other viewfinder in the present Hasselblad
system (please note the PM90 is compatible with film magazines only due to its shape),
proceed as follows:
1. Detach the digital back.
2. Fold down the focusing hood to protect it from damage and remove it by sliding it
to the rear in its guide slots.
3. Slide the replacement viewfinder into the slots and push it forward until it stops.
When fully inserted the viewfinder is retained in position by a spring-loaded catch until
you have reattached the magazine.
The focusing hood on the standard viewfinder has a built-in 4.5x magnifier for accurate focusing
and this can easily be changed to suit individual eyesight. The 503CW is equipped with an Acute-
Matte D focusing screen which produces an exceptionally bright and sharp image. The markings in-
dicate the format of the sensor for correct composition with digital capture. The Hasselblad system
offers a range of alternative screens for various specific applications, each item easily and quickly
interchangeable without the need for special tools or facilities.
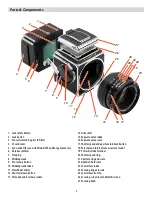
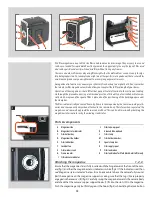
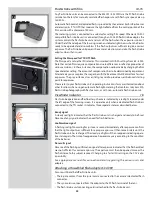
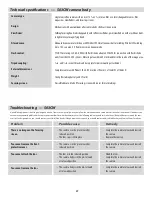
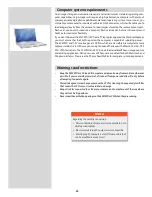
Sensor format markings on the “36x49” screen.
2
1
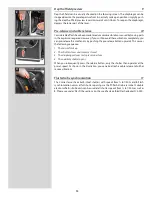
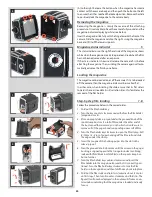
Changing the focusing screen
3, 4
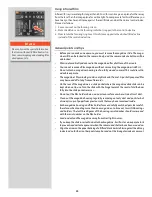
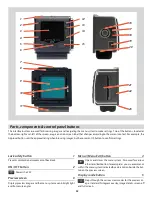
1. Detach the magazine and viewfinder.
2. Push the two screen clips to the side into their recesses (fig
3
).
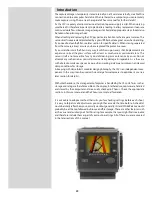
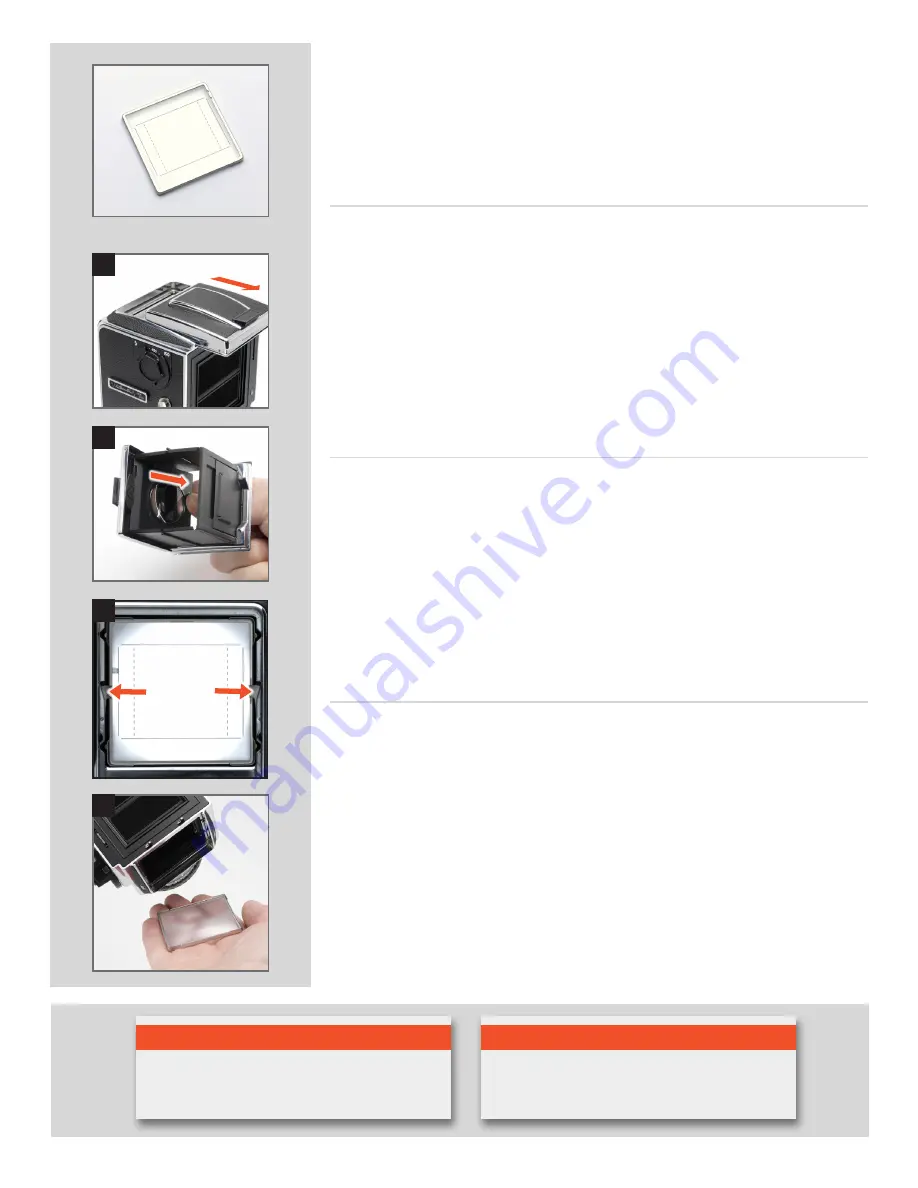
3. Place your hand over the screen, and invert the camera. The screen will now drop
into your hand (fig
4
).
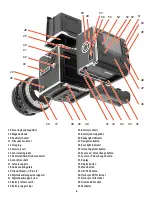
4. Insert the replacement screen, ensuring that the smooth flat side is uppermost and
the sharp-edged corners down. Ensure that all four corners of the screen are posi-
tively seated on their supports.
You need not return the screen latches. This is done automatically when the viewfinder
is replaced.
Should the screen refuse to drop out by itself, ensure that the camera is fully wound, re-
move the lens and check that the mirror is in the down position. Put a finger through the
lens mount and push gently on the screen from underneath, preferably with a soft cloth
between the screen and the finger.
3
4
N o t e
Do not immerse the screen in water, or use any kind
of cleaning fluid.
N o t e
Do not use hot air to dry the screen if it becomes damp.
Summary of Contents for CFV
Page 1: ...User Manual 503CW 503CWD CFV CFVII CFV 39 CFV 50 Version 10 ...
Page 2: ...2 Welcome to Hasselblad 503CW 503CWD CFV ...
Page 6: ...6 1 General Information Photo JoaoCarlos HasselbladMasters ...
Page 28: ...28 1 Overview Photo ClaudioNapolitan HasselbladMasters ...
Page 42: ...42 2 Getting Started Photo MarkHolthusen HasselbladMasters ...
Page 51: ...51 3 Previews Photo MarkZibert HasselbladMasters ...
Page 55: ...55 4 Batches Browsing Photo BangPeng HasselbladMasters ...
Page 61: ...61 5 IAA Instant Approval Architecture Photo LyleOwerko HasselbladMasters ...
Page 66: ...66 6 Delete Format Copy Photo JoaoCarlos HasselbladMasters ...
Page 72: ...72 7 Settings Photo NinaBerman HasselbladMasters ...
Page 73: ...73 Navigating the USER INTERFACE settings ...
Page 85: ...85 8 Cleaning Photo DirkRees HasselbladMasters ...
Page 87: ...87 9 Appendix Photo MarkHolthusen HasselbladMasters ...


