49
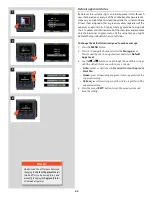
White Bal. Setting
Setting description
Daylight
For general outdoor use in direct sunlight.
Cloudy
For general outdoor use in cloudy weather.
Shade
For general outdoor use in shady locations out of direct sunlight.
Flash
For general indoor use when using a normal flash/strobe system.
Fluorescent
For use when using fluorescent lighting (strip lights).
Tungsten
For use when shooting indoors under standard tungsten/B lamps.
Manual
For a manual setting.
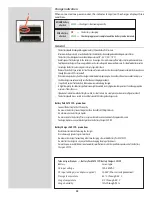
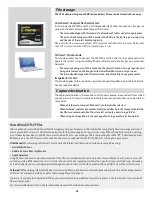
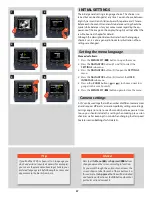
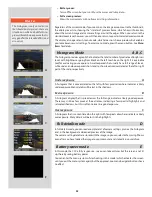
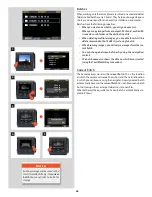
There are seven ‘White Balance’ settings to choose from.
Color temperature can be set
manually or read off after a
test exposure.
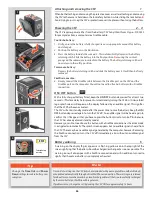
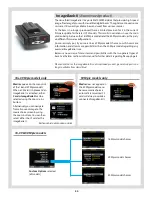
White Balance Shot screen
appears after test exposure to
illustrate the area chosen for
white balance calculation.
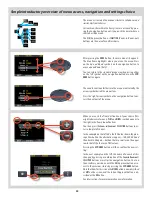
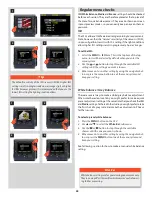
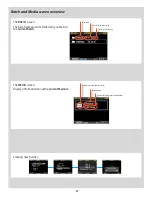
To make a manual white balance setting:
1. Select the
MENU > White Bal
> Manual
item.
2. Use the
button to call up the ‘Manual White Balance’ screen.
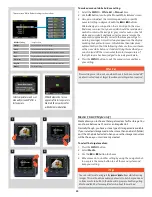
3. Here, you can adjust the color temperature to a specific
numeral setting in degrees K with the
or
buttons.
Alternatively, you can position the central spot in the view-
finder over an area that you consider should be rendered as
neutral in color in the image (a ‘grey card’ or even a sheet of
white paper is ideal) and make a test exposure (ensure the
exposure is approximately correct otherwise you will get a
warning message). A small rectangle appears on the display
marking that particular area. Calculations then take place
automatically so that the following shots use the area chosen
as the new ‘white balance’ standard. Using this method you
can also read off the screen what the color temperature of
the light source has been judged to be in degrees Kelvin.
4. Press the
MENU
button to exit the menu system and keep
your setting.
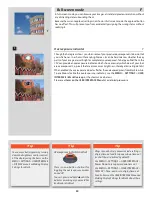
N o t e
New settings are retained even when the unit has been turned off
and reactivated, so don’t forget to make new settings when required.
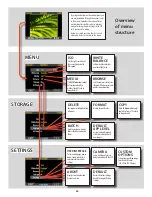
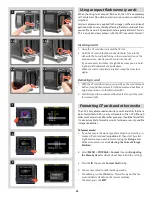
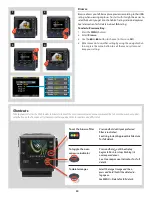
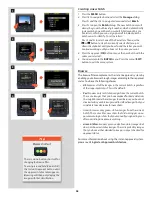
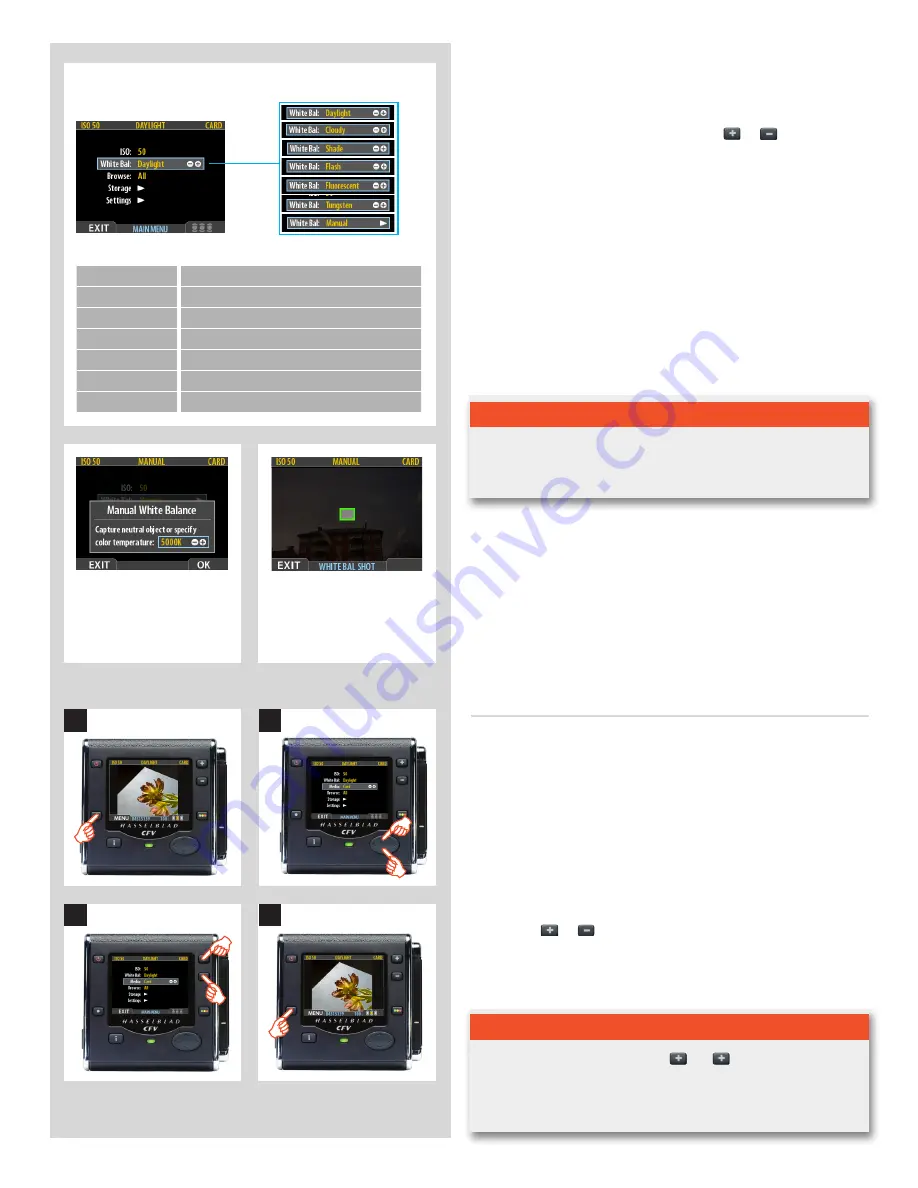
To select the target medium:
1. Press the
MENU
button.
2. Select
Media
.
3. Use the
or
button to choose.
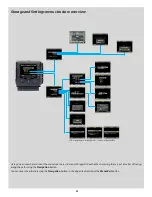
4. Either move on to another setting by using the navigator but-
ton or press the menu button to exit the menu system and
keep your setting.
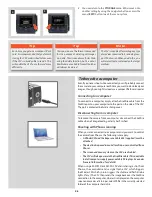
Media (16 & 39 Mpix only)
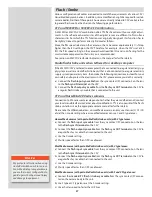
Media allows you to choose the target medium for file storage. You
can choose between a CF card or an ImageBank-II.
2
11
14
3
Normally though, you have just one type of storage media available.
If your selected storage medium has more than one batch (folder)
on it, then the batch selected when you use the storage menu item
will be the one you most recently created.
T i p
You can select media using just the and buttons while browsing
images. This method also enables you to select a batch as you zoom
in from media to batch to thumbnails to preview. See Navigating
Media and Batches for complete details about this method.
Summary of Contents for CFV
Page 1: ...User Manual 503CW 503CWD CFV CFVII CFV 39 CFV 50 Version 10 ...
Page 2: ...2 Welcome to Hasselblad 503CW 503CWD CFV ...
Page 6: ...6 1 General Information Photo JoaoCarlos HasselbladMasters ...
Page 28: ...28 1 Overview Photo ClaudioNapolitan HasselbladMasters ...
Page 42: ...42 2 Getting Started Photo MarkHolthusen HasselbladMasters ...
Page 51: ...51 3 Previews Photo MarkZibert HasselbladMasters ...
Page 55: ...55 4 Batches Browsing Photo BangPeng HasselbladMasters ...
Page 61: ...61 5 IAA Instant Approval Architecture Photo LyleOwerko HasselbladMasters ...
Page 66: ...66 6 Delete Format Copy Photo JoaoCarlos HasselbladMasters ...
Page 72: ...72 7 Settings Photo NinaBerman HasselbladMasters ...
Page 73: ...73 Navigating the USER INTERFACE settings ...
Page 85: ...85 8 Cleaning Photo DirkRees HasselbladMasters ...
Page 87: ...87 9 Appendix Photo MarkHolthusen HasselbladMasters ...

