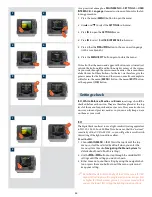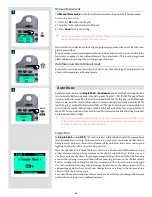
1
2
3
4
5
6
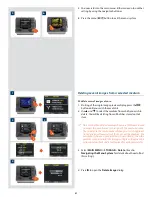
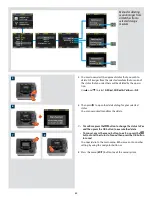
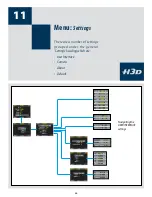
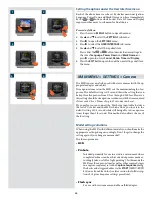
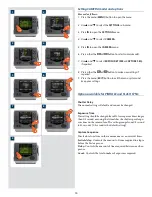
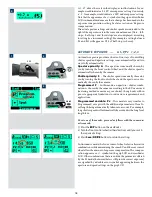
Setting the options under the User Interface menu
Each of the above items can be set by similar menu navigation.
Language, Power Down and Mark Overex can be set immediately
by the
or
buttons while Sound, Date & Time and Display
require another move to sub menu for final choice.
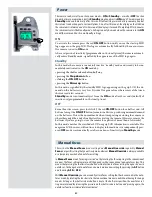
Proceed as follows:
1. Press the menu (
MENU
) button to open the menu.
2. Use
and
to select the
SETTINGS
sub-menu.
3. Press
to open the
SETTINGS
menu.
4. Press
to select the
USER INTERFACE
sub-menu.
5. Use
and
to select the required item.
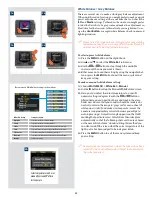
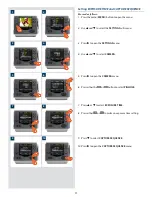
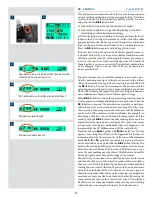
Press either the
or
button to make the new settings in
the case of
Language
,
Power Down
and
Mark Overex
or
press
again to access
Sound
,
Date & Time
and
Display
.
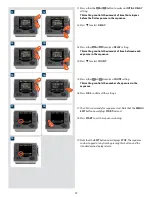
6. Press the
EXIT
button again to save the new settings and close
the menu.
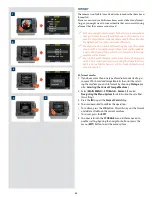
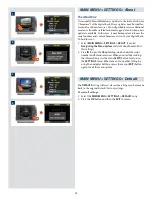
MAIN MENU > SETTINGS > Camera
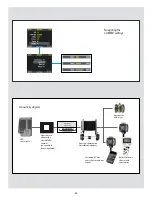
The H3D sensor can also be used with view cameras (with the ap-
propriate adapter and cables).
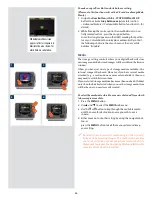
The exposure time set on the H3D sets the maximum length of ex-
posure. The default setting is 1/8 sec and this is the setting that can
be kept for all exposures from 1/8 sec through 1/2000sec. However,
this setting should be changed in accordance with the time required
if it exceeds 1/8 sec. Times of up to 32 seconds can be set.
If you prefer, you can connect the ‘Flash sync input cable’ between
the lens PC socket and the H3D which allows you to retain the
default setting of 1/8 second while still being able to use exposure
times longer than 1/8 second. This method also allows the use of
the B setting.
Model setting variations
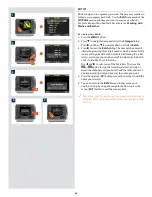
When using the H3D with different models you should make the
appropriate setting change accordingly. Don’t forget to change the
setting again if you change camera model!
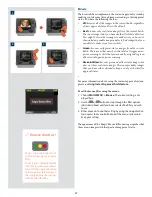
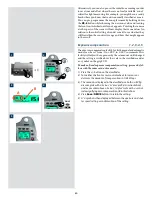
The three options are:
• H3D
• Pinhole
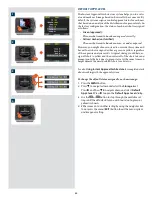
Intended primarily for use in a studio environment where
complete darkness can be achieved and exposures made ac-
cordingly (also useful for ‘light painting’). In this mode the
H3D uses the exposure time (as well as other required stages
in a capture sequence) set in the
Capture Sequence
dialog.
The back can be triggered either via the
START
(MENU/EXIT)
button or from FlexColor (see later section for full descrip-
tion of Capture Sequence settings procedure).
• Flash sync
For use with view cameras and a Hasselblad adapter.
68

