


10
HOW TO OPERATE YOUR SPRAY GUN PROPERLY?
(CONTINUED)
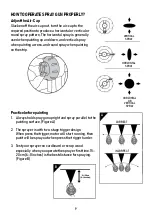
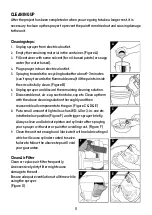
4.
When spraying overhead (e.g. ceilings) or floors, be sure
to adjust the angle of paint tube, or the sprayer may fail to
get the paints from the container due to tilting. The
vertical inclination should be
not more than 70°
to avoid
paints running up into the motor through the air inlet.
(Figure C)
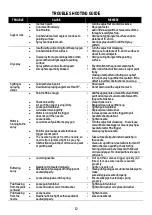
5.
The warm air from sprayer might cause the paint dried on
the spray tip and needle tip easily, so always keep the
brass needle clean with wet tissue or cloth to enable it to
work longer.
(Figure D)
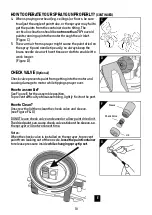
CHECK VALVE
(Optional)
Check valve prevents paint from getting into the motor and
causing damage to motor while tipping sprayer over.
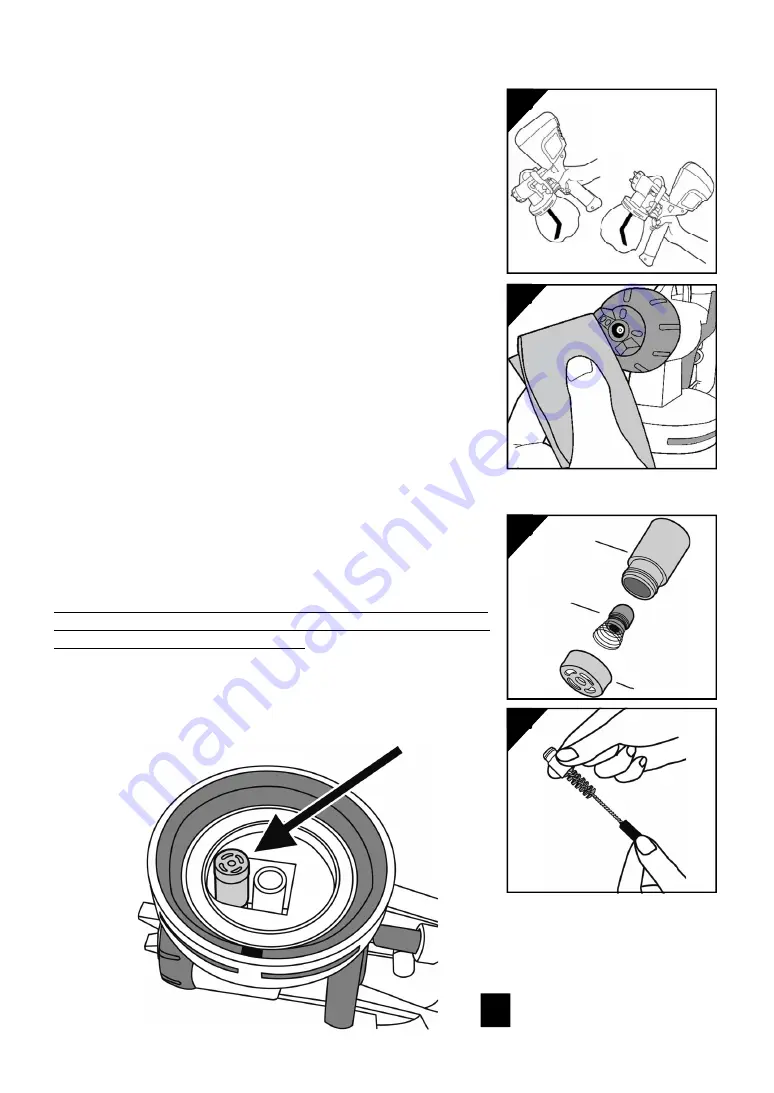
How to assemble?
See Figure E for the assemble position.
To prevent difficulty of disassembling, lightly fix it on the port.
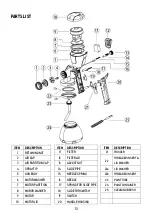
How to Clean?
Unscrew the lid then clean the check valve and sleeve.
(see Figure F & G)
DO NOT leave check valve uncleaned or allow paint dried in it.
The dried paint can cause check valve stick on the sleeve, so
the sprayer will not work next time.
Notes:
When the check valve is installed on the sprayer, to prevent
paint from leaking out of the nozzle,
loose the paint container
to release pressure inside
while changing spray tip set
.
Sleeve
Check Valve
Lid
C
D
F
G
E


