KK-K9-F18-K_INST_2-13.docx
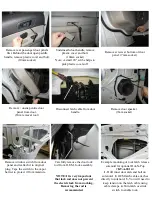
Reinstall foam block into original
position.
Attach rear of housing to
O.E.M. bracket with O.E.M.
bolts. (10mm)
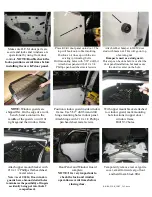
Mount dome light and vents to ceiling
with #10 x 1/2 Phillips pan sheet metal
screws. (connect wire before installing)
Wire dome light to on/off switch. Switch
location to be determined by the installer.
K9 kits include an LED dome as of
1/3/2014
See instructions included with LED light.
Reattach chrome trim bezel.
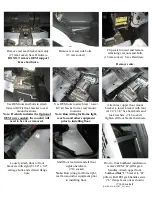
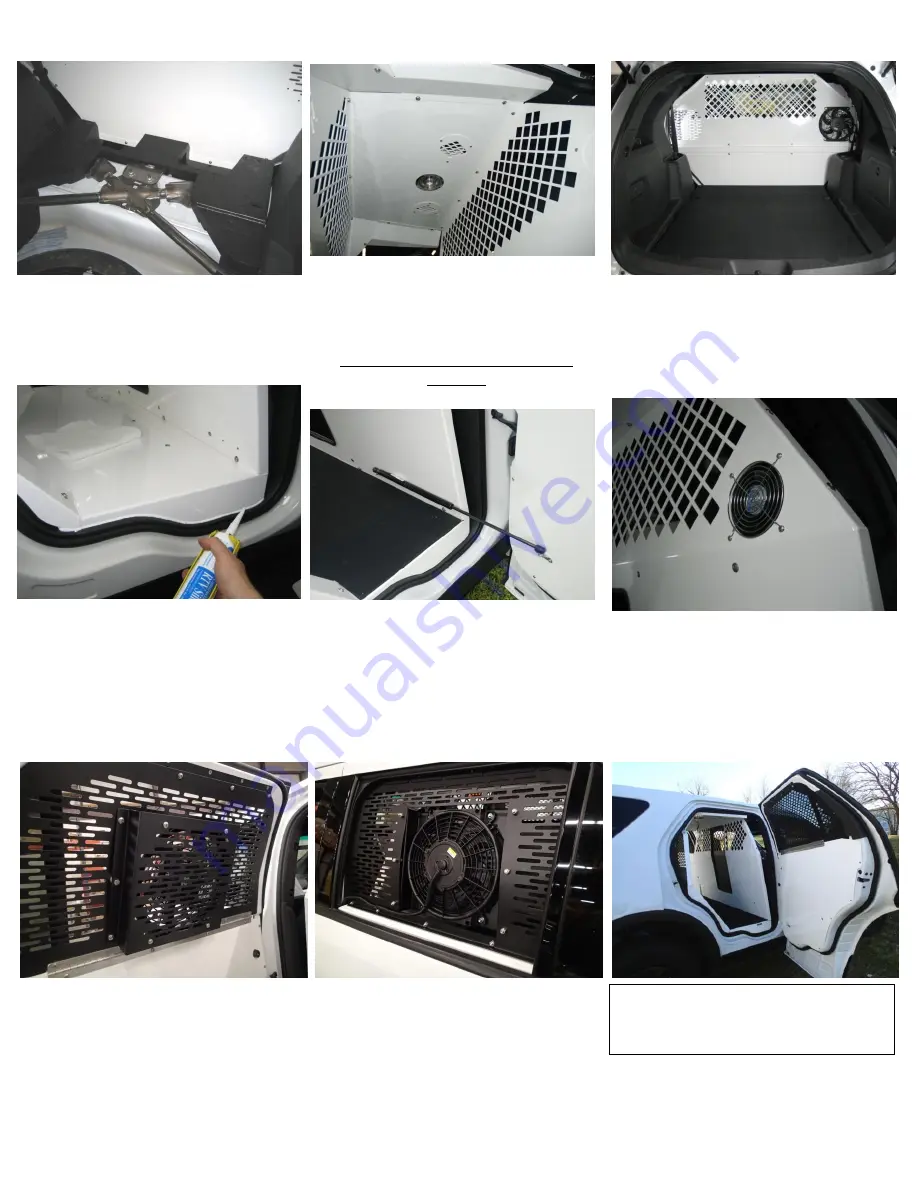
Install optional 10” emergency exhaust
fan
# KK-K9-HA-FKT-10
on rear bulk
head. Reinstall OEM rear cargo floor.
Note:
See
optional window guard fan
mount part number
WGI-F18-FAN-1
For alternative fan mounting.
Neatly silicone / caulk the lower
seams to shed water out of vehicle.
Note:
The floor is designed to
minimize the need for sealant. Caulk
(sealant) is mostly needed where the
floor meets the door sill and lower
filler panels.
.
Example mounting location for the
door gas spring for the optional #
KK-K9-HP-5010-X
kit
Hot-N-Pop
Example mounting location for the
optional air circulation fan
#
KK-K9-FAN
KK-K9-F18-K Installation
Complete
Optional driver side window guard / fan mount shown.
Part number
WGI-F18-FAN-1
**Only works with optional
KK-K9-HA-FKT-10
fan**
Passenger side fan mount also available - #
WGI-F18-FAN-6
NOTE:
12” fan not recommended for the Interceptor Utility.


