w w w . h a w k e y e e l e c t r o n i c s . c o m
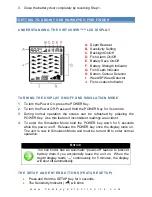
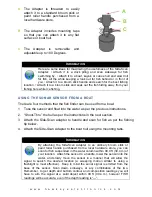
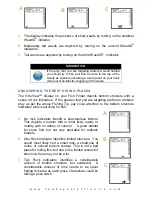
CHANGING THE UNITS OF MEASURE FOR DEPTH READINGS
1. Press and Hold SETUP and ENTER (at the same time) for more than 5
seconds. The display will flash the current unit’s setting next to the depth
readout.
2. Press either key to toggle the unit of measure (Ft = Feet or M = Meters). The
selected unit of measure will blink.
3. The screen will automatically return to normal operation after 5 seconds if no
keys are pressed.
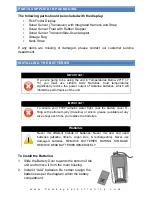
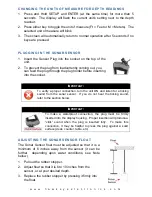
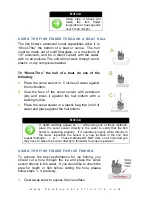
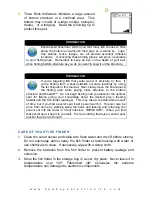
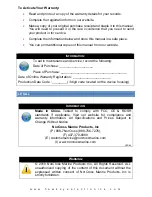
PLUGGING IN THE SONAR SENSOR
1. Insert the Sensor Plug into the socket on the top of the
unit.
2. To prevent the plug from inadvertently coming out, you
can feed the plug through the plug holder before inserting
into the socket.
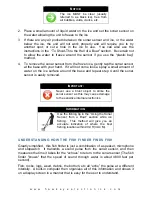
I
MPORTANT
:
To verify a proper connection, turn the unit ON and listen for a ticking
sound from the sonar sensor. If you do not hear the ticking sound,
refer to the section below.
I
MPORTANT
:
To make a waterproof connection, the plug must be firmly
inserted into the display housing. Proper insertion will produce a
“click” sound when the plug is inserted fully. To make this
connection, it may be helpful to press the plug against a solid
surface (desk, counter, table, etc).
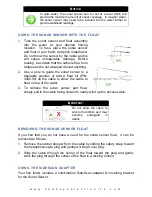
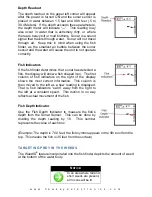
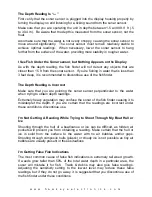
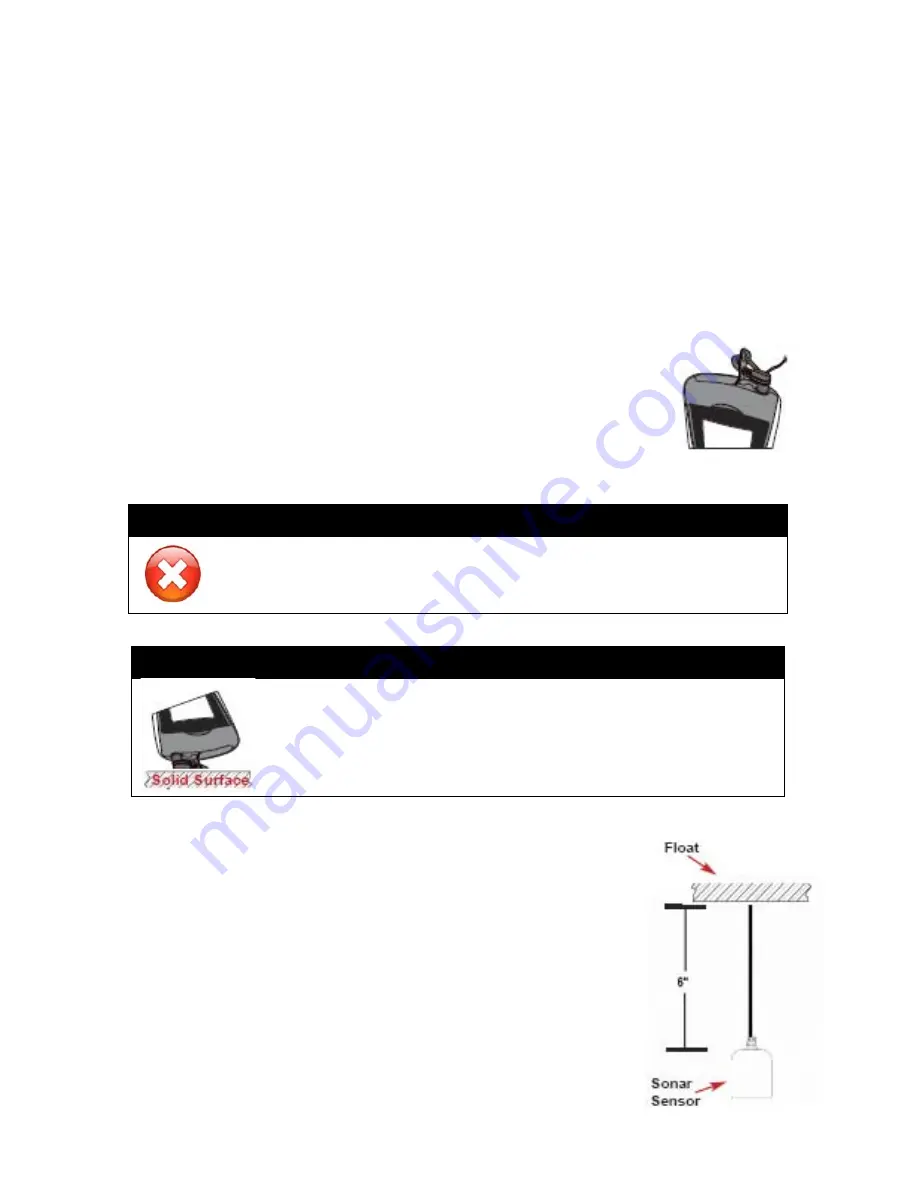
ADJUSTING THE SONAR SENSOR FLOAT
The Sonar Sensor float must be adjusted so that it is a
minimum of 6 inches away from the sensor (it can be
further depending upon water conditions, see Note
below).
1. Pull out the rubber stopper.
2. Adjust float so that it is 6 to 10 inches from the
sensor, or at your desired depth.
3. Replace the rubber stopper by pressing it firmly into
the float.