11
enabled and do not need to be configured.
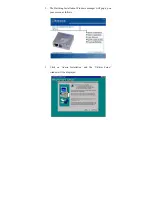
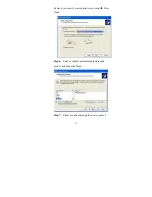
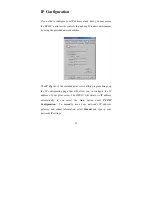
With the TCP/IP protocol, you can either (1) assign a dedicated IP
address for your print server or (2) configure it later through the
configuration utility software.
(If you choose “Do not change
IP – configure later,” there is no effect on your network
settings. It is suitable for both Non-IP and IP-enabled
networks).
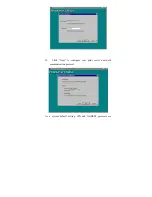
11.
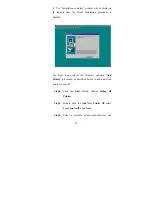
Click
“Next”
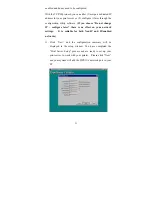
and the configuration summary will be
displayed in the setup window. You have completed the
“Print Server Setup” process and are ready to set up your
print server to work with your printer. Please click “Next”
and your system will add the HPS1U’s network port to your
PC.

