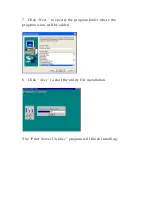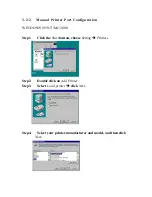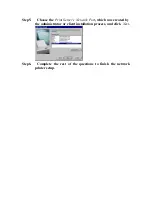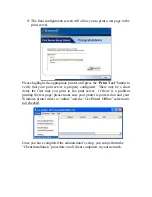
Step5.
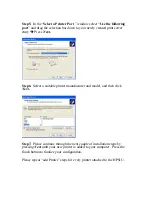
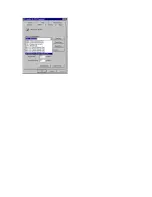
In the “
Select a Printer Port
” window select “
Use the following
port
” and drag the selection bar down to your newly created print server
entry
è
Press
Next.
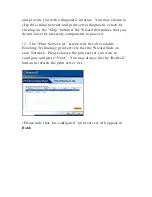
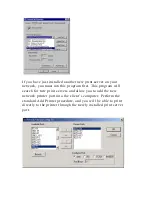
Step6.
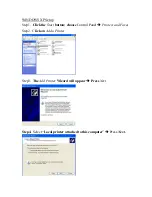
Select a suitable printer manufacturer and model, and then click
Next.
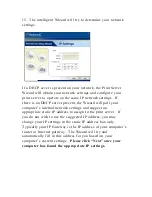
Step7.
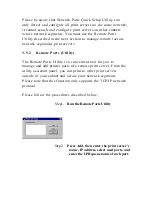
Please continue through the next couple of installation steps by
pressing
Next
until your new printer is added to your computer. Press the
finish button to finalize your configuration.
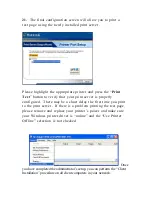
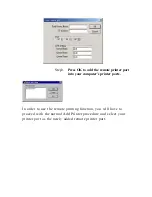
Please repeat “add Printer” steps for every printer attached to the HPS1U.
Summary of Contents for HPS1U
Page 1: ......
Page 6: ...12 2 Mac or Mac PC Environment 159 ...
Page 7: ...1 Introduction to the HPS1U ...
Page 9: ...1 2 Product Package ...
Page 20: ...3 Windows Network Structure ...
Page 52: ......
Page 53: ...4 Windows NT 2000 Network ...
Page 58: ...5 NetWare Network ...
Page 66: ...6 UNIX System Network ...
Page 75: ...7 Configuration Utility ...
Page 80: ...You can restart the print server by pressing the Reboot button ...
Page 90: ...7 9 TCP IP Configuration ...
Page 96: ...Step 5 Setup AppleTalk printing Please refer to section 7 5 for detailed information ...
Page 98: ......
Page 99: ...Step 7 Click Set to finalize your settings ...
Page 100: ......
Page 102: ...8 Web Management ...
Page 108: ...8 3 4 SMB This page lists the current SMB group name settings ...
Page 109: ...8 3 5 SNMP This page displays the current SNMP settings ...
Page 116: ... Gateway and DNS The HPS1U will assign a unique IP address for each client ...
Page 118: ...NetWare Server is the name of the NetWare file server that provides printer queues ...
Page 124: ...9 Adding Printers Manually through Windows ...
Page 129: ...1 0 IPP Printing ...
Page 133: ...complete the remaining configuration settings to access the shared network printer ...
Page 134: ...11 Telnet Management ...
Page 135: ...11 1 Introduction The HPS1U Print server can be configured and managed through Telnet ...
Page 154: ... enabled ...
Page 156: ...set argument value get argument ipconfig reboot exit ...

