Español
English
Fr
anç
ais
- 7 -
OPERATING INSTRUCTIONS
Charging the Battery
WARNING: RISK OF ELECTRICAL SHOCK, FIRE, AND/OR SERIOUS INJURY. Use charger only
in a dry, dust-free location free from any flammable or combustible liquids or vapors. Use
only with the charger that is provided with this device – Other types of chargers may cause
battery failure resulting in personal injury and damage. Do not short circuit the charger or
battery terminals. Do not charge damaged batteries. Do not leave exposed to liquid, vapor,
or rain.
NOTE:
Always use the provided charger when charging the battery.
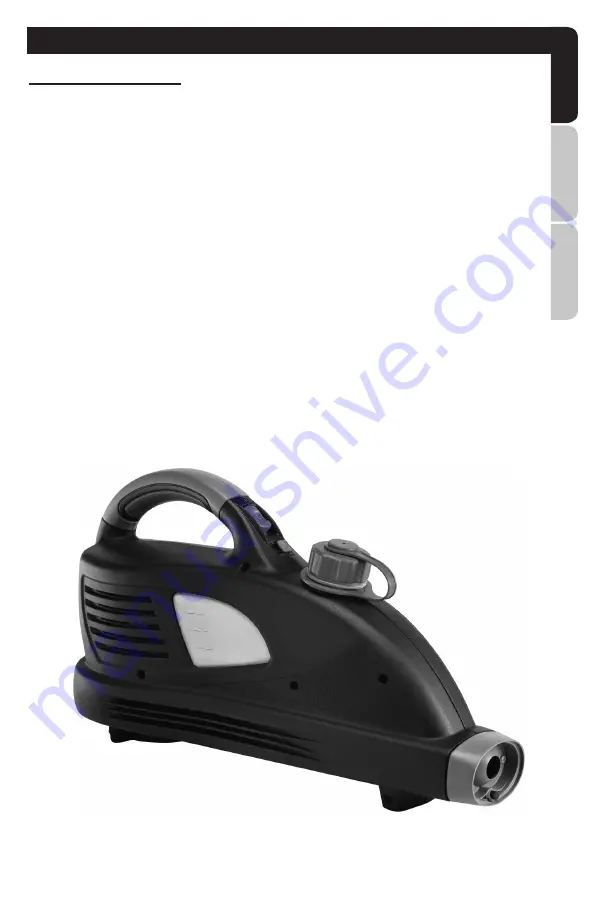
1. Make sure the device is empty of liquid product and the device is in the “OFF” position.
2. Plug the charger into the wall outlet.
3. Insert the barrel jack of the charger into the charging port in the back of the device.
4. The LED light on the back of the device indicates the status of the device. If the light is
blinking green, that means the device is currently charging. If the indicator is solid green,
that means the device is fully charged and ready to use. Full LED indication list is located on
Page 8.
NOTE:
Depending on the initial level of charge on the device, it may take up to 2 hours to fully
charge the unit. See below table “Battery Indicator Light” for a quick guide for LED meanings.


