Pole Track © 2003, Hayton Systems
Page 9
3.2
Quick Start Handheld
1.
Connect the Pole Track terminal to the server and download all of the
application related information (see “Quick Start Installation”).
2.
To calibrate (align) the touch screen then follow the on-screen directions.
3.
If a new version of the application was loaded then the terminal forces you
to enter the initial settings. Enter all the fields on the
Settings screen. If
there are no auditors in the terminal be sure to add an auditor. After you
enter the settings the terminal displays the
Help screen.
4.
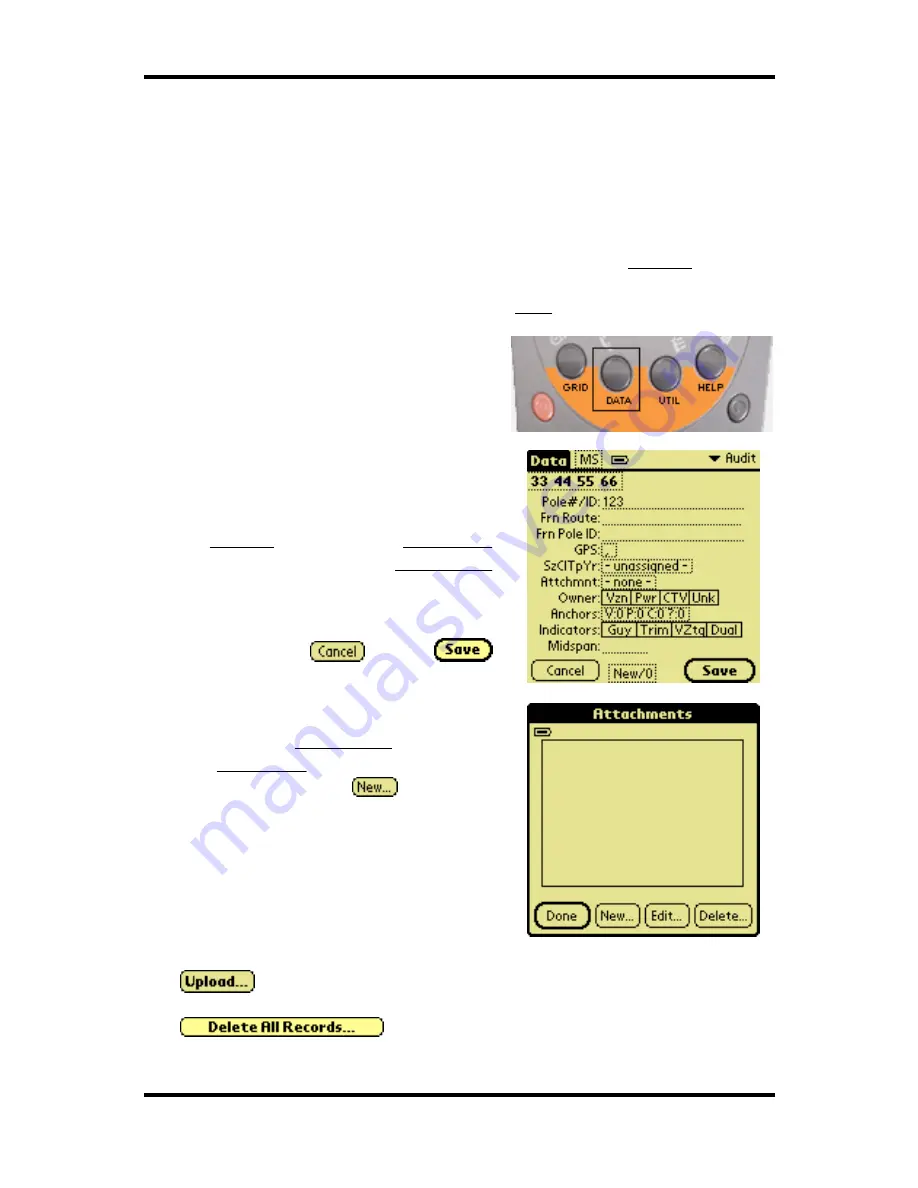
Press the DATA button to move to the
main Pole Track data collection screen.
5.
Enter the pole data into the main detail
screen. Tap the initials (top line) or the
summary line (second line) to activate
the
Settings screen. Tap the
Attachmnts
field to activate the
Attachments
section.
After you enter data the terminal
displays the
and
buttons.
6.
To enter the
Attachments section tap
the
Attachmnts field on the details
screen (above). Tap
to enter a
new record. Each pole record shows
only the attachments entered for that
pole.
7.
To send the Pole Track data to the server press the “UTIL” button and select
. The terminal connects with the Pole Track server and sends its
data. After the terminal successfully uploads its data press
to erase the stored data.


