background image

"R..7, F..7, K..7, S..7 Spiroplan

®

W Gear Units" - Operating Instructions

49

9

Lubricants

9

Lubricants

9.1

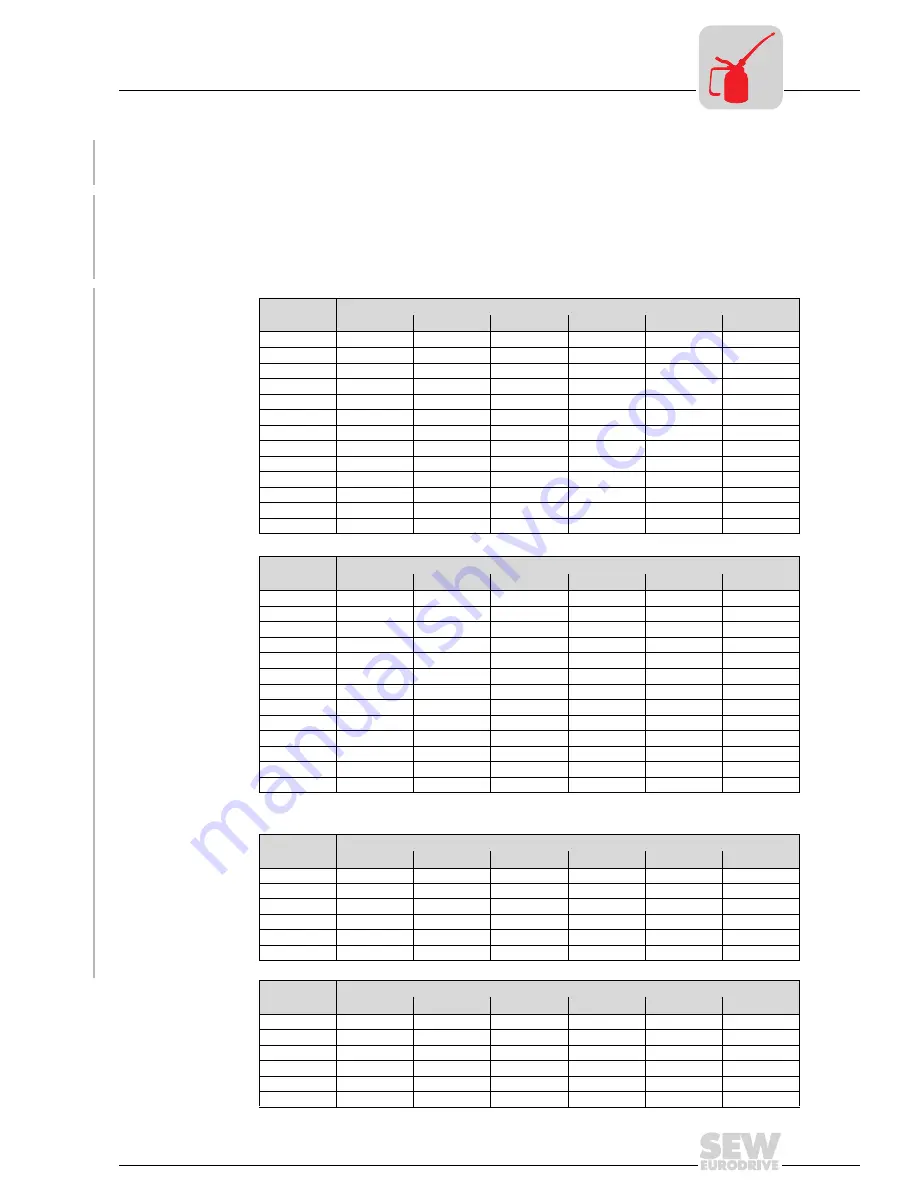
Lubricant fill quantities 

The fill quantities are recommended values. The specific values vary depending on
number of stages and ratio. Pay close attention to the oil level plug to serve as indi-
cator for the correct amount of oil.
The following tables list the reocmmended values for the lubricant fill quantities in refe-
rence to mounting positions M1...M6.

Helical (R-)
gear units

1)

The larger gear unit in multi-stage gear units must be filled with the larger oil quantity.

Gear unit 
type

Fill quantity in liters

M1

1)

M2

1)

M3

M4

M5

M6

R17/R17F

0.25

0.6

0.35

0.6

0.35

0.35

R27/R27F

0.25/0.4

0.7

0.4

0.7

0.4

0.4

R37/R37F

0.3/1

0.9

1

1.1

0.8

1

R47/R47F

0.7/1.5

1.6

1.5

1.7

1.5

1.5

R57/R57F

0.8/1.7

1.9

1.7

2.1

1.7

1.7

R67/R67F

1.1/2.3

2.6/3.5

2.8

3.2

1.8

2

R77/R77F

1.2 / 3

3.8 / 4.3

3.6

4.3

2.5

3.4

R87/R87F

2.3 / 6

6.7 / 8.4

7.2

7.7

6.3

6.5

R97

4.6/9.8

11.7/14

11.7

13.4

11.3

11.7

R107

6/13.7

16.3

16.9

19.2

13.2

15.9

R137

10/25

28

29.5

31.5

25

25

R147

15.4/40

46.5

48

52

39.5

41

R167

27/70

82

78

88

66

69

Gear unit 
type

Fill quantity in liters

M1

1)

M2

1)

M3

M4

M5

M6

RF17

0.25

0.6

0.35

0.6

0.35

0.35

RF27

0.25/0.4

0.7

0.4

0.7

0.4

0.4

RF37

0.4/1

0.9

1

1.1

0.8

1

RF47

0.7/1.5

1.6

1.5

1.7

1.5

1.5

RF57

0.8/1.7

1.8

1.7

2

1.7

1.7

RF67

1.2/2.5

2.7/3.6

2.7

3.1

1.9

2.1

RF77

1.2 / 2.6

3.8/4.1

3.3

4.1

2.4

3

RF87

2.4 / 6

6.8/7.9

7.1

7.7

6.3

6.4

RF97

5.1/10.2

11.9/14

11.2

14

11.2

11.8

RF107

6.3/14.9

15.9

17

19.2

13.1

15.9

RF137

9.5/25

27

29

32.5

25

25

RF147

16.4/42

47

48

52

42

42

RF167

26/70

82

78

88

65

71

Gear unit 
type

Fill quantitiy in liters

M1

M2

M3

M4

M5

M6

RX57

0.6

0.8

1.3

1.3

0.9

0.9

RX67

0.8

0.8

1.7

1.9

1.1

1.1

RX77

1.1

1.5

2.6

2.7

1.6

1.6

RX87

1.7

2.5

4.8

4.8

2.9

2.9

RX97

2.1

3.4

7.4

7

4.8

4.8

RX107

3.9

5.6

11.6

11.9

7.7

7.7

Gear unit 
type

Fill quantity in liters

M1

M2

M3

M4

M5

M6

RXF57

0.5

0.8

1.1

1.1

0.7

0.7

RXF67

0.7

0.8

1.5

1.7

1

1

RXF77

0.9

1.5

2.4

2.5

1.6

1.6

RXF87

1.6

2.5

4.9

4.7

2.9

2.9

RXF97

2.1

3.6

7.1

7

4.8

4.8

RXF107

3.1

5.9

11.2

10.5

7.2

7.2

Summary of Contents for HRF SERIES

Page 1: ... Tag Serial No Size Type Reduction Ratio Motor HP Input RPM Output RPM AGMA S F OFFICES IN Hayward Gordon Ltd 5 BRIGDEN GATE HALTON HILLS ON L7G 0A3 CANADA PHONE 905 693 8595 FAX 905 693 1452 VANCOUVER 604 986 8764 CALGARY 403 253 2737 MONTREAL 514 697 6445 ...

Page 2: ...eral 4 Mixer Assembly 5 Mounting 5 Motors 6 Gear Drives 6 Seals 6 7 Shafts and Impellers 7 8 Lubrication Bearings 9 Motors and Gear Drives 9 Seals 9 Maintenance Motors 10 Gear Drives 10 Trouble Shooting 11 12 APPENDIX 13 Parts Lists 14 Impeller Blade Bolt and Set Screw Torque 15 Stuffing Box Instructions 16 Stuffing Box High Pressure 17 Single Mechanical Seal 18 Double Mechanical Seal 19 Commissio...

Page 3: ... the features of your HRF mixer there may be the letter S or the letter M following HRF in the model number HRFX models include baseplate with lip seal HRFS models include mounting flange with stuffing box HRFM models include mounting flange with mechanical seal Please provide complete Mixer Model Number and Mixer Serial Number when information or service is required This information should be cop...

Page 4: ...re controlled indoor storage area Mixer drives must be sealed from the atmosphere during storage make sure breathers are replaced by plugs Store mixers such that the gear drives are in their normal vertical configuration and fill the gear case completely with the proper grade of oil Rotate input or output shaft several revolutions each month If these conditions are carefully maintained storage dur...

Page 5: ...otor nameplate amperage 4 Do not operate in a fluid with a specific gravity or viscosity higher than that for which the unit is designed 5 Do not attempt to start a unit with the impeller buried in solids or in a set up fluid 6 Maintain operating temperatures and pressures of vessel within design limitations for stuffing box and mechanical seal units 7 A minimum of 4 radial clearance must be maint...

Page 6: ...tatic weight shown on the general arrangement drawing MOTORS Ample circulation of air during operation is very important in obtaining full performance and long life from an electric motor Minimize obstructions to free circulation in areas where motors are installed Avoid choking off the suction inlets on fan cooled motors The life of the motor will be decreased if its temperature during operation ...

Page 7: ...y contaminants from running down the shaft into the tank and keeping process fluid splash from contacting the drive This seal may also be used to seal atmospheric vapours Stuffing box seals consist of six rings of packing and a lantern ring Extreme care during installation and operation is required if proper packing life is to be realized The lantern ring distributes lubricant to the packing durin...

Page 8: ...urized It is very important for satisfactory seal performance that no air is trapped in the seal housing ensure that all air has been bled from the system before starting up unit The seal lubricator level should be checked regularly and refilled as necessary Good operating practice is to flush the lubrication system every 5000 hours or every 12 months which ever occurs first If the unit has been s...

Page 9: ...PM will be match marked at the factory ensure that match marks are located and assembled accordingly In tank fasteners are supplied either with lock washers or double nuts Care should be taken to see that locking devices are properly installed and bolts properly tightened It is recommended that all in tank fasteners be rechecked for tightness after the first 1500 hours of operation and subsequentl...

Page 10: ...idence of deterioration If your mixer operates under any of the following conditions more frequent oil changes will be necessary 1 Heavy intermittent loads that cause the mixer drive housing temperature to rise rapidly and then cool when loads decrease 2 Ambient temperature and humidity conditions that could cause moisture condensation on the inside walls of the mixer drive 3 Oil temperatures duri...

Page 11: ...the motor nameplate Overheating indicates overloading shorts or burned insulation 3 Moisture be sure motor is dry inside and out totally enclosed motors may accumulate condensation under certain conditions Most motors are equipped with a plugged hole to permit drainage 4 Noise unusual noises from a motor mean trouble This may be the first indication of a failing bearing or loose connection GEAR DR...

Page 12: ... instructions If it is not flush unit and refill with correct grade 5 Condition of oil Check to see if oil is oxidized dirty or of high sludge content Change oil 6 Stuffing Box if supplied Stuffing box gland must not be over tightened See Packing Procedure for proper packing and break in Included if applicable NOISE 1 Inspect impellers Be sure clearance between impeller and any in tank constructio...

Page 13: ...ch torque 3 Mixer support structure Does the mounting arrangement for the mixer provide sufficient support to prevent wobbling or vibration of the assembly from unbalanced hydraulic forces on the impeller 4 Lower agitator shaft Lower agitator should not be bent The rigid coupling halves must be connected according to instructions 5 Steady bearing Has excessive wear occurred to the bearing bushing ...

Page 14: ...HAYWARD GORDON LTD Page 13 Rev 1 HRF Series Mixers Date 11 99 Section RF APPENDIX ...

Page 15: ...ge 14 Rev 1 HRF Series Mixers Date 11 99 Section RF ITEM DESCRIPTION QTY UNIT 1 MOTOR 1 2 GEARBOX 1 3 PEDSTAL 1 4 BASEPLATE 1 5 SLEEVE COUPLING 1 6 SNAP RING 1 7 BEARING 1 8 LIP SEAL 1 9 ADAPTER PLATE 1 10 EXTENSION SHAFT 1 ...

Page 16: ...arbon and stainless steel hex head bolts as well as nickel monel inconel and Alloys B C and 20 and are based on bolts lightly lubricated in the as received condition If lubricated with molybdenum disulphide paste on threads and nut bearing face bolt torques must be reduced to 75 of those tabulated All bolts should be tightened by turning nut side only All bolts should be re tightened within 1 mont...

Page 17: ...al regulations and the danger of using a lubricant that may contaminate the product Low pressure stuffing boxes 0 25 psi have been impregnated with lubricant and are not supplied with lantern rings NOTE Before using please check that packing and lubricant is of high quality physically and chemically suitable for the service conditions START UP INSTRUCTIONS STUFFING BOXES 1 Prior to initial operati...

Page 18: ...vel e Adjustments must always be done gradually and held to a minimum tightness This procedure may take several hours but will pay dividends in increased packing and shaft life STUFFING BOX HIGH PRESSURE 0 150 PSI PART NO DESCRIPTION 1 STUFFING BOX FLANGE ASSEMBLY 2 GLAND PLATE 3 PACKING GLAND 4 STUD 5 NUT 6 PACKING RINGS 7 LANTERN RING 8 RELIEVE PLUG 9 GREASE FITTING For Material type refer to un...

Page 19: ...HAYWARD GORDON LTD Page 18 Rev 1 HRF Series Mixers Date 11 99 Section RF SINGLE MECHANICAL SEAL John Crane Type 32 depicted PART NO DESCRIPTION 1 GLAND 2 ROTATING FACE 3 O RINGS 4 HEX HEAD BOLT 4 ...

Page 20: ... FACE 1 2 LOWER STATIONARY FACE 1 3 ROTATING ASSEMBLY 2 4 O RING ROTATING FACE 2 5 O RING STATIONARY FACE 1 6 GASKET STATIONARY FACE 1 16 THK 1 7 GASKET STATIONARY FACE 1 16 THK 1 8 LIP SEAL 1 9 SEAL HOUSING 1 10 GREASE FITTING 1 11 FLUSH OUTLET 1 4 N P T 1 12 STRIGHT THREADED PLUG 1 13 HEX HEAD BOLT C W LOCKWASHER 4 14 FLUSH INLET 1 4 N P T 1 RECOMMENDED SPARE PARTS ...

Page 21: ... type have an oil fill suitable for the mounting position so the unit is ready to run mineral oil Nevertheless check the oil level prior to startup see Inspection Maintenance on page 24 a higher oil level with synthetic oil Correct the oil level prior to startup see Inspec tion Maintenance on page 24 3 3 Installing the gear unit The gear unit or geared motor must be mounted installed in the specif...

Page 22: ...d units are delivered with a screw plug on the vent hole provided Prior to startup the customer must replace the highest screw plug by the supplied breather valve on each individual gear unit With geared motors for long term storage pivoting or inclined mounting positions the supplied breather valve is located in the motor terminal box With gear head units that have to be vented on the input side ...

Page 23: ... if necessary Fixing devices for input and output elements Lubricant e g NOCO fluid Agent for securing screws e g Loctite 243 for input shaft assembly with centering shoulder Mounting tolerances Shaft end Flanges Diametric tolerance in accordance with DIN 748 ISO k6 for solid shafts with d d1 50 mm ISO m6 for solid shafts with d d1 50 mm ISO H7 for hollow shafts Center hole according to DIN 332 sh...

Page 24: ...mounting device see Fig 1 for installing input and output elements Use the center bore and the thread on the shaft end for positioning purposes Power transmission elements should be balanced after fitting and must not give rise to any impermissible radial or axial forces see Fig 2 permitted values see the Geared Motors catalog Coupling hub Gear unit shaft end Thrust bearing X1 X1 b FX1 FX1 a X1 X1...

Page 25: ...ive environmental conditions Time period What to do Section every 3000 machine hours at least every six months check oil see section 6 3 depending on operating instructions Fig 7 at least every three years change mineral oil replace bearing anti fr grease depending on operating conditions Fig 7 at least every five years change synthetic oil replace bearing anti fr grease R RF 17 27 and Spiroplan g...

Page 26: ...emove some oil from the oil drain plug 3 Check the oil consistency viscosity if the oil is visibly contaminated it is recommended to change it sooner than recommended by the maintenance intervals under point 6 1 4 For gear units with an oil level plug remove oil level plug check fill level and correct if necessary install oil level plug Changing the oil Only change the oil when the gear unit is at...

Page 27: ...rease to leak out of the oil seal during the running in phase 24 hour running time a Seal defective b Gear unit not vented a Call customer service b Vent the gear unit section 8 Oil leaking from the breather valve a Too much oil b Breather valve not fitted properly c Frequent cold starts oil foams and or high oil level a Correct the oil level section 6 3 b Fit the breather valve correctly section ...

Page 28: ...ssibility of increased churning losses with some mounting positions indi cated by an asterisk in the mounting position sheets Please contact SEW when dealing with the following combinations Symbol Meaning Breather valve Oil level control plug Oil drain plug See notes on page XX XX XX Mounting position Gear unit type Gear unit size Input speed rpm M2 M4 R 97 107 2500 107 1500 M2 M3 M4 M5 M6 F 97 10...

Page 29: ...7 K 7 S 7 Spiroplan W Gear Units Operating Instructions 31 8 RF17 RF167 8 3 RF17 RF167 M4 M1 M2 M3 M5 M6 RF17 RF17 RF27 RF17 RF27 RF47 RF57 M2 M4 M5 270 90 180 0 Normal Normal Normal 1 3 2 Normal 29 04 041 000 ...

Page 30: ... R97 4 6 9 8 11 7 14 11 7 13 4 11 3 11 7 R107 6 13 7 16 3 16 9 19 2 13 2 15 9 R137 10 25 28 29 5 31 5 25 25 R147 15 4 40 46 5 48 52 39 5 41 R167 27 70 82 78 88 66 69 Gear unit type Fill quantity in liters M11 M21 M3 M4 M5 M6 RF17 0 25 0 6 0 35 0 6 0 35 0 35 RF27 0 25 0 4 0 7 0 4 0 7 0 4 0 4 RF37 0 4 1 0 9 1 1 1 0 8 1 RF47 0 7 1 5 1 6 1 5 1 7 1 5 1 5 RF57 0 8 1 7 1 8 1 7 2 1 7 1 7 RF67 1 2 2 5 2 7 ...

Page 31: ...P PG VG 460 Mobil SHC 634 Shell Omala 460 HD Klübersynth GEM 4 460 40 10 CLP PG VG 150 Mobil SHC 629 Klübersynth GEM 4 150 20 10 CLP CC VG 150 VG 100 Mobil D T E 18M Shell Omala 100 Klüberoil GEM 1 150 Aral Degol BG 100 BP Energol GR XP 100 Tribol 1100 100 Meropa 100 Optigear BM 100 Renolin CLP 150 25 20 CLP PG VG 220 1 Mobil Glygoyle 30 Klübersynth GH 6 220 Tribol 800 220 Synlube CLP 220 Optiflex...

Page 32: ...de SEALMASTER bearing into position on shaft Never hammer the ends of the inner race as they may be damaged If necessary to apply force use a brass bar or pipe against the inner race only to drift bearing into place Never strike the housing as it may damage the baring 4 Bolt Housing to support 5 Rotate shaft to make certain it turns freely 6 Tighten self locking cup point set screws securely onto ...

Page 33: ...ring chamber is stabilized with the proper amount of grease 3 It necessary to re lubricate while bearing is stationary refer to SEALMASTER catalog for maximum grease capacity for the size bearing 4 For abnormal operating conditions of high temperature or abnormal environments consult SEALMASTER Engineers TABLE 1 Speed Temperature Cleanliness Greasing Interval 100 RPM Up to 120 F Clean 6 to 12 mont...

Reviews: