
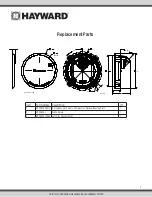
USE ONLY HAYWARD GENUINE REPLACEMENT PARTS
5
Securing
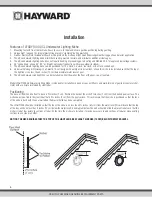
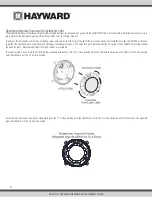
1. Once the niche has been positioned to the rebar, it must be securely tied to the rebar with tie wire. Before tying niche in place, make certain that niche
is vertically plumb and square to the form and that the outlet of the niche (where the conduit is to be connected) is rotated to the desired position. The
gunite/plaster shield has lines inscribed that can be used to aid in leveling and squaring. The tie down flanges of the niche are provided with 5/16”
diameter holes through which tie wire may be routed to facilitate securing the niche to the rebar. Tie wire can also be wrapped tightly around the outer
circumference of the niche legs and then tied to the rebar. Once the niche is tied in place, confirm that it is still plumb and that the distance to the edge
of the niche is positioned precisely where the plaster is expected to finish.
2. After attaching the niche to the rebar in the pool or spa wall, cement conduit and conduit fittings in place using approved PVC primer and cement.
Guniting and Plastering
1. Install the provided gunite/plaster shield. The shield is intended to be installed during the gunite and plastering process. When finished guniting,
remove the shield temporarily. Pull on the tab and remove the outer ring of the shield. With the outer ring removed, install the shield back on to the
niche. Keep the shield in place while plastering and until the light is ready to be installed.
2. It is necessary to keep concrete or gunite from hardening on the outer edge and flange of the niche during pouring/shooting. Remove any gunite on
the flange before it hardens.
3. The “plaster” is applied about 3/4” thick in the area surrounding the niche. The distance between the front edge and the flange of the niche is filled
with plaster.
4. Make sure the front face of the niche (plastic edge just under the edge of the gunite/plaster shield) remains free of plaster. This edge is necessary to
assure a proper alignment and mounting position for the light.
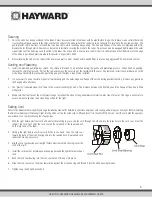
Sealing Cord
Refer to the Universal ColorLogic/CrystaLogic installation manual for detailed instructions on proper cord routing and wiring your new light. Before installing
the Universal ColorLogic/CrystaLogic light into the niche, coil up the extra cord (3-4ft) and insert it in the LFGUY1000 niche. Seal the cord with the appropri-
ate included cord seal by following the steps below:
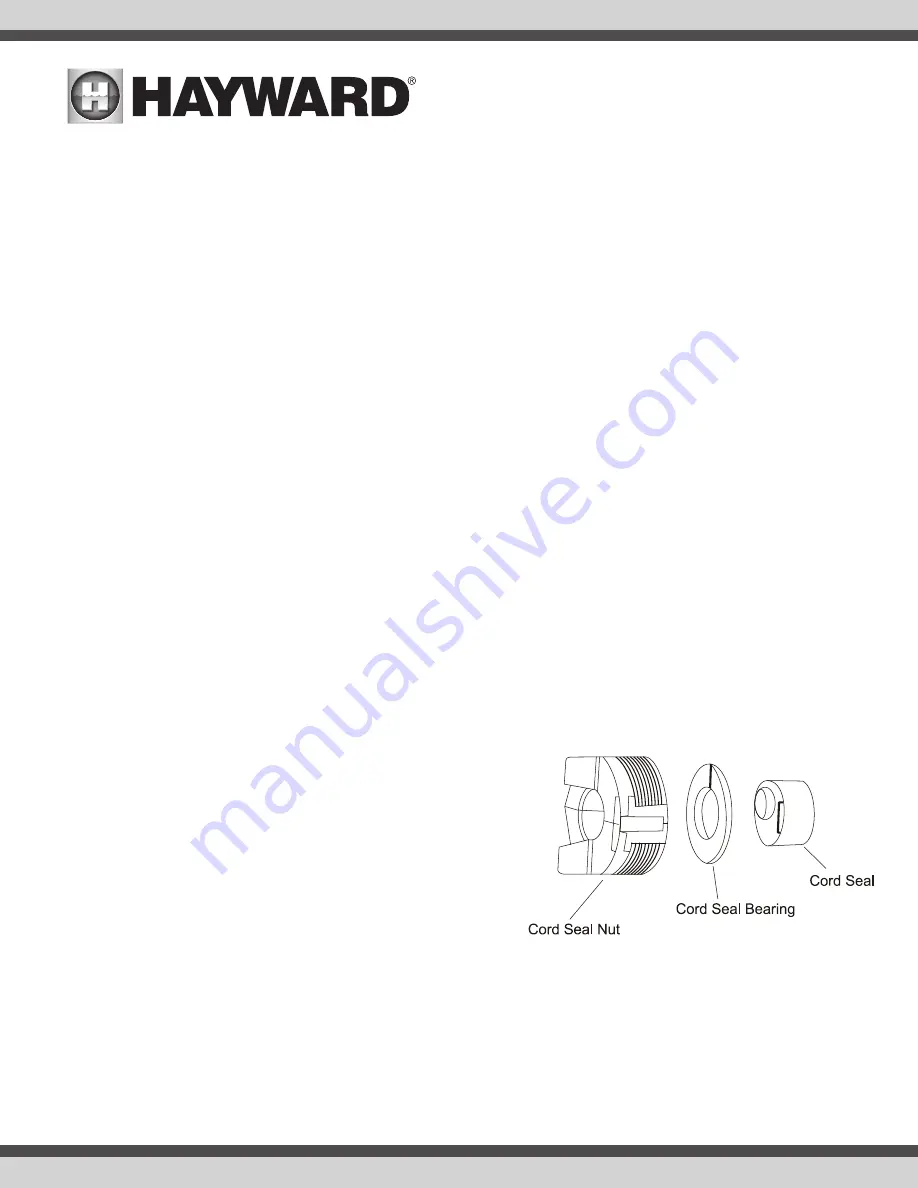
1. With the light fixture electrical cord and all electrical wiring in place, slip the cord through the slit and into the large hole in the cord seal. From the
conduit, the cord must enter the cord seal on the small end of the taper and exit
on the large end of the taper.
2. Holding the light fixture electrical cord firmly in one hand, slide the cord seal
toward the back of the niche housing and into the tapered hole. Appropriate cord
lubrication may be necessary.
3. Slip the cord seal bearing over the light fixture electrical cord by flexing it over the
cord at the split.
4. Install the cord seal nut by folding and snapping it around the light fixture electrical
cord.
5. Push the cord seal bearing into the cord seal nut until it snaps into place.
6. Slide the cord seal nut on the wires toward the back of the niche housing and thread it into the niche housing threads.
7. Tighten snug (hand tight) as needed.


