11
You must wear safety glasses.
Secure separate parts from falling off.
• Remove the transmission, detaching and removing all at-
tached parts for this.
• Remove the faulty clutch.
• Check (visually, by hand) the surface of the dual mass fly-
wheel for wear and tear (marks, temperature-related damage
etc. and clearance).
• If necessary, replace the dual mass flywheel.
3. Application
Installation:
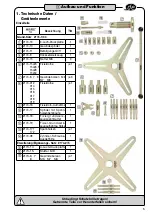
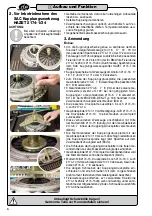
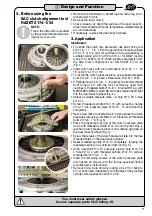
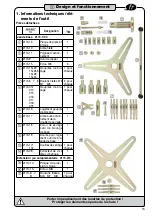
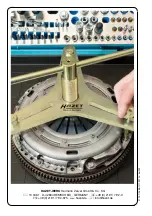
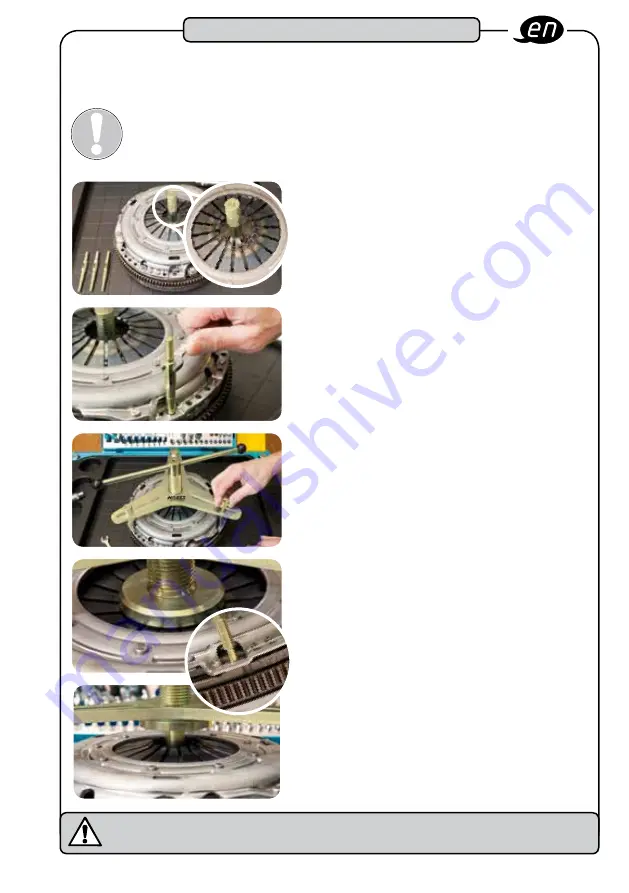
• To centre the clutch disc accurately, use basic fixing tool
2147-16 17 18 19 with appropriate clamping sleeve
2174-171 or 172, and, for vehicles with a guide bearing, a
suitable locking pin 2174-012 to 019, or, for BMW, locking
pins 2174-15x23 to 2174-15x34 (observe diameters) from
the SAC Clutch Alignment Tool Set HAZET 2174-1/34
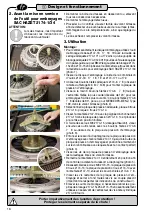
(Fig. 1).
• Insert clutch disc with tool combination 2147-16 17 18
19 and 2174-171 or 172.
• To install the clutch pressure plate, use suitable threaded
bolts 2174-6 7 8 (observe thread size, M6 M7 M8).
• 3 threaded bolts 2174-6 7 8 (always the shorter thread
end) turned 120° with the most commonly used SAC
clutches / 4 threaded bolts 2174-6 7 8 turned 90° e.g. with
MERCEDES-BENZ model 169, are to be screwed hand-tight
into the dual mass flywheel (Fig. 2).
• Select a suitable pressure plate – 3-hole 2174-13; 4-hole
2174-14.
• Screw threaded spindle 2147-10 with actuating handle
2174-11 into pressure plate 2174-13 14 and reset this
completely.
• Next, screw these connected tools in place above the clutch
pressure plate using nuts M8 2174-15 (flush) with threaded
bolts 2174-6 7 8 (Fig. 3).
• Press the diaphragm spring of the clutch pressure plate
down with threaded spindle 2147-10 until the limit stop is
reached (clutch pressure plate is now resting gap-free on
the dual mass flywheel) (Fig. 4).
• Screw the screws of the clutch pressure plate into the free
threaded holes on the dual mass flywheel.
• Reset threaded spindle 2147-10 completely, relaxing the
diaphragm spring in a controlled fashion (Fig. 5).
• Undo nuts M8 2174-15, pressure plate 3 hole 2174-13;
4 hole 2174-14 with threaded spindle 2147-10, remove
threaded bolt 2174-6 7 8.
• Insert the remaining screws of the clutch pressure plate
and tighten all screws with the torque specified (follow
manufacturer's instructions).
• Remove fixing tools and any locking pins 2174-15x23 to
2174-15x34 used, if necessary; with the help of the provided
cylinder screw extraction aid 2174-08.
2. Before using the
SAC clutch alignment tool
HAZET 2174-1/34
nOTe:
Follow the instructions provided
by the vehicle manufacturer dur-
ing any work you do.
3
Design and Function
Fig. 2
Fig. 3
Fig. 1
Fig. 4
Fig. 5
Summary of Contents for SAC
Page 18: ...18 Notizen Notes ...
Page 19: ...19 Notizen Notes ...


