27
T12
A1979
−
10.0 en
HBM
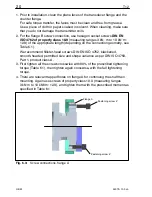
8. Now tighten all the screws with a tightening torque M
A
of 14 N
@
m.
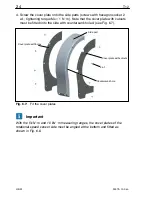
9. Screw in the cover plate locking screws and tighten them at 2 N
@
m.
7.7 Installing the stator
On delivery, the stator has already been installed and is ready for operation.
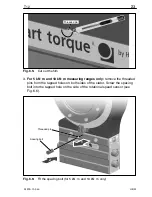
There are four tapped holes on the base of the stator housing for mounting
the stator. Externally, two with a metric M6 thread, internally, two with a UNF
1/4” thread (closed with a plastic threaded pin).
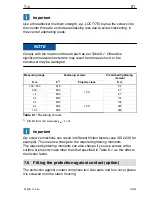
We recommend using two metric thread DIN EN ISO 4762
fillister-head
screws
with hexagon sockets of property class 10.9 of the appropriate length
(depending on the connection geometry
–
not included among the
components supplied; tightening torque = 14 N
@
m).
Tip
To allow the stator to be aligned to the rotor, make sure that repositioning is
possible (e.g. oblong holes).
The stator can be mounted radially in any position (an “upside down”
installation is possible, for example). You can also install the stator over the
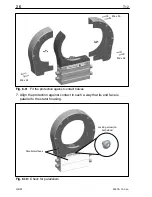
protection against contact (option), see Chapter 7.7.3 .
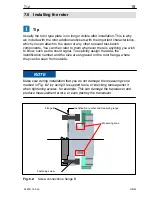
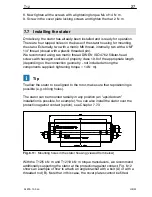
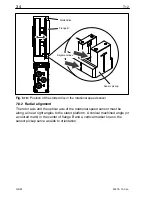
Fig. 6.11:
Mounting holes in the stator housing (viewed from below)
With the T12/5 kN
@
m and T12/10 kN
@
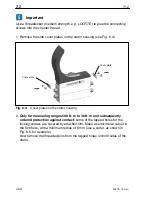
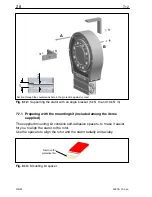
m torque transducers, we recommend
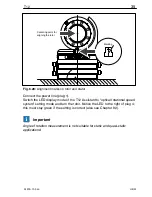
additionally supporting the stator at the protection against contact. Fig. 6.12
shows an example of how to attach an angle bracket with a bolt (A) or with a
threaded rod (B). Note that in this case, the cover plates cannot be fitted.
Summary of Contents for T12
Page 1: ...A1979 10 0 en Digital Torque Transducer T12 Mounting Instructions ...
Page 2: ......
Page 89: ...89 T12 A1979 10 0 en HBM ...
Page 90: ...T12 90 A1979 10 0 en HBM ...
Page 91: ......

