12
Vedpak 120UK_Version 2_150909
160783
GB
13
INSTALLATION FOR COLOUR CAMERA
INSTALLATION
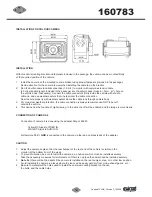
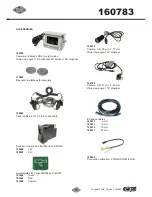
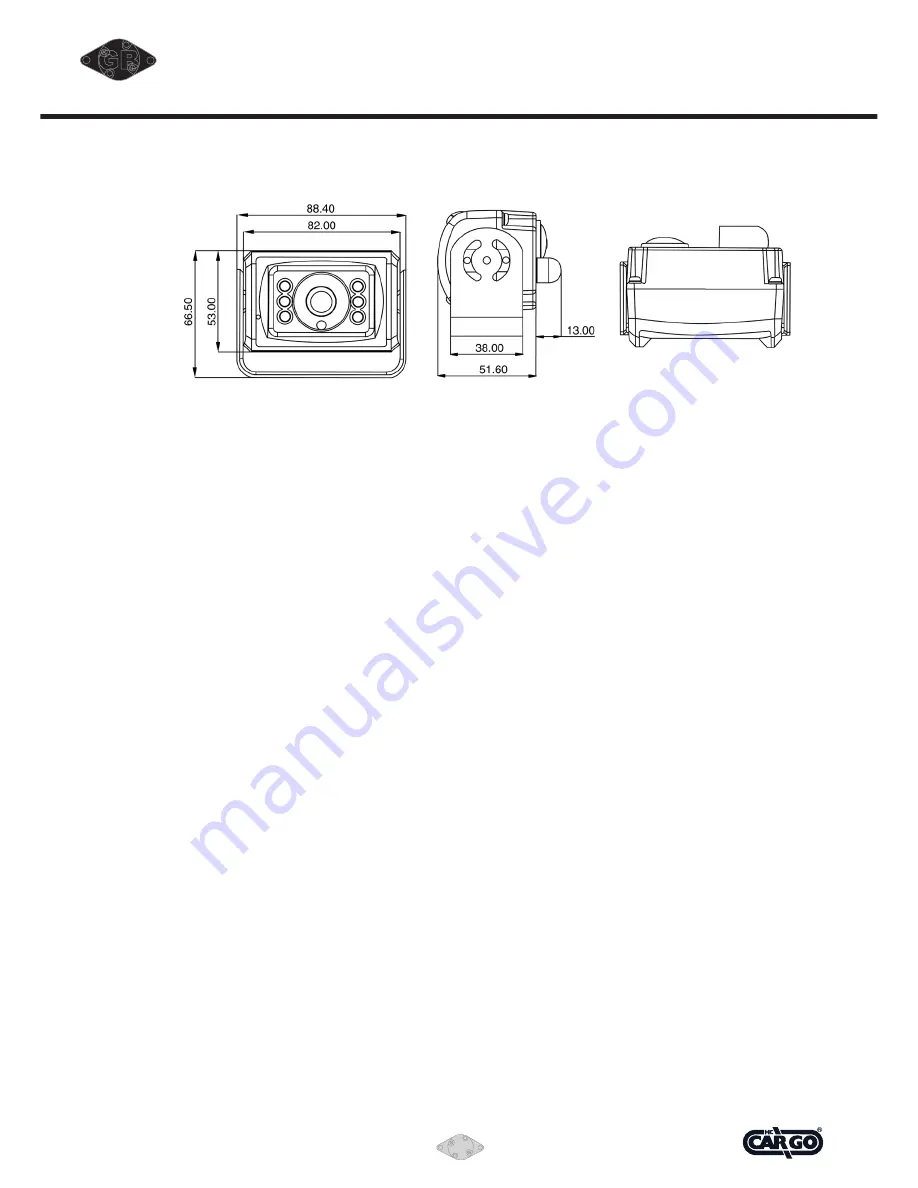
With standard mounting bracket and fasteners included in the package, the camera can be mounted firmly
at the required position of the vehicle.
1. Install the camera on the mounted camera bracket using proper fasteners (included in the package).
Decide direction for the camera to view when installing the camera on the bracket.
2. Run the built-in camera cable connection (1.5 mtr.) to monitor with camera extension cable
(20 mtr. standard length included in the package) into the vehicle body (make a 13 mm. (½") hole on
the vehicle body if necessary). Connect the cable connectors firmly inside the vehicle with aid of a
cable-tie, and use weather sealer strip to help protect the cable connection.
Seal the hole properly with weather sealant where the cable runs through vehicle body
3. For maximum weather protection, the cable connection is always recommended NOT to be left
outside the vehicle.
4. This device has the function of night viewing. In the dark, the IR will be enabled and the image is more clearly.
CONNECTION OF CAMERA 4
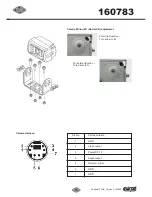
Connection of camera 4 is done using the adapter Cargo 160603.
Yellow RCA jack to VIDEO IN.
White RCA jack to AUDIO IN.
Furthermore
12 V / GND
is connected to the camera via the red and black leads of the adapter.
CAUTION
1. Adjust the camera angle so that the rear bumper or the rear end of the vehicle is visible on the
monitor (at the bottom brim of the view).
2. To prevent vibration, be sure to install the camera in a position at which it can be installed securely.
Take the necessary measures for reinforcement if there is no place the camera can be installed securely.
3.
Note
that there will be blind spots if the camera is installed on the rear bumper, step, or in other low position.
Avoid installing the camera in places where the lens can be easily get dirty from mud, exhaust gases, etc.
4. Be sure to waterproof the holes used to install the camera mounting bracket on the car,
the bolts, and the cable holes.


