HDfury3.com
24
HDfury3 User Manual
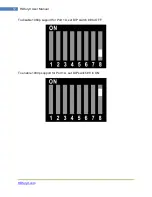
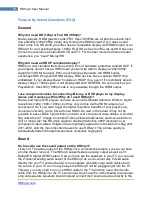
Make sure the HDfury3 is set to RGB output mode (set DIP switch 1 to ON) and that the
L/R image shift feature is enabled (set DIP switch 5 to ON).
Can I disable the L/R image shift feature?
Yes. While the L/R image shifting in RGB mode is enabled by default, some people may
choose to disable this feature and do their image shifting in the display or in a video
processor instead. To turn off the L/R image shifting feature lift the little panel found on
the back of the HDfury3 and set DIP switch 5 to OFF.
I used the L/R image shifting push button and now I don't have an image
anymore!
You have shifted the image too far resulting in a loss of sync on the display. Hold the
shift push button in either direction for approximately 15 seconds and the image will
reset to the default center value. Then re-adjust slowly/carefully.
RGB Image Sync
My display has composite (combined) sync with only 4 BNC connectors, not 5.
(Examples: Barco 7xx/Cine7 or Ampro CRT projectors). What cable do I order?
How do I hook it up?
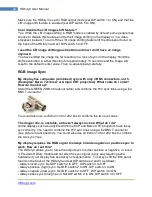
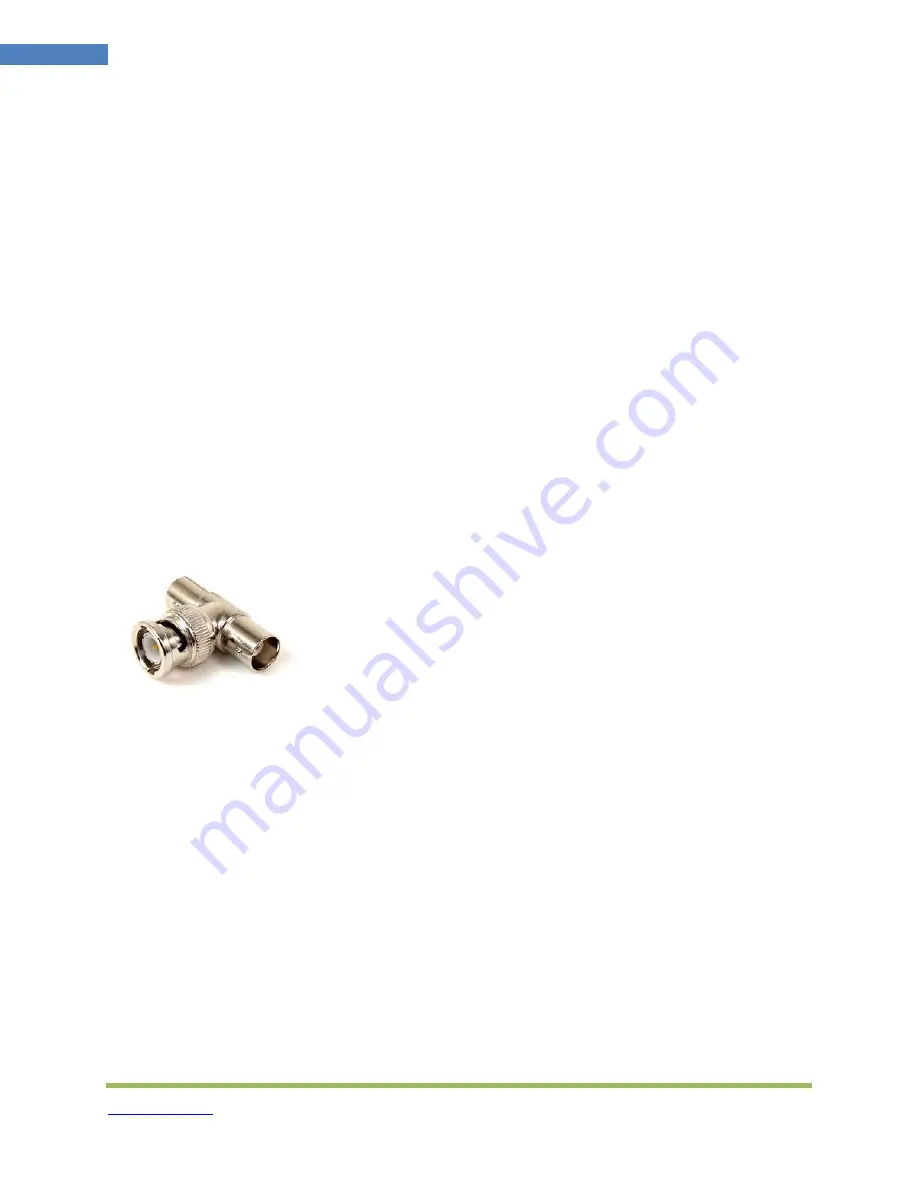
Order the GREEN (5-BNC breakout cable) and combine the H/V sync lines using a $2
BNC T-connector:
You could also use an Extron 109 or 202 box to combine the two sync lines.
The image rolls, is unstable, or doesn't always lock on. What do I do?
Some displays such as early Electrohome ECP and Barco CRT projectors have fussy
sync circuitry. You need to combine the H/V sync lines using a $2 BNC T-connector
(see picture in last question). You could also use an Extron 109 or 202 box to combine
the two sync lines.
My display requires the RGB signal to always include negative or positive sync to
work. How do I set this?
The HDfury3 allows you to force the output sync to either positive or negative, or invert
it. Previous HDfury models did not alter the sync signal in any way requiring extra
hardware if your display has special sync requirements.. To set sync lift the little panel
found on the back of the HDfury3 and set DIP switches 2 and 3 as follows:
- Always invert sync: Set DIP switch 2 to OFF, DIP switch 3 to OFF
- Always positive (high) sync: Set DIP switch 2 to ON, DIP switch 3 to ON
- Always negative (low) sync: Set DIP switch 2 to OFF, DIP switch 3 to ON
- Always pass sync through as is: Set DIP switch 2 to ON, DIP switch 3 to OFF
Summary of Contents for HDfury3
Page 1: ...HDfury3 USER MANUAL ...


