


4 Planning and installation – Installing the heating system
50
M
OUNTING
THE
ASH
REMOVAL
DOOR
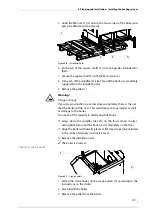
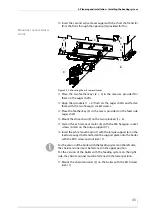
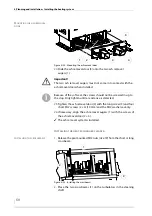
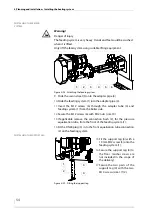
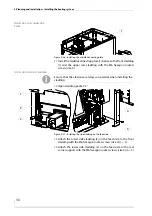
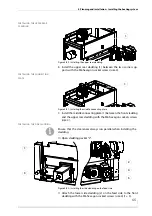
24.
Slide the ash removal door (5) onto the two ash removal
augers (1).
25.
Tighten the ash removal door (5) with the long screw (3) and four
short M12 screws (2 + 4) (19 mm) and the M12 washers evenly.
26.
If necessary, align the ash removal augers (1) with the screws of
the ash removal door (2 + 4).
✓
The ash removal system is installed.
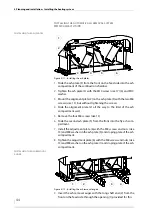
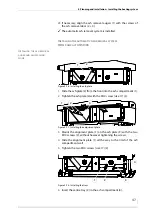
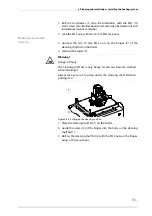
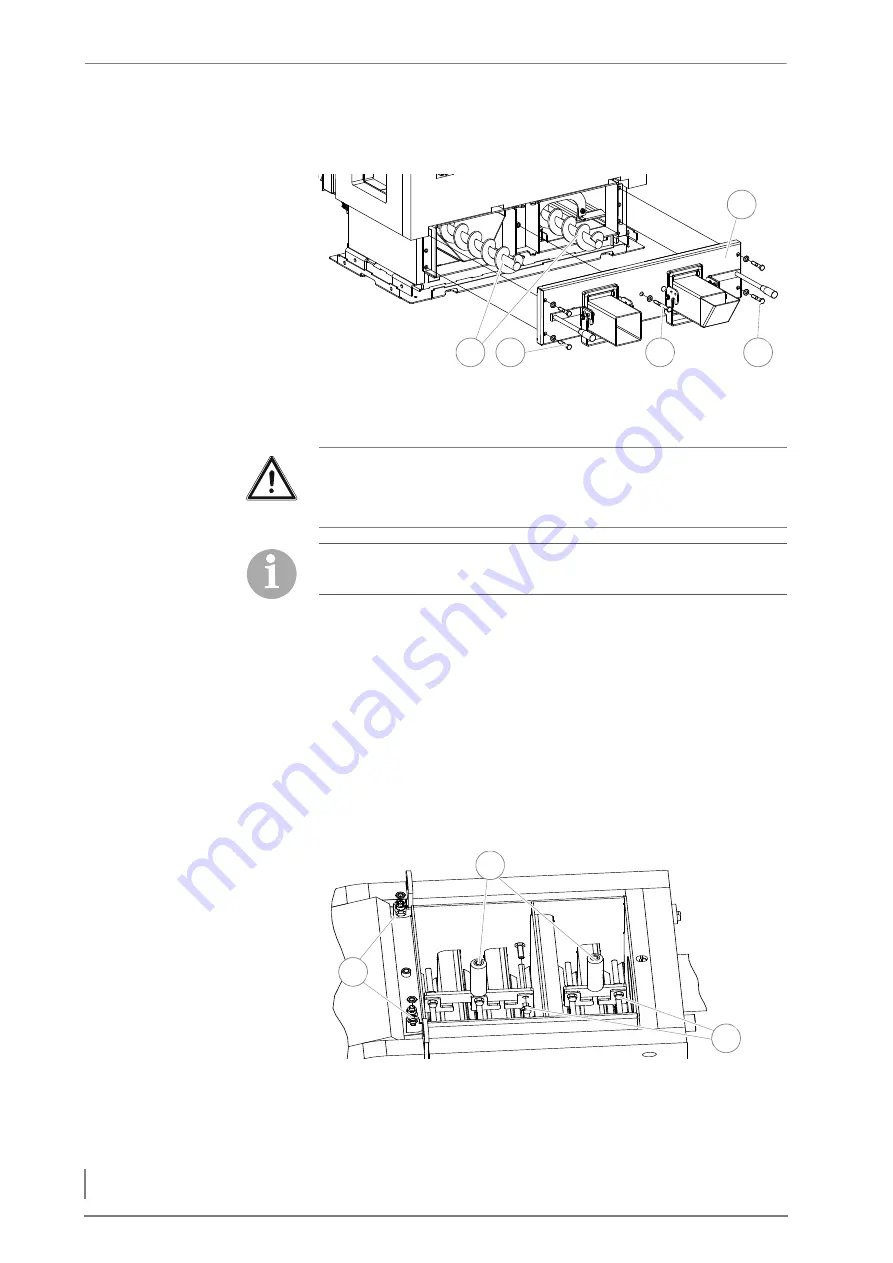
I
NSTALLING
THE
HEAT
EXCHANGER
CLEANER
I
NSTALLING
THE
CROSSBEAMS
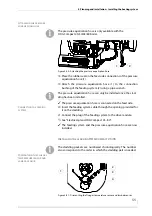
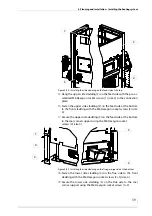
1.
Release the pre-mounted M12 nuts (size 19) from the short or long
crossbeam.
2.
Place the two crossbeams (1) on the turbulators in the cleaning
shaft.
Figure 4/22 - Mounting the ash removal door
5
1
4
2
3
Important!
The two ash removal augers must not come into contact with the
ash removal door when installed.
Because of the soft seal, the screws should not be screwed in up to
the stop. Only tighten until a resistance is detected.
Figure 4/23 - Installing the crossbeams
1
3
2


