22
“
C
ONSOLE
I
NSTRUCTIONS –
P
ROGRAM (P2 ~ P7)
”
“
3
”
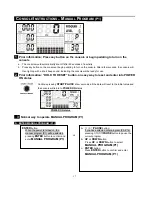
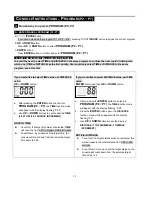
Normal way to operate PROGRAM (P2~P7)
“
A.
“
ENTER MANUAL PROGRAM (P2~P7)
”
a.
START
/PAUSE
button:
If you have selected other program (P1 or P8 ~ P16), pressing
START
/PAUSE
button to pause the current program
b.
UP
or
DOWN
button:
Press
UP
or
DOWN
button to select
PROGRAM (P2 ~ P7)
c.
ENTER
button:
Press
ENTER
button to confirm and enter
PROGRAM (P2 ~ P7)
“
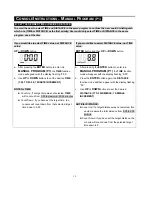
B. SET THE DESIRED TIME or DESIRED DISTANCE
To avoid the user to select TIME and DISTANCE in the same program to confuse the user couldn’t distinguish
which one (TIME or DISTANCE) as the first priority. User could only select TIME or DISTANCE in the same
program, one at the time
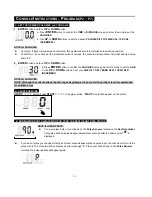
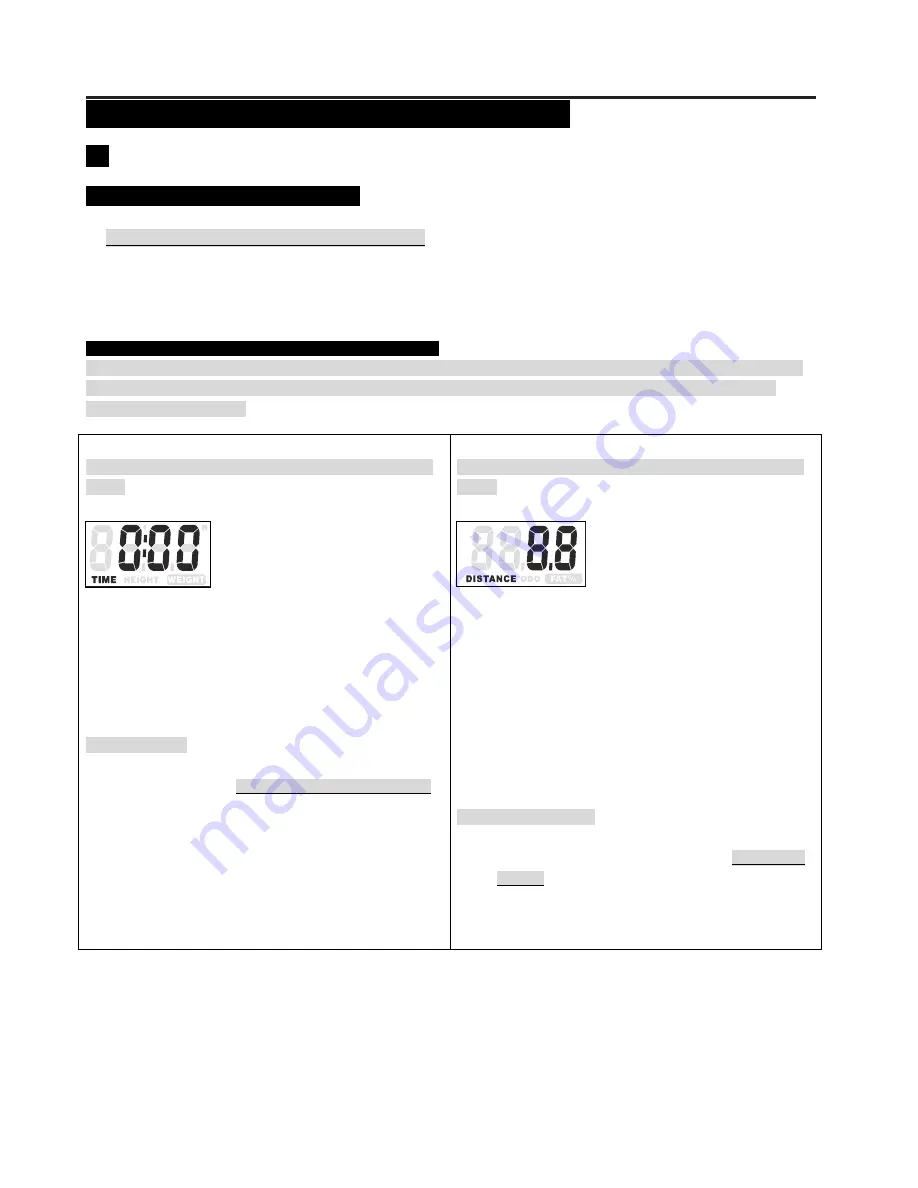
If you would like to select TIME value, not DISTANCE
value:
UP
or
DOWN
button:
a. After
pressing
the
ENTER
button to enter into
PROGRAM (P2 ~ P7)
, the
TIME
function mode
will appear with the display flashing “0:00”
b. Use
UP
or
DOWN
buttons to set the desired
TIME
(1:00 TO 99:00; 1 MINUTE INCREMENT)
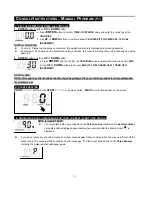
NOTE for TIME:
z
Count Up: If a target time was not selected,
TIME
will count up from 0:00 to maximum 99:59 minutes
z
Count Down: If you have set the target time, the
console will count down from that selected target
time down to 0:00
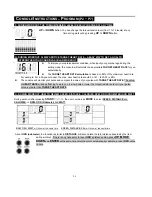
If you would like to select DISTANCE value, not TIME
value:
ENTER
button and then
UP
or
DOWN
button:
a. After
pressing
the
ENTER
button to enter into
PROGRAM (P2 ~ P7)
, the
TIME
function mode
will appear with the display flashing “0:00”.
b. Press
the
ENTER
button again, the
DISTANCE
function mode will then appear with the display
flashing “0.0”
c. Use
UP
or
DOWN
buttons to set the desired
DISTANCE (1 TO 999KM/MILE; 1 KM/MILE
INCREMENT)
NOTE for DISTANCE:
z
Count Up: If a target distance was not selected, this
would measure the total distance from 0:00 to 999
km/mile
z
Count Down: If you have set the target distance, the
console will count down from the selected target
time down to 0
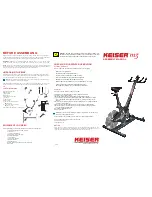
Summary of Contents for HM-U6200
Page 42: ...42 PRODUCT PARTS DRAWING...


