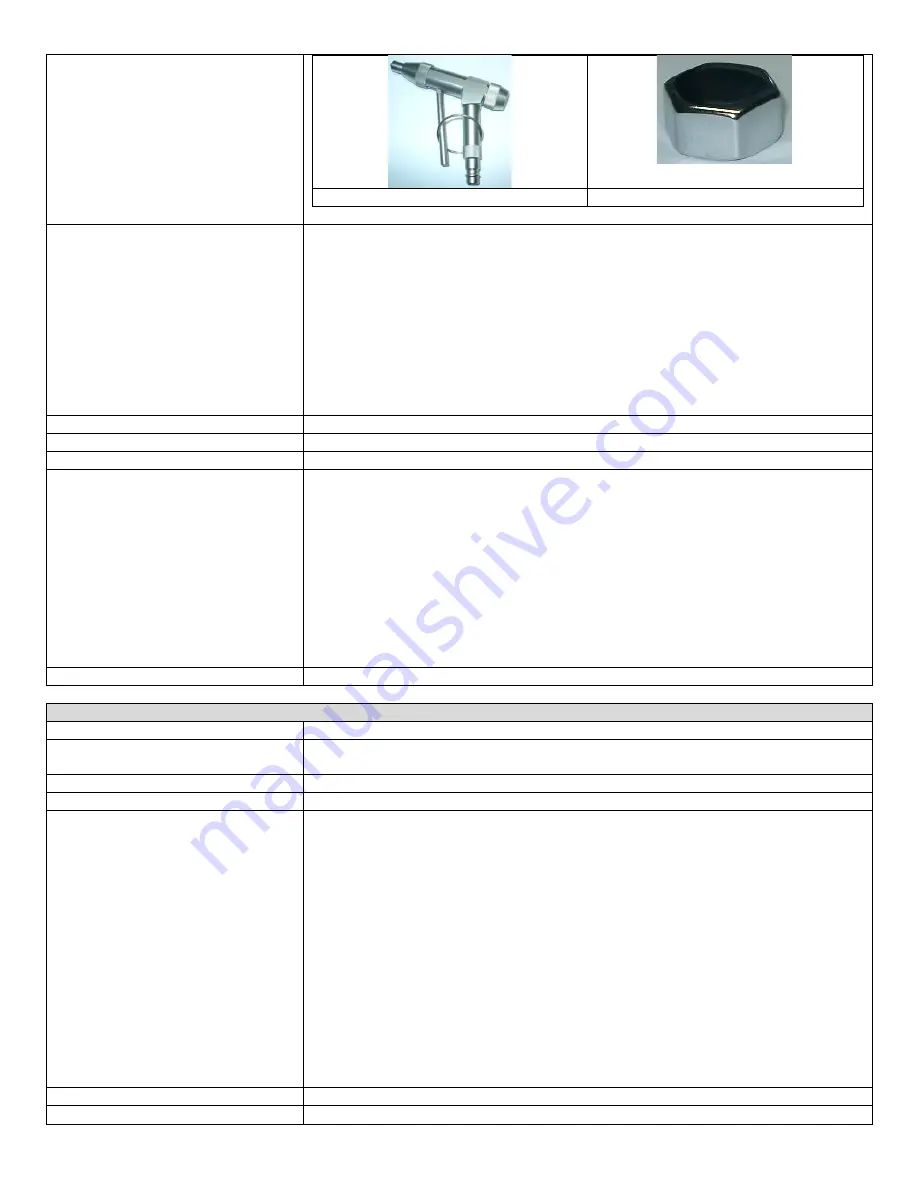
Trigger Locking Ring
Hose End Cap
Steps for Use of Product
1.
Prior to operation, the user must make sure that the attachments are correctly
seated on the safety conell by firmly pushing them onto the spray gun rinse tip.
2.
When in operation, the Spray Gun must not be pointed at parts or orifices of the body
because the compressed water or air jet may be harmful.
3.
Depending on the field of application, suitable safety measures must be taken to
protect the user from splashes of contaminated water (protective goggles, protective
mask, etc.).
4.
If required, the maximum water or air pressure value can be set by using the small
threaded nut located behind the trigger handle.
5.
The flow is controlled by pulling the trigger - up to the maximum set point fixed by the
threaded nut.
Interpretation of Results
Contraindications of Test Results
Documentation
Special Warnings and Cautions
The enclosed silicone oil is not sterile.
Oils containing white oil or paraffin oil will damage the O-rings.
If tubing other than that supplied by Healthmark is used, facility should independently
verify the safe and effective performance of that tubing. In such a case the liability for
operation of the spray gun is assumed by the facility.
Warranty claims will only be honored for components purchased from Healthmark.
The Spray Gun is not a medical product and is therefore not to be used as part of
medical treatments.
When in operation, the Spray Gun must not be pointed at parts or orifices of the body
because the compressed water or air jet may be harmful.
Be sure to wear proper PPE according to facility and industry guidelines.
Disposal
Reprocessing Instructions
Point of use:
Preparation for decontamination:
Check the completely cleaned and dried instrument parts for possible defects.
Sterilization should be performed in a single transparent sterilization package
Disassembly Instructions:
Cleaning – Manual:
Cleaning – Automated:
1.
Pre-Cleaning : Cleaning agents for spray gun parts should be neutral detergent: Clean
the parts in the cleaning solution with a soft brush and by fully immersing them into
the liquid in order to remove all visible contamination.
2.
Ultrasonic cleaning: This is imperative!
Cleaning agents for instruments: Depending on the level of contamination 1-3%.
Duration of ultrasonic cleaning: 15 minutes. Water temperature: room temperature, but
not exceeding 40°C.The ultrasonic device must be suitable for the cleaning of medical
instruments and should have a frequency of 35-40 kHz. The cleaning duration is to be
extended when devices with a higher frequency are used! All instrument parts must be
fully immersed in the cleaning solution and all hollow spaces must be filled. Ultrasonic
baskets may not be overloaded as this could lead to acoustical shadows and the
cleaning effect could not be guaranteed!
3.
Rinsing: Remove all chemical residues with water which is free from pathogenic
germs.
4.
Drying: Dry all parts with a lint-free cloth and medical compressed air. Check the
cleaning effect.
Disinfection:
Drying:
Dry all parts with a lint-free cloth and medical compressed air. Check cleaning and


