background image

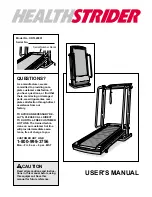
USER'S MANUAL

Model No. HRTL20001

Serial No. 

CAUTION

Read all precautions and instruc-
tions in this manual before using
this equipment. Save this 
manual for future reference.

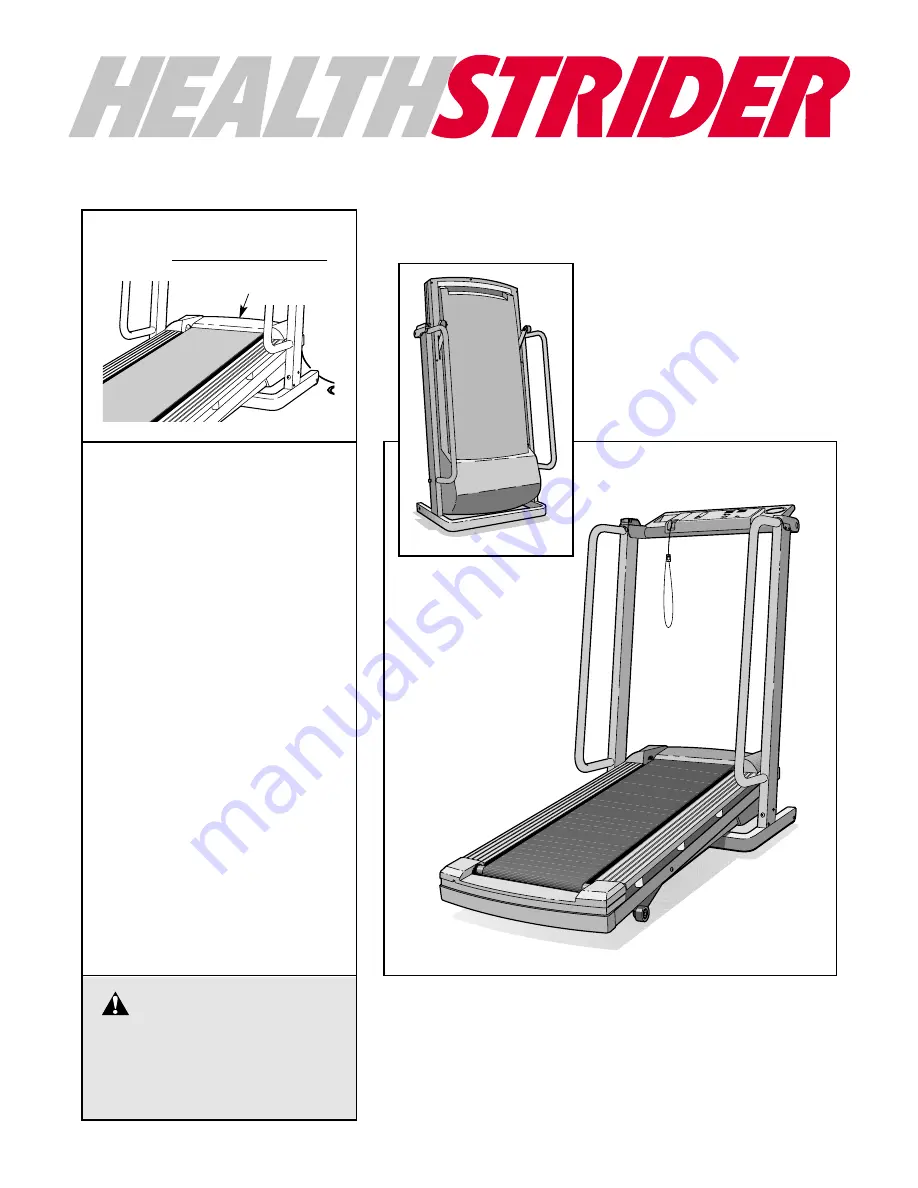
Serial Number Decal

QUESTIONS?

As a manufacturer, we are 
committed to providing com-
plete customer satisfaction. If
you have questions, or find that
there are missing or damaged
parts, we will guarantee com-
plete satisfaction through direct
assistance from our 
factory.  

TO AVOID UNNECESSARY DE-
LAYS, PLEASE CALL DIRECT
TO OUR TOLL-FREE CUSTOMER
HOT LINE. The trained techni-
cians on our customer hot line
will provide immediate assis-
tance, free of charge to you.  

CUSTOMER HOT LINE:  

1-800-999-3756

Mon.–Fri., 6 a.m.– 6 p.m. MST

Summary of Contents for HRTL20001

Page 1: ...oviding com plete customer satisfaction If you have questions or find that there are missing or damaged parts we will guarantee com plete satisfaction through direct assistance from our factory TO AVO...

Page 2: ...injury or property damage sustained by or through the use of this product TABLE OF CONTENTS IMPORTANT PRECAUTIONS 3 BEFORE YOU BEGIN 4 ASSEMBLY 5 OPERATION AND ADJUSTMENT 7 HOW TO FOLD AND MOVE THE T...

Page 3: ...t could become caught in the treadmill Athletic support clothes are recommended for both men and women Always wear athletic shoes never use the treadmill with bare feet wear ing only stockings or in s...

Page 4: ...day through Friday 6 a m until 6 p m Mountain Time excluding holidays To help us assist you please note the product model number and serial number before calling The model number of the treadmill is H...

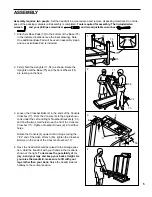
Page 5: ...e Crossbar Bolts 2 in the ends of the Console Crossbar 17 Pivot the Console 6 to the angle shown Look under the Left and Right Crossbar Brackets 4 51 and find the two small holes in each end of the Co...

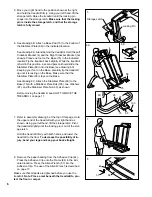
Page 6: ...s on the Base See drawing 6C Attach the Stabilizer Plate 88 to the Base 75 with a Stabilizer Plate Bolt 105 two Washers 97 and the Stabilizer Plate Nut 95 as shown Before moving the treadmill see HOW...

Page 7: ...rly installed and grounded in accordance with all local codes and ordinances This product is for use on a nominal 120 volt circuit and has a grounding plug that looks like the plug illus trated in dra...

Page 8: ...d control must be moved to the RESET position before the walking belt can be restarted Next slide the speed control up ward to select a speed setting Note If the key was just in serted the walking bel...

Page 9: ...to a stop Note The position of the speed control deter mines both the speed range and the maximum speed setting for the program The higher the speed control is set the greater the speed range will be...

Page 10: ...on the sensor as de scribed above Make sure that your thumb is posi tioned as shown and that you are applying the proper amount of pressure to the pulse sensor Try the sensor several times until you b...

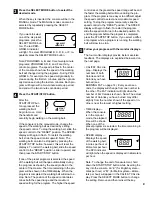
Page 11: ...Do not leave the treadmill in the storage position in temperatures above 85 Fahrenheit HOW TO MOVE THE TREADMILL Before moving the treadmill convert the treadmill to the stor age position as described...

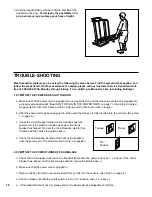
Page 12: ...d has been plugged in make sure that the key is fully inserted into the console See step 1 on page 8 c Check the circuit breaker located on the treadmill near the power cord If the switch protrudes as...

Page 13: ...justment bolt clockwise 1 4 of a turn Plug in the power cord insert the key and run the treadmill for a few minutes Repeat until the walking belt is centered b If the walking belt has shifted to the r...

Page 14: ...your exercise program keep your pulse near the low end of your training zone as you exercise After a few months of regular exer cise your pulse can be gradually increased until it is near the middle...

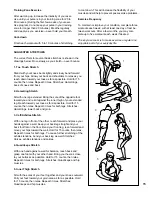
Page 15: ...es as far as possible Hold for 15 counts then relax Repeat 3 times Stretches Hamstrings back of knees and back 2 Hamstring Stretch Sit with one leg extended Bring the sole of the opposite foot toward...

Page 16: ...eight and other transportation charges prepaid accompanied by sufficient proof of purchase All returns must be pre authorized by HEALTHRIDER This warranty does not extend to any product or damage to a...

Page 17: ...VE THIS EXPLODED DRAWING AND PART LIST FROM THE MANUAL Save this EXPLODED DRAWING and PART LIST for future reference Note Specifications are subject to change without notice For information about orde...

Page 18: ...ker 54 1 Front Roller Adjustment Bolt 55 5 Adjustment Washer 56 1 Incline Motor Spacer 57 1 Allen Wrench 58 1 Right Upright Key No Qty Description 59 1 Power Supply w Clips 60 2 Incline Leg Wheel Bolt...

Page 19: ...26 56 31 31 16 76 73 73 5 12 45 26 27 28 30 81 34 35 39 81 32 81 46 51 37 53 54 55 79 80 87 45 82 92 78 91 93 55 96 55 102 104 61 57 44 55 94 103 78 93 64 66 58 13 45 81 86 69 1 2 29 1 11 1 2 1 29 69...

Reviews: