Hearthstone Quality Home Heating Products, Inc
EUROPA Series 8900
16
Venting Installation:
The EUROPA Freestanding Stove is shipped with a custom Simpson DuraVent GS® starter section that is
specifically designed for the EUROPA. Regardless of the venting brand you chose, you must use the
starter
section provided . All of the venting brands listed for use with the EUROPA Freestanding are compatible with
the starter section provided . For venting system installation details, refer to the instructions provided with the
venting system you have chosen. Each brand has specific installation requirements that must be followed to
insure a safe and functional venting system for your stove.
The EUROPA Freestanding is shipped from the factory configured for either Rear Venting or Top Venting as
requested.
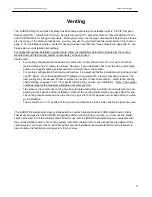
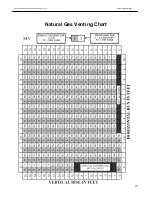
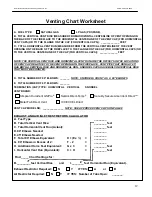
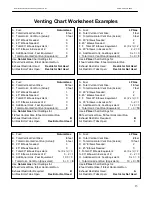
Prior to connecting your vent system to the stove, please refer to the venting section (pages 8-14) of this manual
to determine whether your installation will require the addition of flow restrictors to the combustion air inlet
system or the exhaust outlet or both. Refer to the venting section that starts on page 8 to make that
determination.
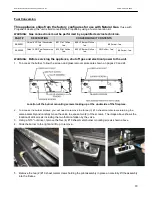
If your installation does require an air restrictor or exhaust restrictor or both, these must be installed be-fore you
connect your vent system to the stove. Again, refer to the venting information starting on page 10-11 to
determine the specific restrictor requirements for your specific installation. To install the Air Intake and Exhaust
Restrictors please proceed as follows:
1. Remove the top panel of the stove by unscrewing the 4 decorative fasteners.
2. Remove the rear panel of the stove.
3. Remove the Vent adapter attached to the unit by 4 #10 Sheet metal screws, taking care not to damage
the ceramic fiber gasket.
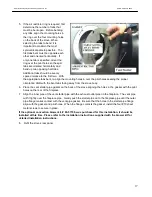
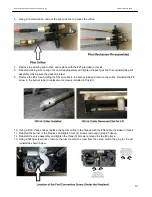
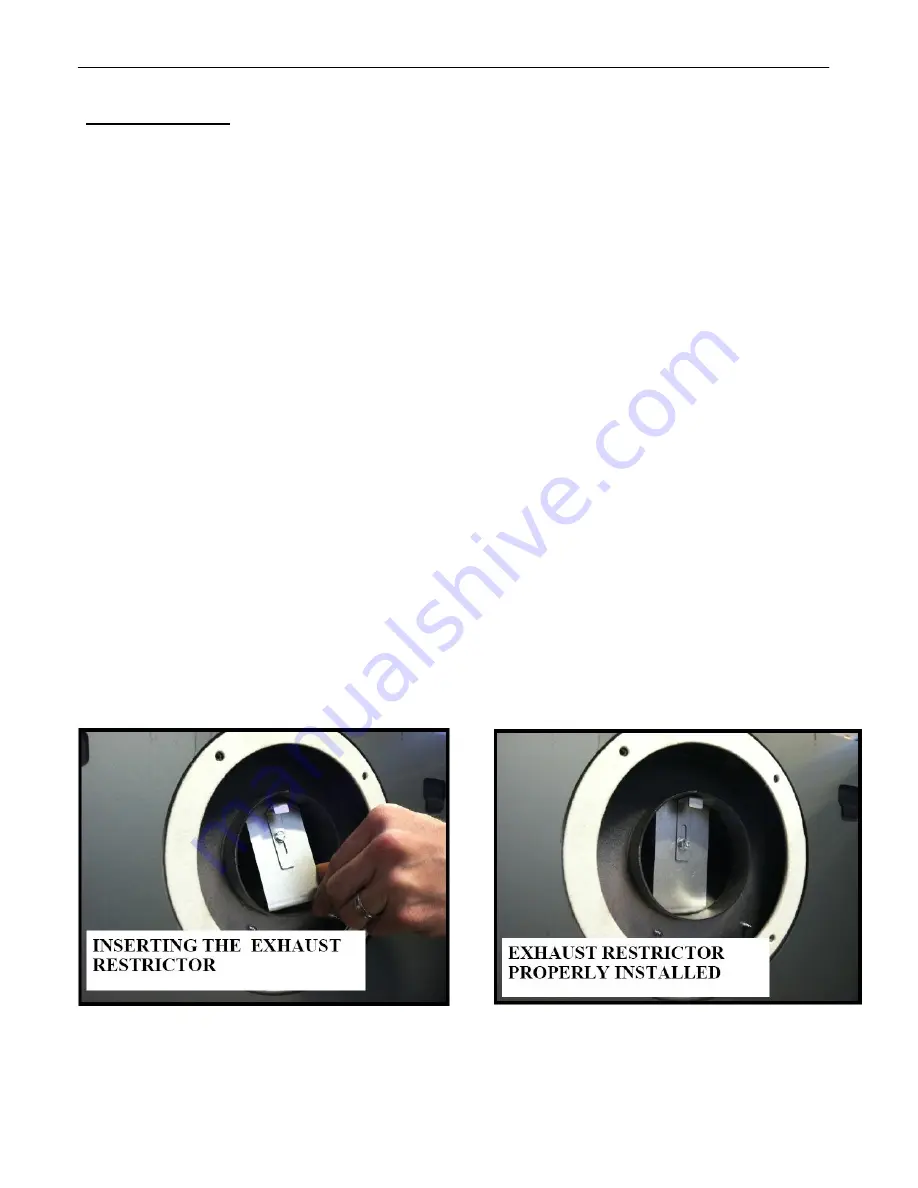
4. The exhaust restrictor is installed by placing it through the exhaust outlet pipe and resting it on the
internal baffle in the firebox. It is held in place with a movable retainer clip. Simply hold the restrictor
down against the baffle and push the retainer up and tighten screw to secure the restrictor. Note: Please
take care to insure that the exhaust restrictor is centered in the exhaust outlet. Improper alignment
could adversely affect the appearance of the flames. Refer to the adjacent photographs for placement of
the exhaust restrictor and clip.

