HearthStone Quality Home Heating Products Inc
STERLING Ht Gas-Fired Direct Vent heater
warranty.
Once connected to the gas supply
, the gas inlet
pressure, and manifold gas pressure, must be tested.
The gas control valve has built in pressure taps for
test gauge connections. The supply line pressure must
be tested to ensure it meets the minimum pressure for
the type of fuel in use (NG or LP).
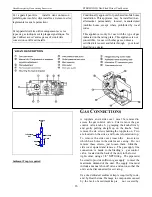
Pressure Measurements:
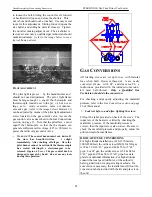
To measure the gas
pressures, connect a manometer to th e gas inlet tap
(6) and manifold pressure tap (7)
in the Valve
Description Figure.
G
AS
P
RESSURE
A
DJUSTMENT
A qualified technician must connect the heater to the
gas supply, and leak test the unit before it is approved
for use. Consult all applicable codes. The appliance,
and its main gas valve, must be isolated from the gas
supply piping system by closing its individual manual
shutoff valve during any pressure t esting of the gas
supply piping system at test pressures equal to o r
greater than ½ psig (3.5kPa).
R
EPLACING THE
G
LASS
To replace the front glass, first shut the pilot light off.
Next remove the front cast and glass assembly, as
described in Installation of Log Set s ection. If the
glass is broken, pull the broken fragments of glass
away from the glass fra me using heavy-duty gloves,
as the pieces will be very sharp. Carefully replace the
glass gasket as necessary, and repla ce the glass
assembly and front cast.
WARNING! Do not use substitute materials.
Use only parts that have been sup
plied by
Hearthstone,
through an authorized
Hearthstone dealer.
CAUTION! Do not clean the glass while the
unit is hot. Allow app roximately one hour
before attempting cleaning.
L
OG
P
LACEMENT
Place only the decorative fiber log set supplied with
the unit in the firebox. This log set
is specifically
designed to work with the provided em ber burner.
Do not use any other type of fiber logs, wood logs, or
other materials in the firebox. If the original log set
is damaged, or broken , contact yo ur Hearthstone
dealer for replacement. The decorative fiber log s et
will last a long tim e; however, they will break easil y
if subjected to rough or improper handling.
Exact positioning of the log set is required in order t o
obtain a pleasing fla
me pattern a nd efficient
combustion. Incorrect log placement can cause
carbon build-up (soot); excess ther mal stress on the
log set and stove parts, reduced efficie ncy, and high
levels of carbon monoxide. If the log set does not fit
into the fire box exactly as outlined, contact your
dealer for assistance.
I
NSTALLATION OF THE
L
OG
S
ET
1)
First remove the front cast and glass asse mbly.
To remove the front, grasp both sides of the
front cast fa cade, toward the bottom , and lift
upward and then outward. The bottom will slide
up and out. The whole piece is then easily
removed. Set the fro nt aside taking care not t o
chip or scratch the enamel. Next, locate the two
rotating clips above the gl ass. Rotat e the clips
out of the “locked” position and tilt the top of
the glass outward. Lift the entire glass asse mbly
up and out.
2)
Gently take the logs out of the fire box and
remove the bubble wrap from the log set. Be
careful not to damage the log set when
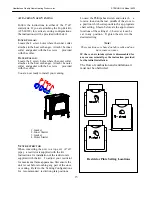
unpacking. There are three logs, a Right, a Left
and a “Twig”.
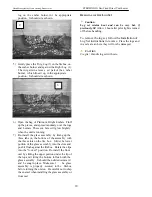
3)
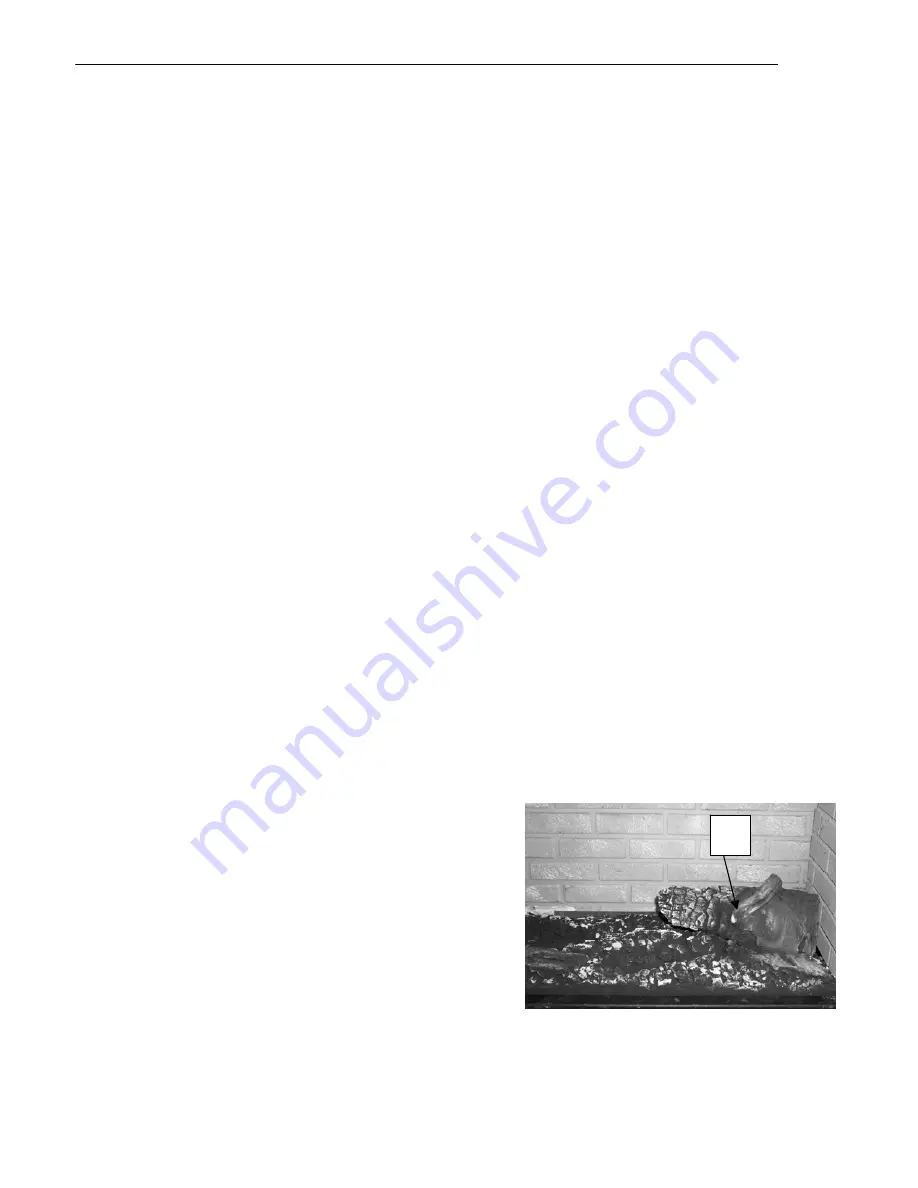
Gently place the Right Log (1) in the firebox, on
the ember burner. The right log has a portion of
twig on the top part of it. On the underside of
the log there is an “L-shaped” cutout that lines
up the log on the ember burner, in the
appropriate position. It should sit as shown.
1
4)
Gently place the Left Log (2) in the firebox, on
the ember burner. On the underside of the log
there is an “ L-shaped” cutout that lines up the
17


