Hearthstone Quality Home Heating Products, Inc.
WAITSFIELD Model 8770
40
9. Locate the three pieces of 1” x1/8” flat tape
gasket. Use the two shorter pieces for the side
glass. Peel the adhesive protecting paper away
from one end. Starting at the middle of the
bottom edge of the glass apply the gasket
centered on the edge of the glass. Continue to
wrap the gasket loosely around the edge until
you meet at the starting point. Adjust the gasket
so the ends do not overlap. If the gasket length
is too long, trim the excess. Do not leave ends
with ragged edges.
10. Firmly and evenly, fold the gasket around the
edges of the glass so it lies flat on the surface.
There should be no folds at the corners.
11. Place each gasketed glass back in its frame.
ith four new 1/8” rivets reinstall the 2 glass
clips on the front glass frame. The glass
assemblies are now ready to remount on the
unit.
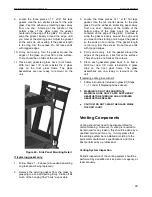
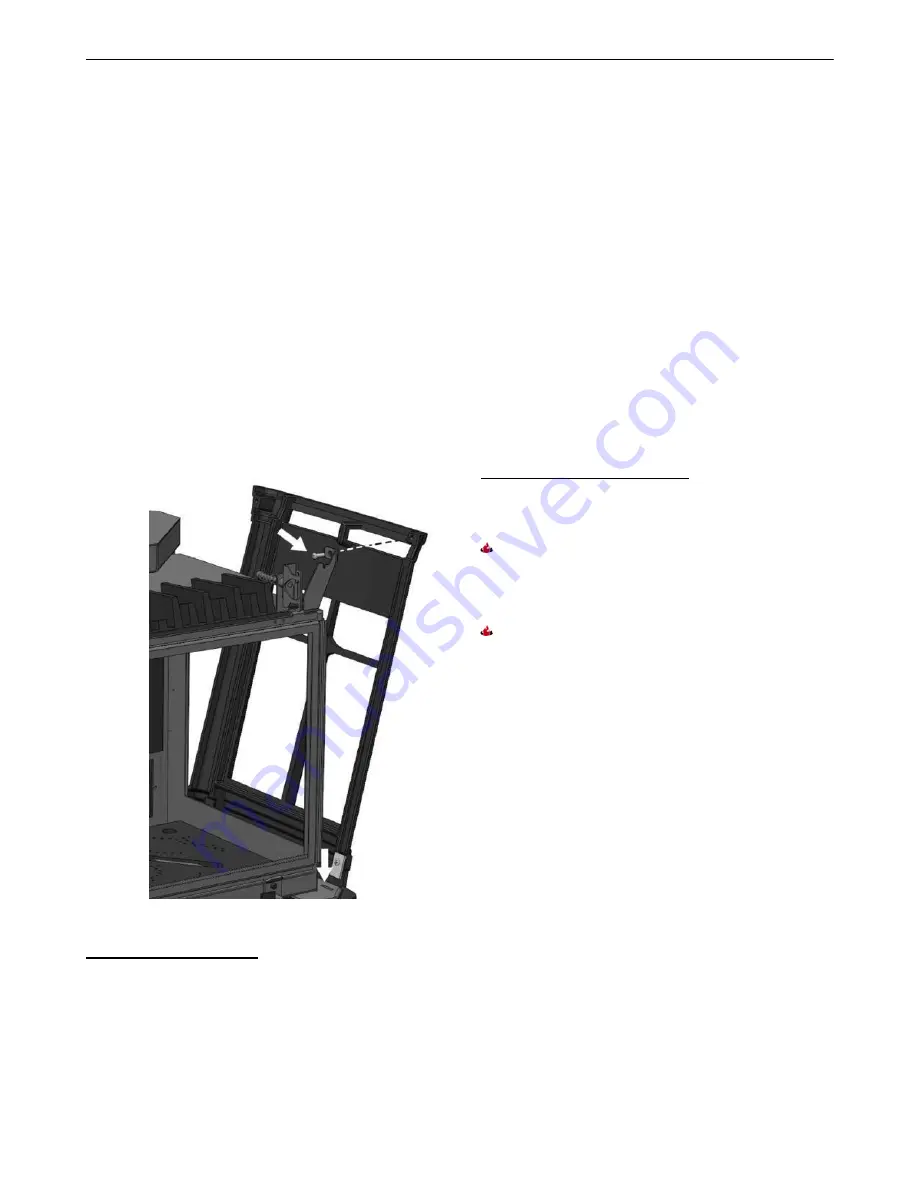
Figure 44
– Side Panel Mounting Detail
If replacing gasket only:
1. Follow Steps 1 – 8 above (as needed depending
on glass panel being replaced).
2. Remove the existing gasket from the glass by
grasping one end and pulling firmly. Clean off as
much of the hanging fiber “hairs” as p
ossible
3. Locate the three pieces of 1” x1/8” flat tape
gasket. Use the two shorter pieces for the side
glass. Peel the adhesive protecting paper away
from one end. Starting at the middle of the
bottom edge of the glass apply the gasket
centered on the edge of the glass. Continue to
wrap the gasket loosely around the edge until
you meet at the starting point. Adjust the gasket
so the ends do not overlap. If the gasket length
is too long, trim the excess. Do not leave ends
with ragged edges.
4. Firmly and evenly, fold the gasket around the
edges of the glass so it lies flat on the surface.
There should be no folds at the corners.
5. Place each gasketed glass back in its frame.
ith four new 1/8” rivets reinstall the 2 glass
clips on the front glass frame. The glass
assemblies are now ready to remount on the
unit.
If replacing entire glass with kit:
1. Follow instructions included in glass kit (Steps
1 – 11 under If Replacing Glass above).
WARNING! DO NOT USE SUBSTITUTE
MATERIALS. USE ONLY PARTS SUPPLIED BY
HEARTHSTONE THROUGH AN AUTHORIZED
HEARTHSTONE DEALER.
CAUTION! DO NOT CLEAN THE GLASS WHILE
THE UNIT IS HOT.
Venting Components
Venting should not need to be disassembled for
normal cleaning. However, if venting is required to
be removed for any reason, this should be done by a
qualified service person only. It is imperative that
the venting system be reinstalled according to the
particular manufacturer’s specifications and this is
best performed by a professional.
Venting System Inspection
Periodic inspection of the venting system should be
performed by a qualified service person or agency at
least annually.


