Section 5-3
32
MLSM2003-01-03
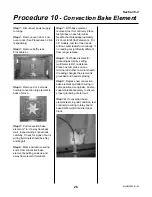
Procedure 16
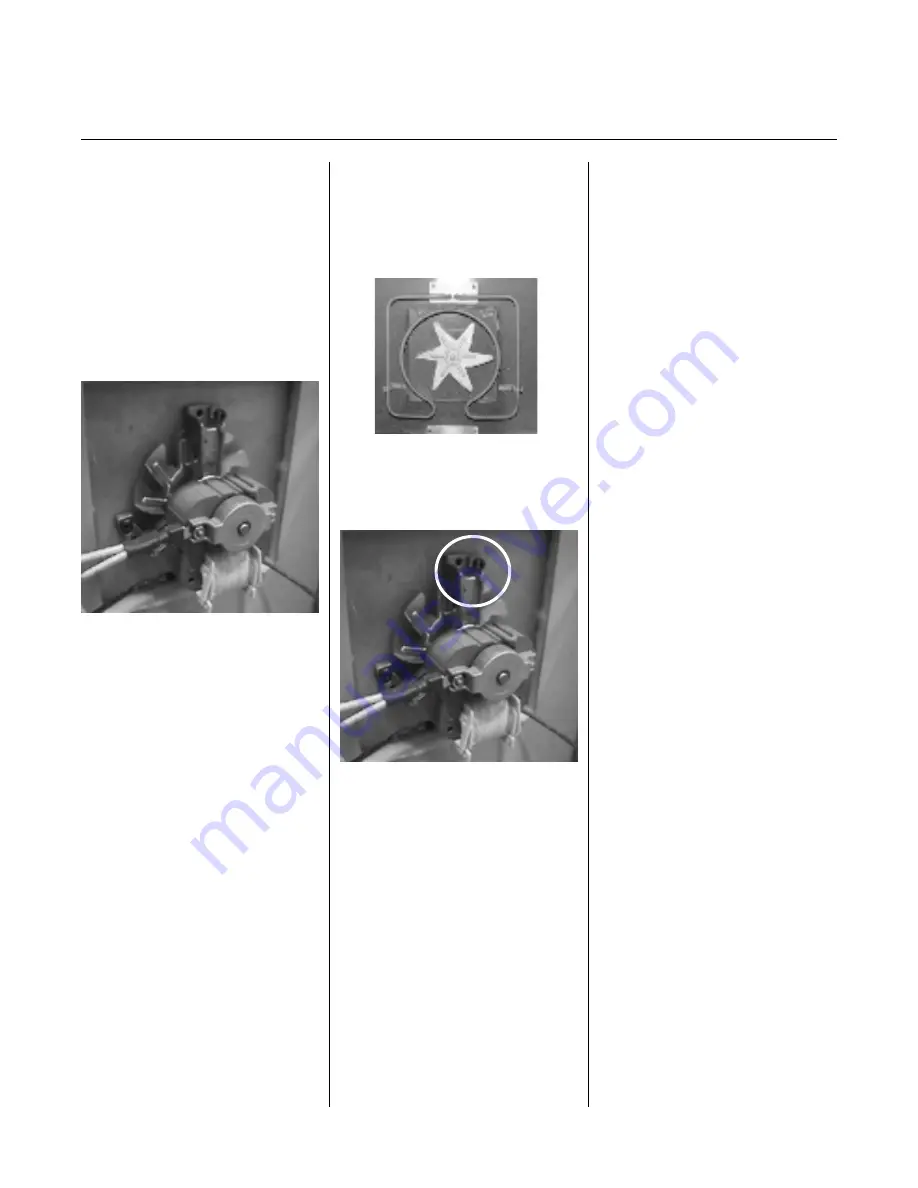
- Convection Fan Motor
Step 1: If motor not operating,
disconnect power to range and pull
away from wall.
Step 2: Remove range’s back
panel (see Procedure 32)
Step 3: Test motor to ensure it is
working order. Place multimeter on
terminals and (with wires removed)
to test for continuity. If faulty,
replace.
Step 4: Test wiring and
connections at fan motor for
damage or broken wires.
Step 5: To replace motor, remove
oven door (see Procedure 33).
Step 6: Remove racks, rack
supports (see Procedure 6) and fan
baffle from inside oven (see
Procedure 6 steps 5-8)
Step 7: Remove convection fan
wheel by turning center locking nut
CW (not CCW). It is easier to hold
nut firmly and turn fan wheel
clockwise). Ensure retainer clip is
transferred to new fan.
Step 8: From back of stove,
remove three mounting screws and
transfer wires to new motor.
Step 9: Sometimes convection fan
wheel may become loose or
warped and rattle against the baffle.
Remove baffle as per (Procedure
6, steps 5-8
) and tighten fan wheel
or straighten blades.
Step 10: If baffle is interfering with
the operation of the convection fan
wheel, remove baffle (Procedure 6,
steps 5-8
) and inspect fan wheel
and baffle. Baffle may have
warped, replace or add stainless
steel washers to increase distance
to wheel.
Summary of Contents for 3520
Page 4: ...4 MLSM2003 01 03 PAGE LEFT BLANK ...
Page 6: ...6 MLSM2003 01 03 PAGE LEFT BLANK ...
Page 10: ...Section 3 10 MLSM2003 01 03 PAGE LEFT BLANK ...
Page 57: ...Section 6 57 MLSM2003 01 03 Wiring Diagrams Models 3520 3525 ...
Page 58: ...Section 6 58 MLSM2003 01 03 Wiring Diagrams Models 3620 3625 ...


