background image


  OPERATION OF CONTROL PANEL                     

The power scooter is simple to operate. However, we recommend that you read carefully the following 

instructions to become familiarized with your new vehicle. 

A Word of Caution: 

Before you turn the power on, always be aware of the environment that surrounds you to select your desired 
speed. For indoor environments we recommend that you select the slowest speed setting. For outdoor 
operation of this vehicle we recommend that you select a speed that is comfortable for you to control it safely. 
The following steps are required to operate your vehicle safely with the controller.   


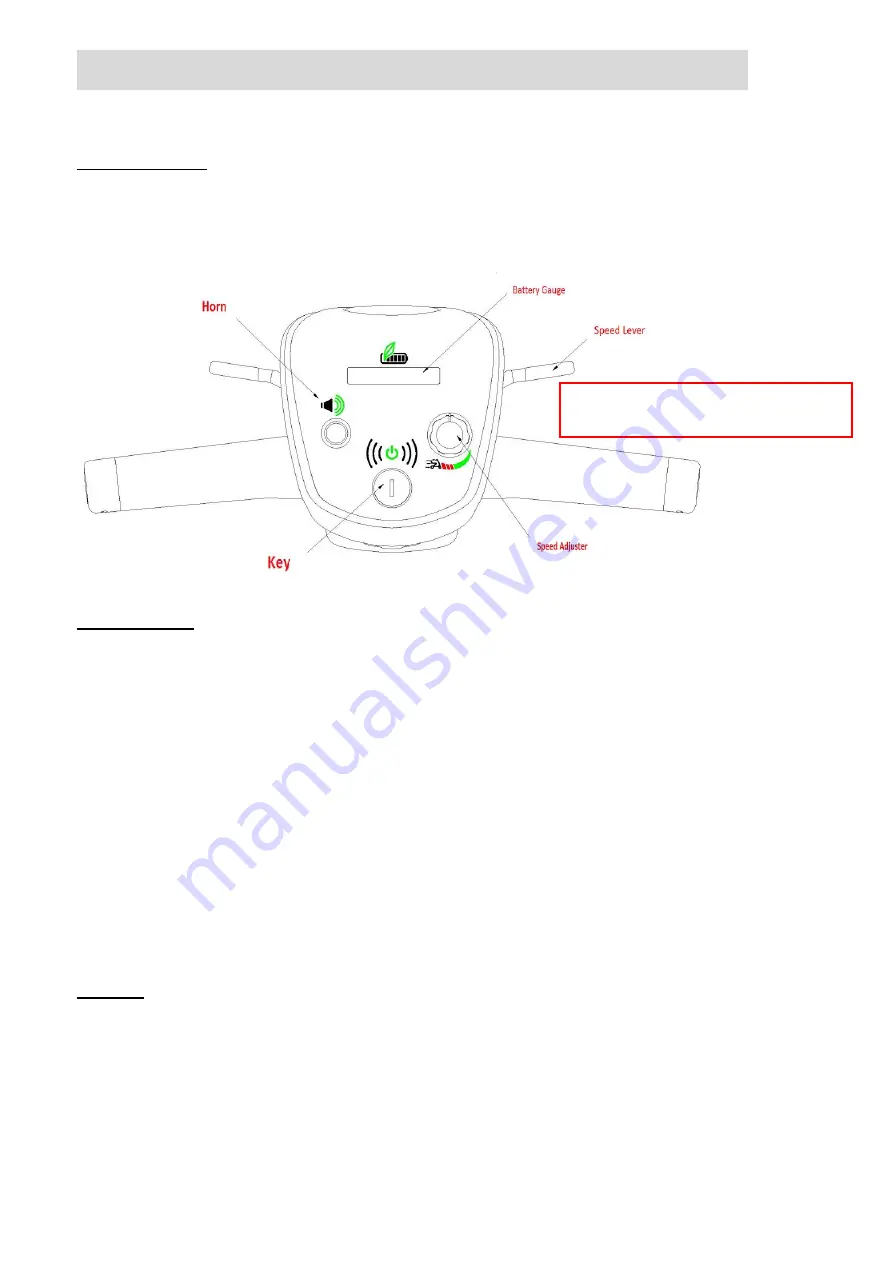
Button functions 

1.


Battery Indicator: When your scooter is switched on, the needle on the meter will move across the scale 
from the left 'red' sector towards the 'green' sector, indicating the state of charge in your batteries. As the 
power is used up in your batteries, the needle will slowly towards the 'red' sector indicating the state of 
charge at that precise time. When the needle is fully over to the right, the batteries are fully charged. 
When the needle falls towards the red sector, your batteries are losing power, but you will still have power 
to spare. When the needle falls into the red sector, your batteries are low in power and need to be 
recharged. It is wise to recharge your batteries when the needle enters the red zone (see Batteries and 
Battery Charging section of this manual).   

2.


High/Low Speed Adjustment: This allows you to pre-select your desired speed.   The adjuster is 
proportional to speed and can be set anywhere between minimum and maximum. Turn the adjuster knob 
counter-clockwise to minimum for a very gentle operation, and clockwise towards maximum to increase 
your speed. 

3.


Power ON/OFF Light: The light will turn on if you insert the key. The light will turn off if you take out the 
key. 

4.


Horn button: Press this button to sound the horn.( Easy operation for left hand or right hand) 


Driving:   

A)


Controller ON/OFF Switch 

Insert the key to power on the scooter (Remove the key to power off). Swing the finger lever control 
forward or backward to control the driving direction of the scooter (The finger lever control is located at 
both sides of the controller and the returning of the finger lever control to its neutral position,(center), will 
reduce the speed and stop the vehicle by automatically applying the electro-magnetic brakes. 
   

Finger lever control/Maximum force 
applied on lever is 4N 

Summary of Contents for S19V

Page 1: ...p When on any sort of an incline or decline slope never place the power mobility in freewheel mode MAX CLIMBING ANGLE 6 Degree Don t operate this power scooter if it is behaving abnormally or erratica...

Page 2: ...y package from the scooter unit before long term storage Do not operate this power scooter S19V if it is behaving abnormally or erratically S19V should be turned off prior to entering or existing the...

Page 3: ...w on Technical Specification Do not leave your hands and legs off the scooter when driving Always use a seat belt and keep your feet on the scooter all the time Never operate the scooter while you are...

Page 4: ...wise injury or damage may occur 5 There are certain situations including some medical conditions where the scooter user will need to practice operating the scooter in the presence of a trained attenda...

Page 5: ...Product has designed and engineered power scooters to provide maximum utility However under no circumstances should you modify add remove or disable any part or function of your power scooter Persona...

Page 6: ...useful protection against common sources of radiated EMI Following the warnings listed below should reduce the chance of unintended brake release or powered scooter movement that could result in seri...

Page 7: ...GE 25 KM CHARGER TYPE 2 5Amp CONTROLLER TYPE Dynamic Controller DR 50 MOTOR TYPE 4 Pole 270W WEIGHT W BATTERY 27 3kgs WEIGHT W O BATTERY 24kgs TURNING RADIUS 820mm SUSPENSION Front Suspension LENGTH 9...

Page 8: ...he Scooter Lean the folded scooter on the floor resting on the rear wheel Push the pedal with your feel to release the lock and begin unfolding it from the tiller Unfold the scooter by pushing the til...

Page 9: ...are losing power but you will still have power to spare When the needle falls into the red sector your batteries are low in power and need to be recharged It is wise to recharge your batteries when t...

Page 10: ...s wise to recharge your batteries when the needle enters the red zone The remaining battery needle only goes lower when using the battery regardless the battery voltage The remaining battery meter nee...

Page 11: ...Parking brake There is an automatic parking brake function included in the electromagnetic brake The scooter will stop when the motor is engaged and the power switch is off or when the power switch is...

Page 12: ...C for 3 sec Charge temperature protection 10 C or 45 C for 3sec Release 15 C or 40 C for 3 sec Discharge current protection 20A max continuous 27A for 60sec 0 26sec 40A for 10sec 0 26sec 43A for 5sec...

Page 13: ...storage If the battery pack is out of the storage condition specified in 1 it shall be charged or discharged to the recommended storage condition 3 It shall be kept in dry condition of low humidity e...

Page 14: ...arger specially designed for Li ion battery pack composed 7cells in series Electrical Specifications 1 Input 100 240VAC 50 60 Hz Output 29 4V 0 2V 2 5Adc 10 2 Charger output The charger is preset by f...

Page 15: ...ETCO before using this charger to charge 4 NL07 is a precise tool and should be kept away from high power EMI radiating devices Attention Never use this charger to charge a non rechargeable battery Al...

Page 16: ...ded to inspect the battery pack every 6 month to ensure the battery pack is at the best status for long term storage If the battery pack is out of the storage condition specified in 1 it shall be char...

Page 17: ...parts All moving mechanism will benefit from simple lubrication and inspection Lubricate using petroleum jelly or light oil Do not use too much oil otherwise small drips could stain and damage carpet...

Page 18: ...nection or insulation that you find before using your scooter again AXLE BEARINGS AND THE MOTOR TRANSAXLE ASSEMBLY These items are all pre lubricated sealed and require no subsequent lubrication WHEEL...

Page 19: ...are in their correct positions 6 Drive inhibit Either a stop function is active or a charger inhibit or OONAPU condition has occurred A Release the stop condition B Disconnect the battery charger C En...

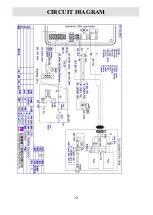
Page 20: ...20 CIRCUIT DIAGRAM...

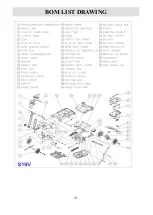
Page 21: ...21 BOM LIST DRAWING...

Page 22: ...ion Fuses Bulbs Tiller Cover Rear Shroud Front Shroud Batteries and Consumable parts Any damage or defect of any nature occurring from the misuse abuse of the product improper operation or improper st...

Reviews: