6
PREPARATION
B. BEFORE LOCATING THE PHOENIX
1. Check for nearby connection to:
•
System water piping
•
Venting connections
•
Gas supply piping
•
Electrical power
2. Check area around water heater. Remove any combustible materials, gasoline and other
flammable liquids.
3. The Phoenix gas control system components are
protected from dripping or spraying water or rain
during operation or service.
4. If the Phoenix Water Heater is to replace an
existing water heater, check for and correct any
existing
system problems such as:
•
System leaks.
•
Incorrectly-sized expansion tank.
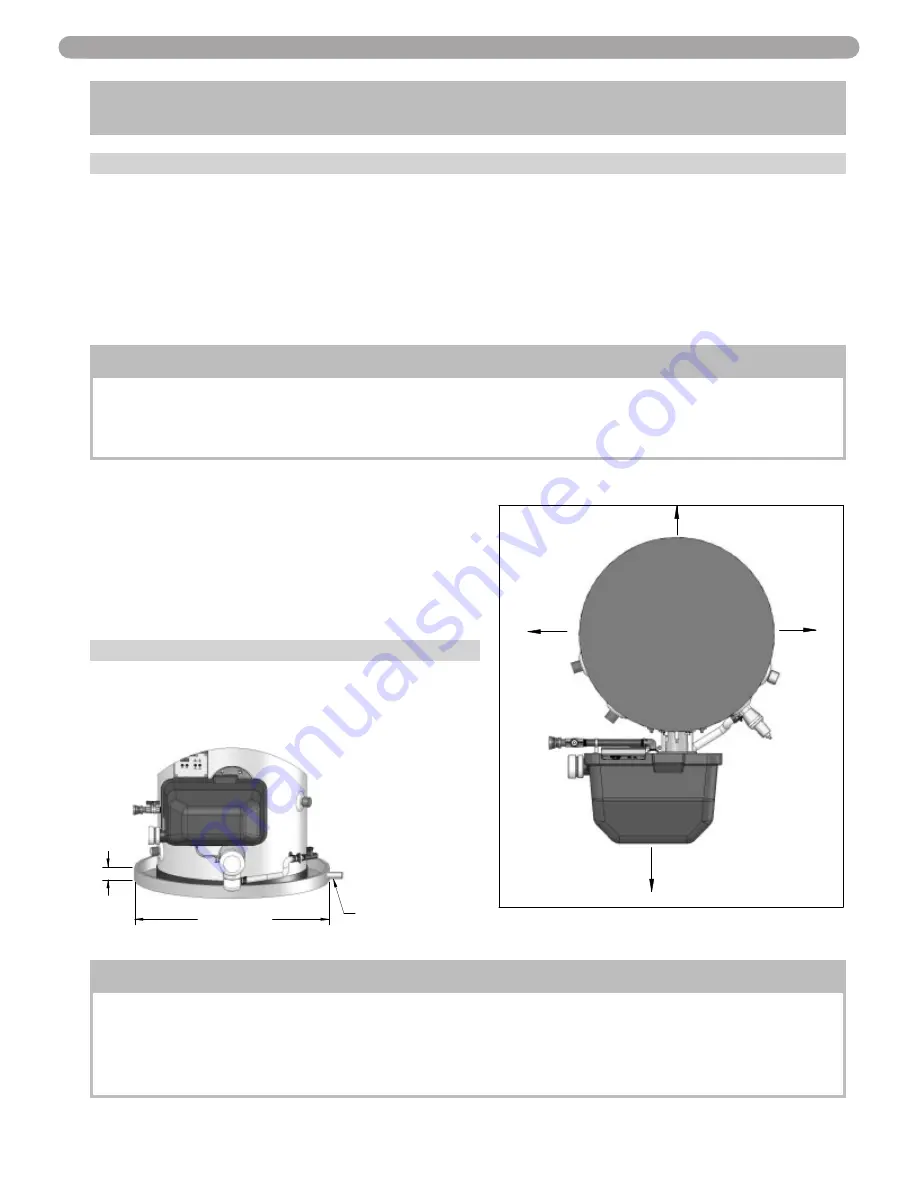
C. CLEARANCES FOR SERVICE ACCESS
1. If you do not provide minimum clearances, it
might not be possible to service the water heater
without removing it from the space. (See Fig. 3-
1 at right)
03/22/07
LP-179-T
CLEARANCE
ZERO
12" MIN.
12" MIN.
CLEARANCE
CLEARANCE
CLEARANCE
24" MIN.
SERVICE CLEARANCE
Fig. 3-1
Phoenix Top View
PART 3: PREPARE WATER HEATER LOCATION
(CONTINUED)
n
WARNING
Failure to keep water heater area clear and free of combustible materials, gasoline and
other flammable liquids and vapors can result in severe personal injury, death or
substantial property damage.
n
WARNING
The space must be provided with combustion/ventilation air openings correctly sized
for all other appliances located in the same space as the Phoenix. Failure to comply with
the above warnings could result in severe personal injury, death or substantial property
damage.
RECOMMENDED SERVICE CLEARANCE
TO OPEN DRAIN.
LINE SHOULD BE AT
LEAST 3/4" ID AND
PITCHED FOR PROPER
DRAINAGE.
DIAMETER OF WATER HEATER
PLUS 2" MINIMUM
MAXIMUM 2"
LP-179-W
07/11/07
LP-179-T
03/22/07


