15
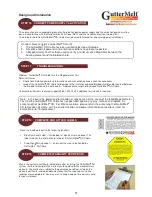
STEP 4 PREPARE AREA
Design and Installation
Ensure that the roofing material, gutters and/or downspout drains
have been properly installed, and that drainage has been satisfactorily
addressed.
Eliminate any nails, staples, or any other objects that may damage the
GutterMelt® SR Heating Element prior to installation.
Clean and dry the rain gutters so that the provided foil tape will adhere
to the bottom and hold the GutterMelt® SR cable in place.
Determine the location of the connection points between the power
supply and the GutterMelt
®
SR Cable.
Next, determine the location of the activation device.
Remember, an automated activator is the “eyes and ears” of the roof,
gutter, and downspout system. It is important that it be installed in a
location that will allow it to turn the roof deicing system “on” when it is
needed and “off” when it is not needed.
Manual activators require human action—as a result they should be
placed in a location that is convenient and easily accessible.
STEP 6 LOCATION SELECTION
STEP 3 CONTACT YOUR GUTTERMELT
®
SR SUPPLIER
Contact your GutterMelt® SR supplier for assistance in ordering the
material needed. When materials arrive, examine the GutterMelt®
SR roof deicing system design, and compare the list of materials
ordered to those received.
Remove the GutterMelt
®
SR Heating Element from the box. Using a
2500 Vdc Megohmmeter, check the insulation resistance of the
Heating Element to make certain it is greater than 20M
Ω
. Confirm the
Megohmmeter result by measuring the resistance with a Digital
Multimeter and record the value measured on
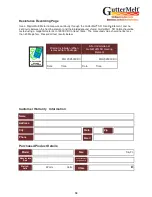
Resistance Recording
Table a
t the back of this manual. Resistance measurement must be
taken several times during the installation process: Immediately upon
removal from the packaging and after installation of the heating
element. GutterMelt
®
SR should also be checked for electrical
continuity.
STEP 5 MEASURE & RECORD RESISTANCE
MEASURE AND
RECORD
RESISTANCE
Summary of Contents for Gutter Melt SR
Page 2: ...2...


