HEATIZON.COM
16
7. Installation (Continued)
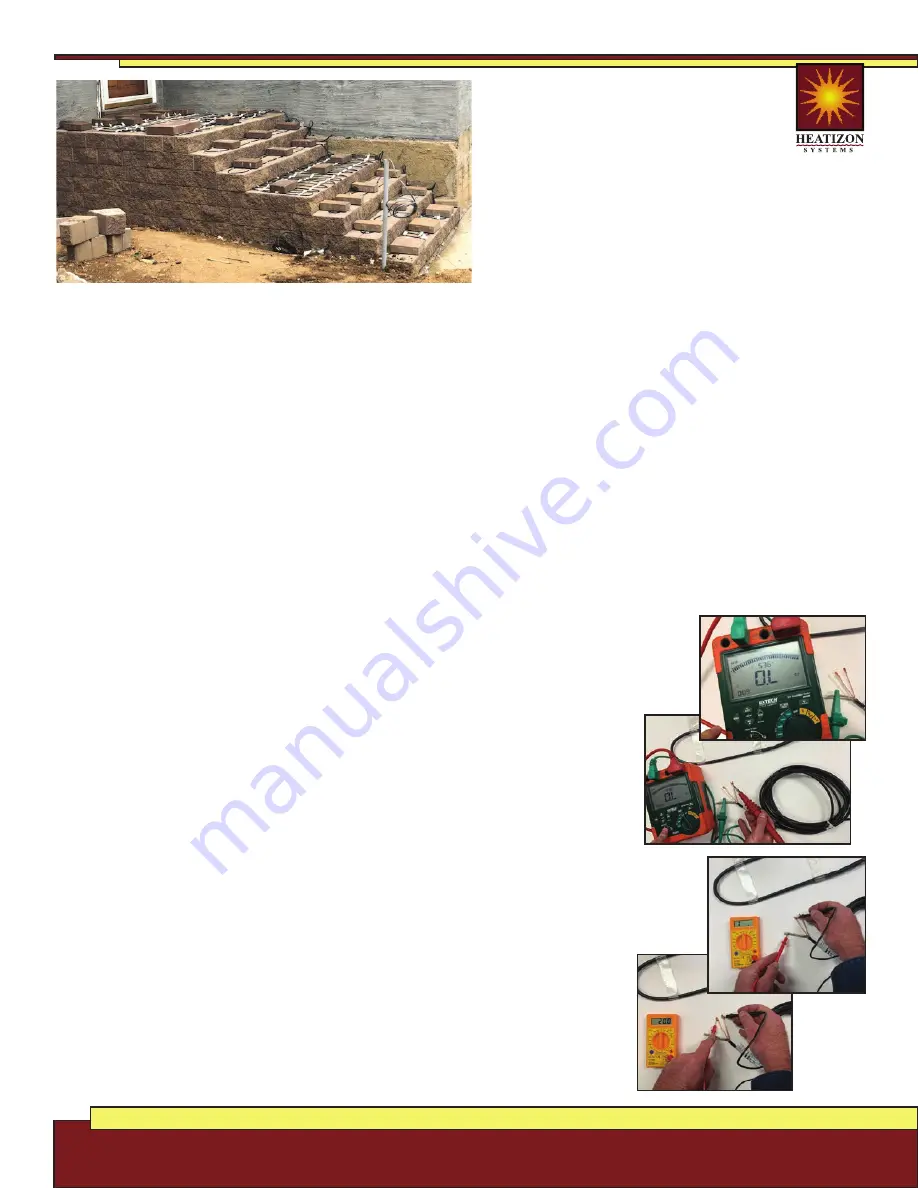
Stairs:
When installing in stairs, ensure
that the heating element should not be
too close to the edge of the stair and
still be completely embedded. Also be sure that
where the cable spns the rise of the stairs get
embedded in the substrate to avoid causing a hot
spot, and damaging the cable. Avoid doing a full
run on the rise of the stair.
• Concrete Stair Installation:
The heating element must be 2-3 inches below and spaced 4” away from
the edge of the stair. When the cable spans the rise, it too should be completely embedded. If using
rebar, use the same methods to secure the cable to the rebar as decribed in the “Concrete” section. Use
Jumpers when stairs will have joints between individual stairs, or into adjoining concrete that is to be
heated.
• Paver Stair Installation:
Be sure that the heating element is properly secured prior to mortaring,
and be sure that all the heating element is properly embedded. The cable should not be strained or
compressed. Allow the mortar to fully cure before walking on pavers.
Cold Lead(s):
The cold lead(s) should be run in a conduit to either a junction box, panel, or activator and
should NEVER cross or come in contact with the SnowMeltz® heating element.
8. Required Tests (Second)
Insulation Resistance with Megohmmeter
Before, during, and after installation, it is necessary to measure the insulation
resistance between the heating conductor and the protective grounding
screen with a 500VDC Megohmmeter. This measured value may not be
less than 0.5 Megohms.
Connect the voltage lead to the inner cold lead conductors and the
earth lead to the cold lead outer grounding braid or sheath. Test
resistance at 500VDC. Record the measured values in the certificate of
warranty.
Cable Conductor Resistance with Multimeter
Before, during, and after installation, it is necessary to measure the resistance
of the heating circuit with a multimeter. The measured values should be equal
-5% to +10%.
Connect one meter lead to the one cold lead inner conductor and
the other meter lead to the other cold lead inner conductor. Take
the Ohm reading. Record the measured values in the certificate of
warranty.
Be sure to check product label for proper resistance, operating
amperage, operating voltage, cable length and other important
information when performing tests.


