background image

2

-hw

2

Table of Contents

1

2

3-4

5

5-6

6

7-8

9

9

10

11

12

13

14

15

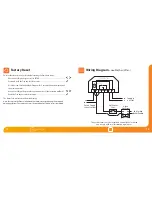
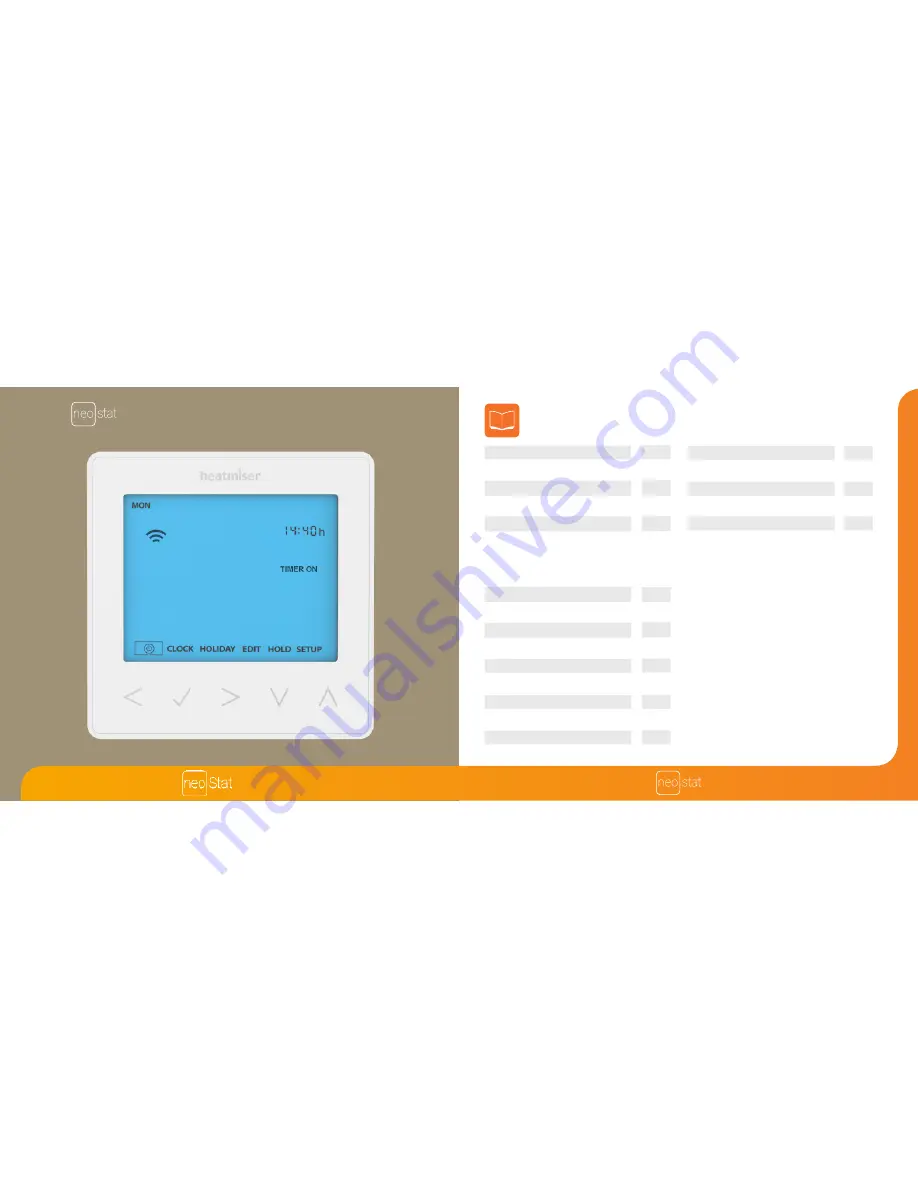
Product Image

Table of Contents

Installation Procedure

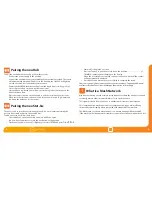
Pairing the neoHub

Pairing the neoStat-hw

What is a Mesh Network?

Time Clock Mode

Hot Water Time Clock Display

Locking the neoStat-hw

Unlocking the neoStat-hw

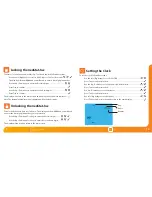
Setting the Clock

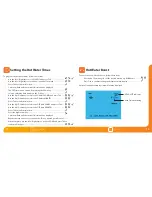
Setting the Hot Water Times

Hot Water Boost

Standby

Holiday

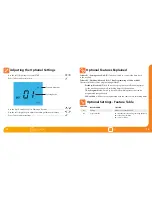
Adjusting the Optional Settings

Model: 

1

Optional Features Explained

Optional Settings Features Table

Factory Reset

Wiring Diagrams

Notes

16

16

17

18 - 19

20-22

 Series

Available in : Sapphire Black and Glacier White

-hw

-hw

Summary of Contents for NeoStat-hw

Page 1: ...1 hw hw...

Page 2: ...Time Clock Mode Hot Water Time Clock Display Locking the neoStat hw Unlocking the neoStat hw Setting the Clock Setting the Hot Water Times Hot Water Boost Standby Holiday Adjusting the Optional Settin...

Page 3: ...here safe Terminate the time clock as shown in the diagrams on pages 18 19 of this booklet Step 3 Screw the time clock back plate securely into the back box Step 4 Clip the front of the time clcok ont...

Page 4: ...pair the neoHub with the neoApp follow these steps Connect the power supply to the neoHub Connect the neoHub to your router with the Ethernet cable provided The router will automatically assign an IP...

Page 5: ...Program Indicator Displayed during programming to show which period is being altered 6 Main Menu Displays which option is currently selected 7 HW Timer Status Displays if the Hot Water output is ON or...

Page 6: ...D press Tick for 10 seconds The display will show 00 00 and you will need to enter a four digit pin number Use the Up Down keys to enter the first two digits Press Tick to confirm Use the Up Down keys...

Page 7: ...on 1 will now flash and the current ON time will be displayed The OFF time can be viewed by pressing the Down key Select a switching time and press the Tick key Use the Up Down keys to select the ON t...

Page 8: ...de on your return Use the Left Right keys to scroll to HOLIDAY and press Tick Using the Up Down keys enter the number of days holiday Press Tick to confirm settings To cancel a holiday period repeat t...

Page 9: ...gramming 03 24 Hour Mode SETTING Used to pair to the neoHub 01 Optional Features Explained Feature 01 Pairing to neoHub This function is used to connect the time clock to the neoHub Feature 02 Weekday...

Page 10: ...flash Press theTick key to confirm selection The time clock will revert to the main display Note Factoryresetwillcancelallparametersthatwereenteredduringtheset upand pairingoperations Theseprocessesm...

Page 11: ...neoStat Heating neoStat Mid Position Valve This product must only be installed by a qualified electrician and comply with local installation regulations Hot Water Stat Boiler Enable Fused Supply to ne...

Page 12: ...22 21 hw Notes Notes Series...

Page 13: ...port team on 44 0 1254 669090 Or view technical specifications directly on our website www heatmiser com PDF FAQ Heating Professionals Request a copy of our product installation guide containing detai...

Reviews: