16
Rev. 05/2020
17
Rev. 05/2020
CHAPTER 7
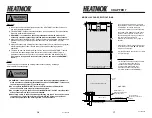
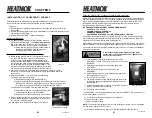
4”
BASE: OUTDOOR FURNACE SITS ON THIS PAD
50”
58”
26”
12”
10”
PATIO STONES OR SEPARATE CEMENT SLAB
FOR CONVENIENT LOADING
48”
OUTDOOR FURNACE SITS HERE
ASH AUGER
LOADING AREA
GROUND
LEVEL
FOUR INCH GRAVEL BASE
CEMENT BASE
UNDERGROUND LINES
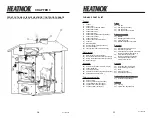
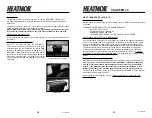
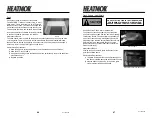
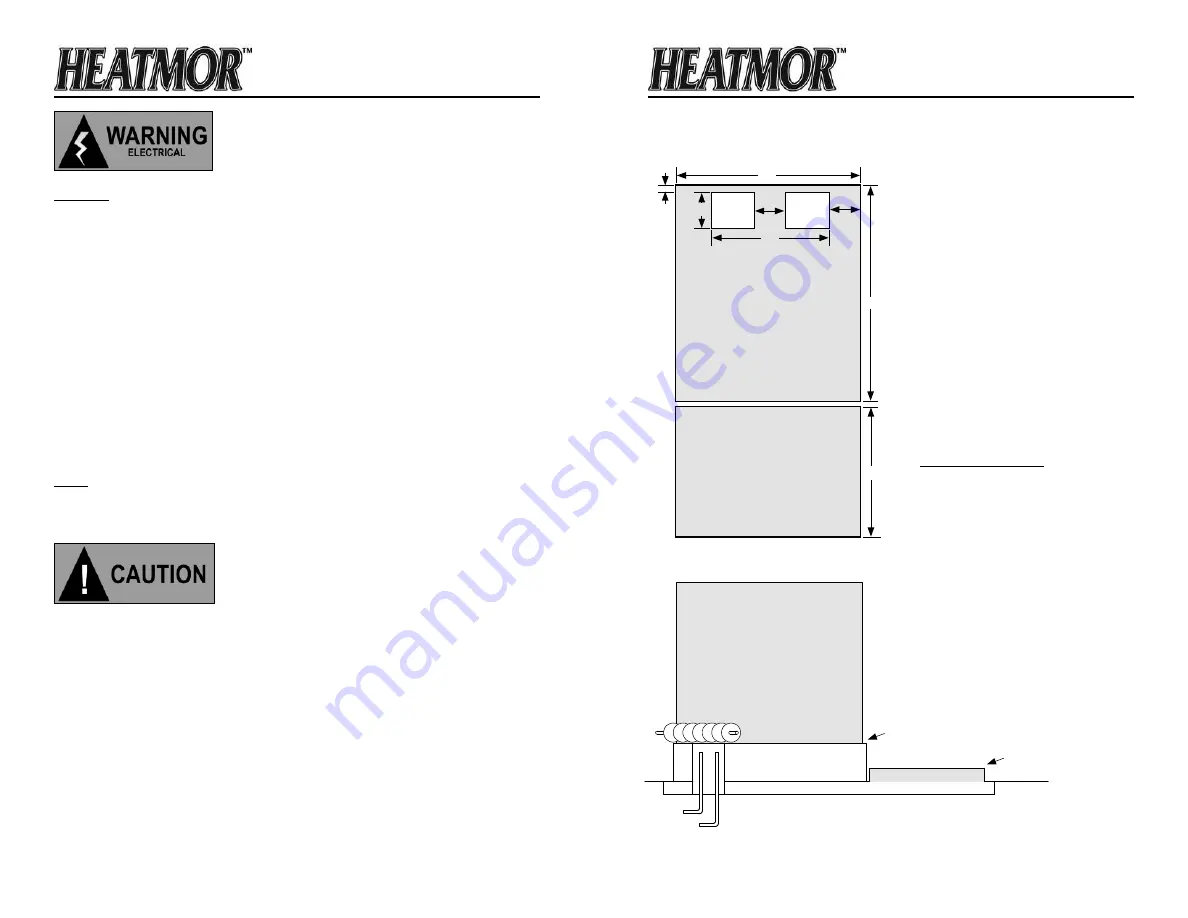
MODEL 100 PAD SPECIFICATIONS
The actual pad size is 50” x 58”. This gives
approximately 2” extra on all sides of furnace.
CAUTION: Do not exceed this length
measurement. Width can be wider if desired.
The bottom of the loading door is 24” above
ground or base of furnace. If you desire to
have the leading door higher, you can do so
by making the pad depth thicker.
Example: 12” instead of 4” or any figure in
between.
Patio stones or separate cement pad in front
of the loading door should
NOT
be attached
to main base of furnace.
It is recommended to use steel mesh or R-bar
in pad for strength.
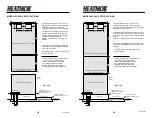
Benefits to raising the pad:
1. Gives space below the ash auger to place
a pail for convenient ash removal.
2. Allows better visibility of the firebox.
3. Less bending when adding coal.
4. Keeps smoke above the operator.
5. Protects the base of the HEATMOR™.
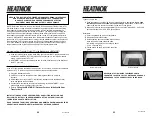
PATIO STONES OR
SEPARATE CEMENT SLAB.
CEMENT BASE 4” - 12”
HIGHER THAN WHERE THE
OPERATOR STANDS.
LOADING
DOOR
SIDE VIEW
HOLES FOR HOOK-UPS
6”
AUGER
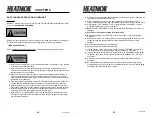
Electrical
1) Do not connect the electrical components of the HEATMOR™ Outdoor Furnace to
any other electrical appliance.
2) This HEATMOR™ Outdoor Furnace operates on 115-volt power only. Do not connect the
furnace to a 220-volt electrical supply.
3)
HEATMOR™ recommends a licensed professional electrician make all the
necessary electrical connections involved with the installation of the furnace.
4) Always disconnect the HEATMOR™ Outdoor Furnace from the main electrical supply
before servicing any of the electrical components of the HEATMOR™ Outdoor
Furnace.
5) Always disconnect any existing electrical connections to any in-house heating system,
before installing the outdoor furnace to any existing indoor heating system or
appliances.
6) The red wire from the New Style High-Limit on the back of the HEATMOR™ should
be wired to the indoor temperature control to override the thermostat. This will
dissipate excess heat in the event of a possible malfunction with the HEATMOR™
(The red wire is capped off in the electrical junction box when the HEATMOR™
is new.)
Other
The unit may be connected to an existing indoor boiler system by installing a
water-to-water heat exchanger.
1) HEATMOR™ recommends that you contact a licensed professional plumber to
make all necessary plumbing installations between the HEATMOR™ furnace and
the existing heating system of your building(s).
2) Do not operate the HEATMOR™ furnace until all electrical and water line
connections have been properly installed and tested.
3)
Do not allow any fire in the firebox until the HEATMOR™ has the correct amount
of Heat Transfer Fluid (HTF) and sand installed.
4)
Absolutely no fire in the firebox when performing any repair. Do not perform this
repair when unit water temperature is unsafe. Always wear proper personal
protective equipment when working with HTF and chemicals.


