42
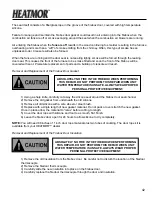
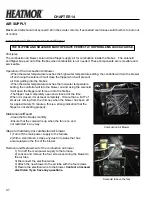
The seal itself consists of a fiberglass rope in the groove of the firebox door, covered with high temperature
silicone.
Failure to manage and maintain the firebox door gasket could result in air entering into the firebox when the
combustion air fans are off or smoke escaping around the seal when the combustion air blowers are running.
Air entering the firebox when the
fans are off
results in the wood continuing to smolder, resulting in the furnace
overheating and more than a “wiff” of smoke emitting from the chimney. Often, this type of smoke has an
unpleasant odor. Creosote will also be formed.
When the fans are running and the door seal is not sealing tightly, smoke will be forced through the leaking
door seal. This causes the front of the furnace to be smoke filled and soon the front of the firebox will be
covered with soot. Premature replacement of parts and a buildup of creosote will result.
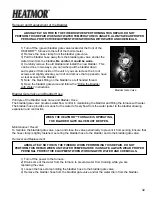
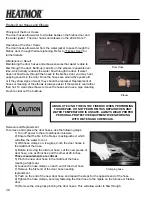
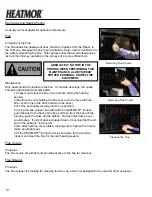
Removal and Replacement of the Firebox Door Gasket
1) Using a sharp knife, carefully cut away the silicone seal around the firebox door seal channel.
2) Remove the old gasket from underneath the old silicone.
3) Remove all old silicone with a wire wheel or steel brush.
4) Replace with a single length of new gasket material. Do not pack or over stretch the new gasket.
Once in place allow, the material to “relax” before cutting to length.
5) Cover the door rope with silicone and tool to a smooth, flat, finish.
6) Leave the firebox door open for 24 hours to allow silicone to dry completely.
NOTE:
You will need 88 inches of 1 inch door rope material plus two tubes of caulking. The door rope kit is
available from your HEATMOR™ dealer.
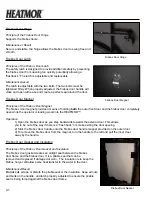
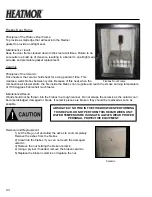
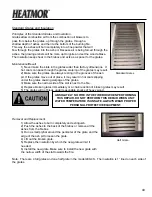
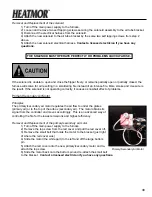
Removal and Replacement of the Firebox Door Insulation
1) Remove the old insulation from the firebox door. Be careful not to disturb the location of the firedoor
thermocouple.
2) Remove the firedoor thermocouple.
3) Carefully slide the new insulation into place on the firebox door.
4) Carefully replace the firedoor thermocouple through the door and insulation.
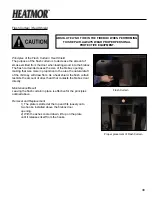
ABSOLUTELY NO FIRE IN THE FIREBOX WHEN PERFORMING
THIS REPAIR. DO NOT PERFORM THIS REPAIR WHEN UNIT
WATER TEMPERATURE IS UNSAFE. ALWAYS WEAR PROPER
PERSONAL PROTECTIVE EQUIPMENT.
ABSOLUTELY NO FIRE IN THE FIREBOX WHEN PERFORMING
THIS REPAIR. DO NOT PERFORM THIS REPAIR WHEN UNIT
WATER TEMPERATURE IS UNSAFE. ALWAYS WEAR PROPER
PERSONAL PROTECTIVE EQUIPMENT.
Summary of Contents for 400-4S
Page 1: ...Outdoor Furnaces TM SAVE THESE INSTRUCTIONS...
Page 10: ...5 HEATMOR Stainless Steel Outdoor Furnace Model 400 4S Chapter 1...
Page 73: ...68...
Page 88: ...83 PROBLEM CAUSE SOLUTION PROCEDURE...
Page 92: ...87 Outdoor Furnaces...
Page 93: ...88 NOTES...
Page 94: ...89 wiring diagram...
Page 95: ...90 Revised Manual on 07 11 12...

