its lowest position no lower than 305mm (12") below the heater (see
Fig. 2.6
).
2.7
Remember that if the handset can reach to within 25mm (1") of the spillover level of the bath, shower tray, wash
basin, WC or bidet, then to prevent the possiblity of back-siphonage of used water, you must either:
(i) install a hose-restraining ring (see
Fig. 2.6
)
(ii) fit a double-check valve in the pipework to the shower.
2.8
Decide from which direction your pipe will enter the shower heater. There is a choice of top, bottom, rear or side.
See
Section Four
for details.
2.9
Ensure there are no services such as gas, water pipes, electrical or telephone cables beneath the surface of the
wall before drilling.
2.10
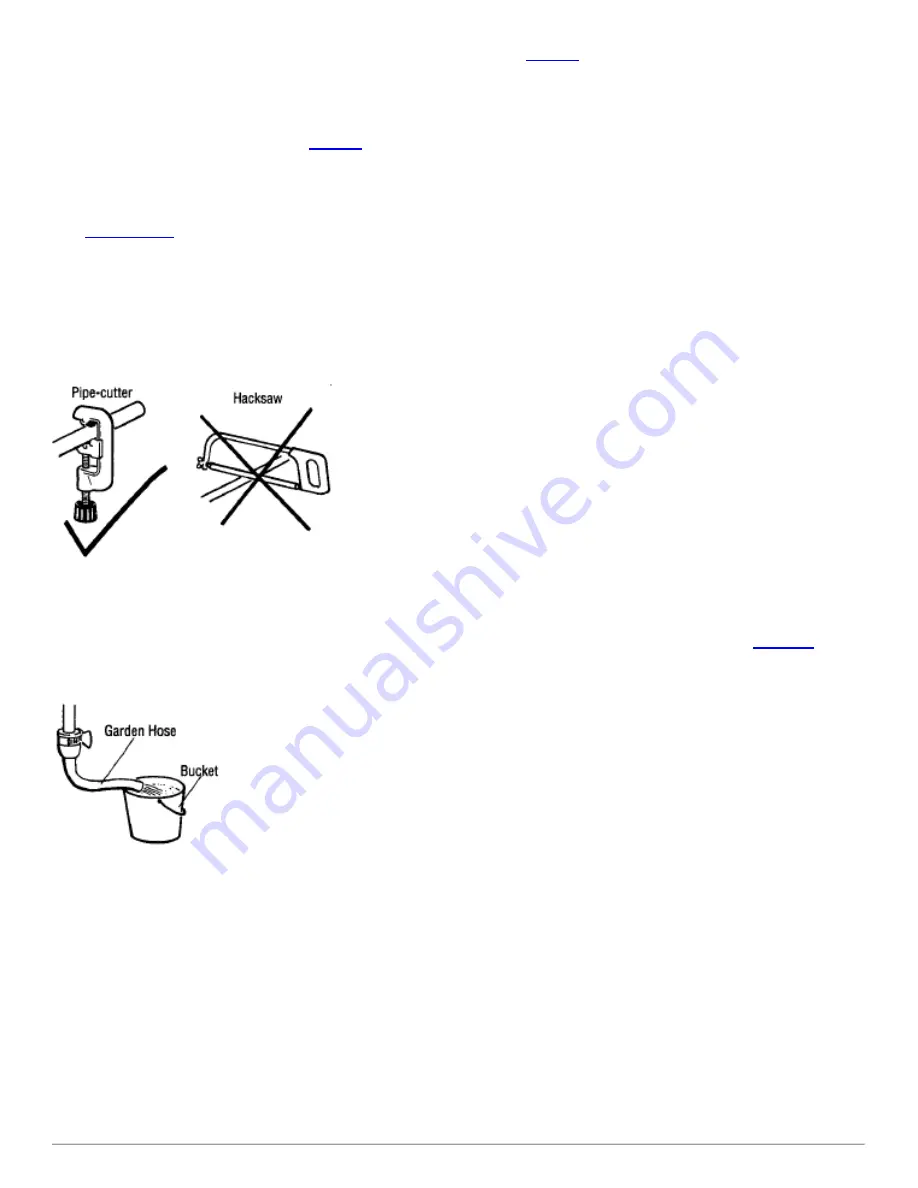
The water connection to the shower heater should be made using standard 15mm outside diameter copper pipe
or stainless steel pipe. The ends should be cut square and be free from internal and external burrs and deep
scratches. Where possible, use a pipecutter and not a saw, to prevent saw chippings entering the pipe.
Figure 2.10
2.11
Before making the final water connections to the shower heater, the pipework MUST BE FLUSHED
THOROUGHLY to remove brick dust, swarf etc. which could severely damage the shower itself. (See
Fig. 2.11
)
Figure 2.11
2.12
A servicing valve must be fitted in the water supply pipe to the shower to comply with the Water Regulations.
This is to allow the shower heater to be serviced without turning off the water supply to other appliances.
Things you must not do:
2.13
Do not use plumber's paste on any joints as this may damage the shower.
2.14
Do not use a blow-torch or other form of heat close to the shower heater as this may damage the non-metallic
parts.
2.15
Do not use excessive force, and do ensure adequate support, when making connections.
Page 7
21/03/2011
www.partsarena.co.uk/baxi/System/DA…
partsarena.co.uk/baxi/…/I47-2835.htm
7/16


