| 13
MOUNTING INSTRUCTIONS
STEP 1
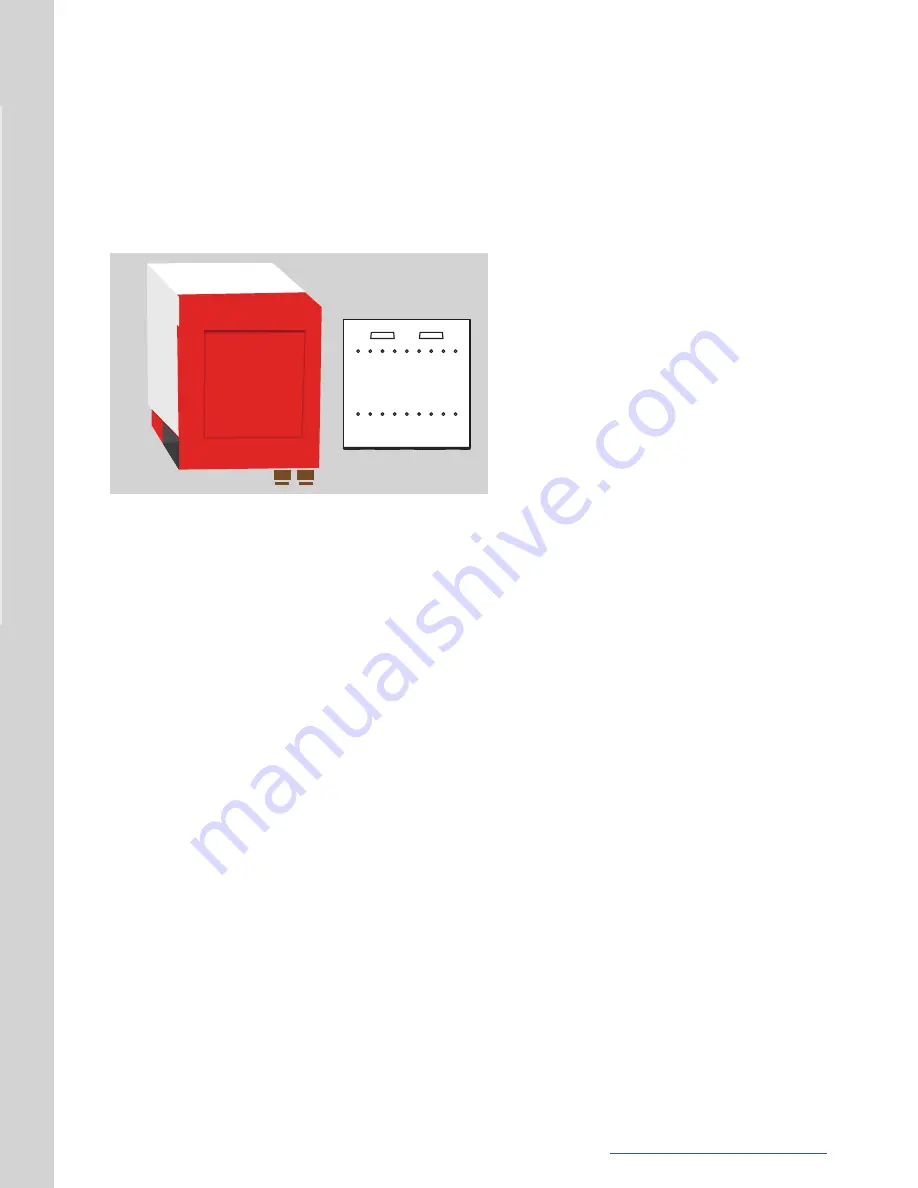
The mounting bracket is attached to the back of the unit. Remove by unscrewing the two mounting
screws located underneath the unit.
STEP 2
Make sure to allow to access the service access panel on the right side of the unit, as well as the
fitting connections located on the bottom of the unit.
Using the appropriate hardware (not included), mount the bracket to wall studs, a structural
member, or with wall anchors able to support 40 pounds and appropriate for the type of wall
surface if there are no wood studs behind the surface.
Make sure the mounting surface is solid and secure, and ensure that the mounting bracket is level
prior to securing.
STEP 3
The MODEL 3 unit has one (1) large slot on its back panel that will fit on the two (2) tabs located
towards the top of the mounting bracket.
Lift the MODEL 3 unit flush with the mounting bracket, slightly above tabs. Slowly lower down
until it is resting on the mounting bracket tabs.
Line up the screw holes on the bottom of the unit with the corresponding holes on the lower lip of
the mounting bracket. Slide unit left or right on the tabs if necessary.
Secure the MODEL 3 to the mounting bracket lip using the two (2) screws removed in Step 1.
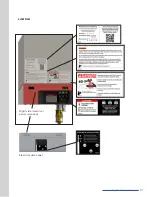
Mounting bracket
MODEL 3 rear view


