


12
Arranging crockery, glasses, etc. in the dishwasher
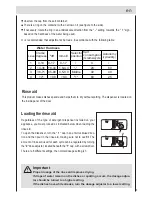
Before placing the dishes in the dishwasher, remove larger food particles to prevent the filter from be-
coming clogged, which results in reduced performance.
If the pots and pans have baked-on food that is extremely hard to remove, we recommend that they are
soaked before washed. This will eliminate the need for extra wash cycles.
Pull out the rack to load the dishwasher.
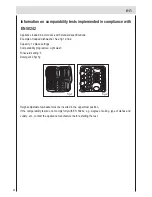
Load for 12 Standard Settings
(for EN 50242 tests)
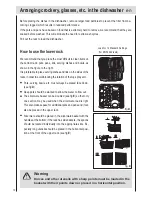
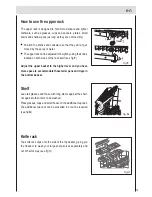
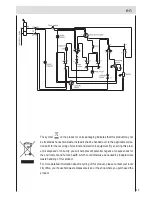
How to use the lower rack
We recommend that you place the most difficult to clean items on
the bottom rack: pots, pans, lids, serving dishes and bowls, as
shown in the figure to the right.
It is preferable to place serving dishes and lids on the sides of the
racks in order to avoid blocking the rotation of the top spray arm.
Pots, serving bowls, etc. must always be placed face down.
(see fig.D)
Deep pots should be slanted to allow the water to flow out.
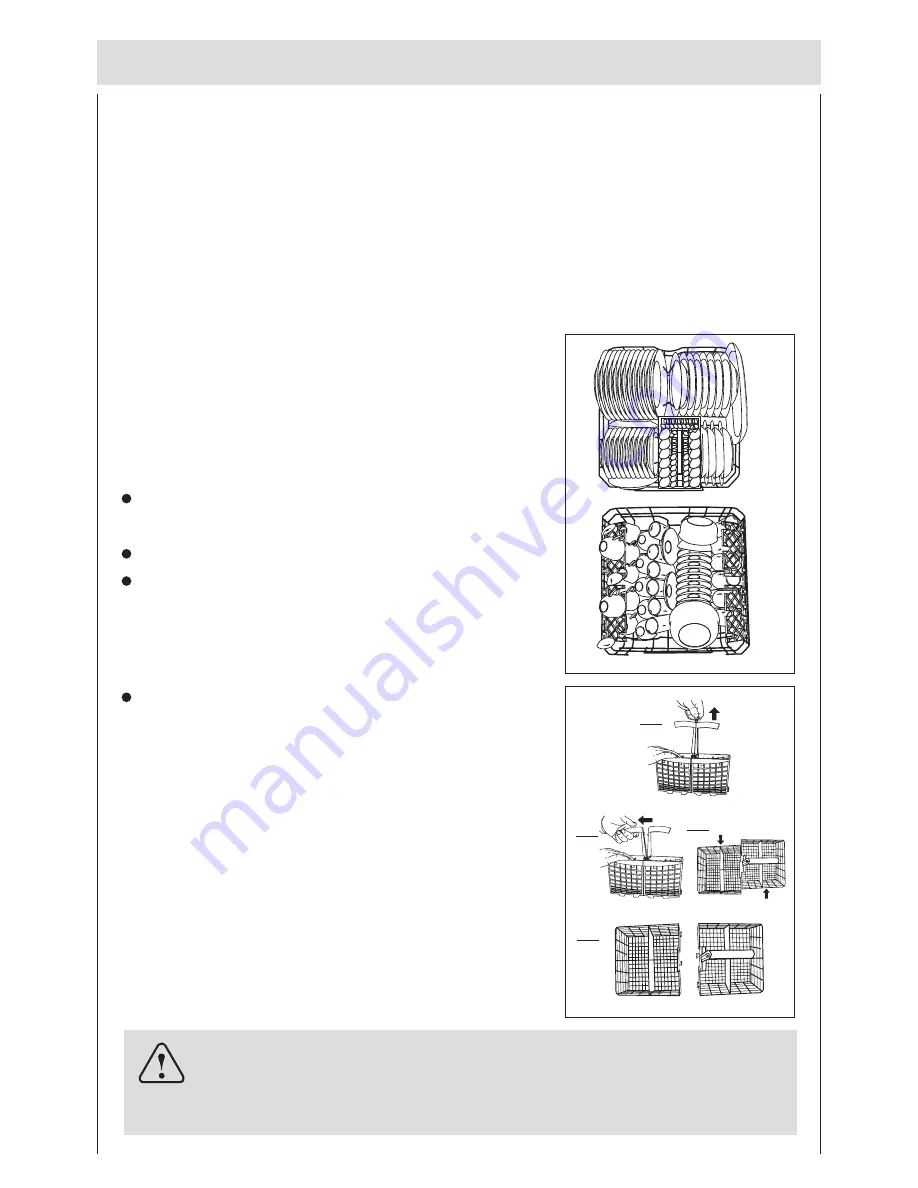
Silverware should be placed in the silverware basket with the
handles at the bottom; if the rack has side baskets, the spoons
should be located individually into the appropriate slots. Es-
pecially long utensils should be placed in the horizontal posi-
tion at the front of the upper rack.(see fig.E)
The silverware basket can be doubled (see fig.E) so that only
one section may be used when the silverware load is light.
This also makes space for additional pots and pans and it can
also be placed in the upper rack.
fig.E
fig.D
en
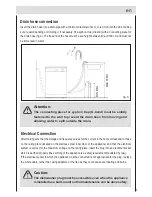
Warning
Knives and other utensils with sharp points must be loaded in the
basket with their points down or placed in a horizontal position.
Summary of Contents for HEC12EFM Series
Page 1: ...Dishwasher HEC12EFM Series Instructions for Use 0120505895 en ...
Page 2: ......
Page 28: ......


