Unpacking and Installing
Nexscan F 4100/F 4200 – Operation
1–11
ABC
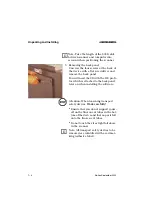
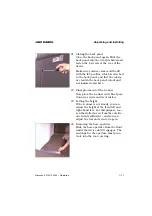
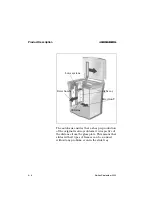
21. Closing the back panel
Close the back panel again. Slide the
back panel into the two slits below and
fasten the 4 screws at the rear of the
device.
Make sure you have removed the CD
with the ICC profiles, which is attached
to the back panel, and that the cables
are laid in the back panel cutout and
not jammed anywhere.
22. Final placement of the scanner
Now place the scanner in its final posi-
tion on a secure and level surface.
23. Setting the height
If the scanner is not steady, you can
adjust the height of the front left and
right-hand feet. For this purpose, loo-
sen the slotted screw from the outside –
one turn is sufficient – and you can
adjust the foot and secure it again.
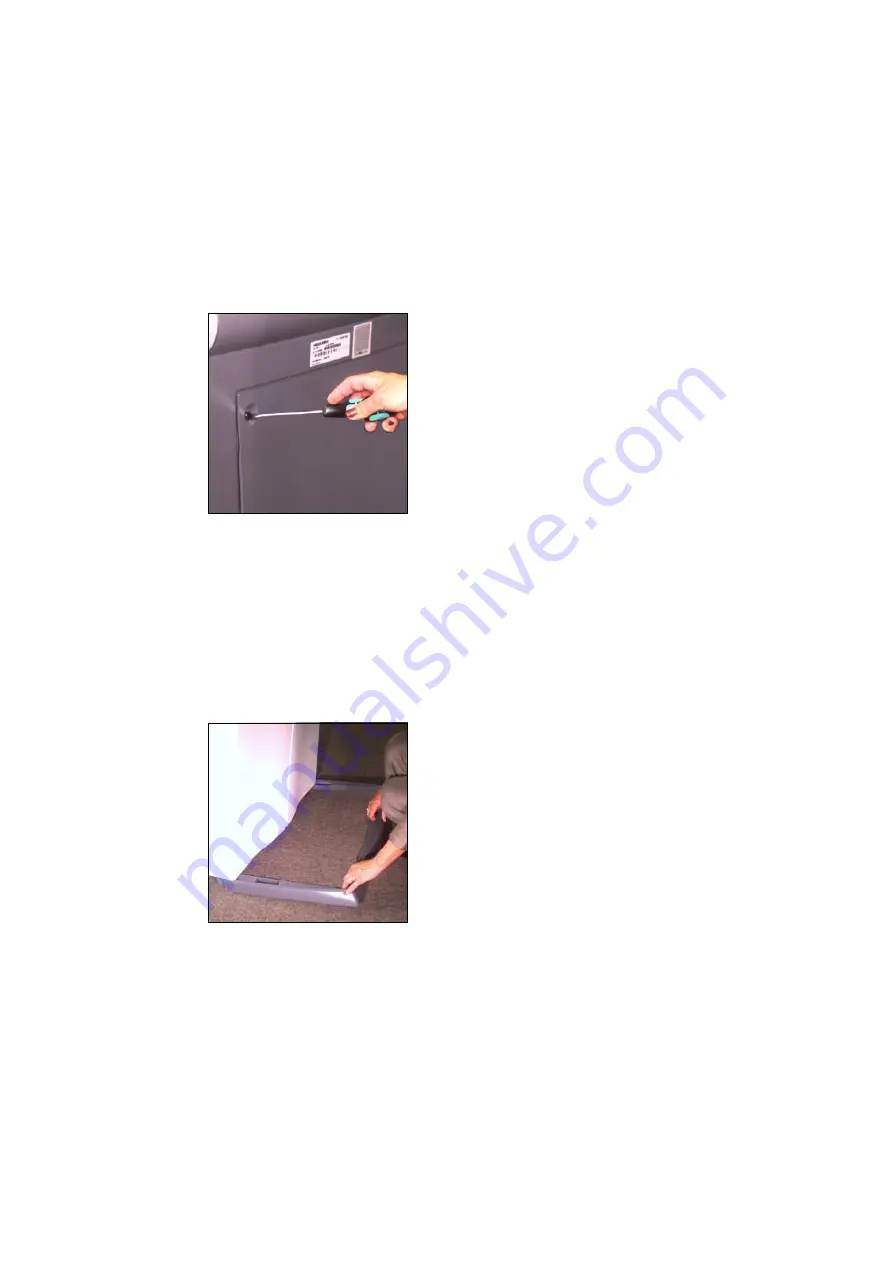
24. Removing the base aperture
Slide the base aperture from the front
under the device until it engages. The
end clips for the aperture must pene-
trate into the rear covering.

